The Secret To Bakery-Style Bread At Home Is Here
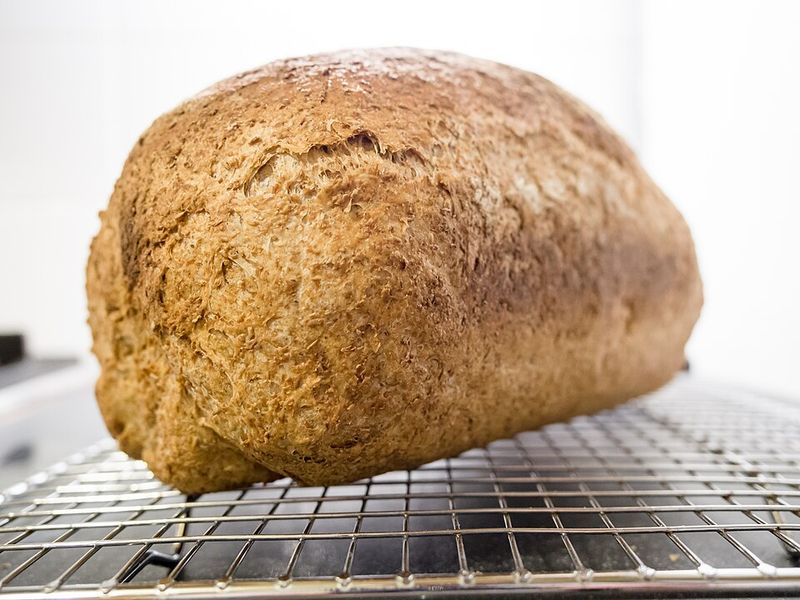
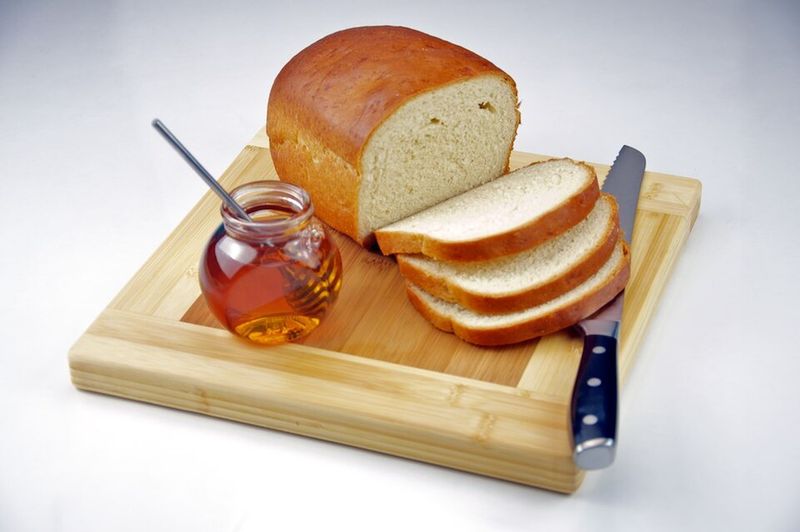
There’s something magical about pulling a golden loaf of bread from your oven—the crackling crust, the pillowy interior, that intoxicating aroma filling every corner of your kitchen.
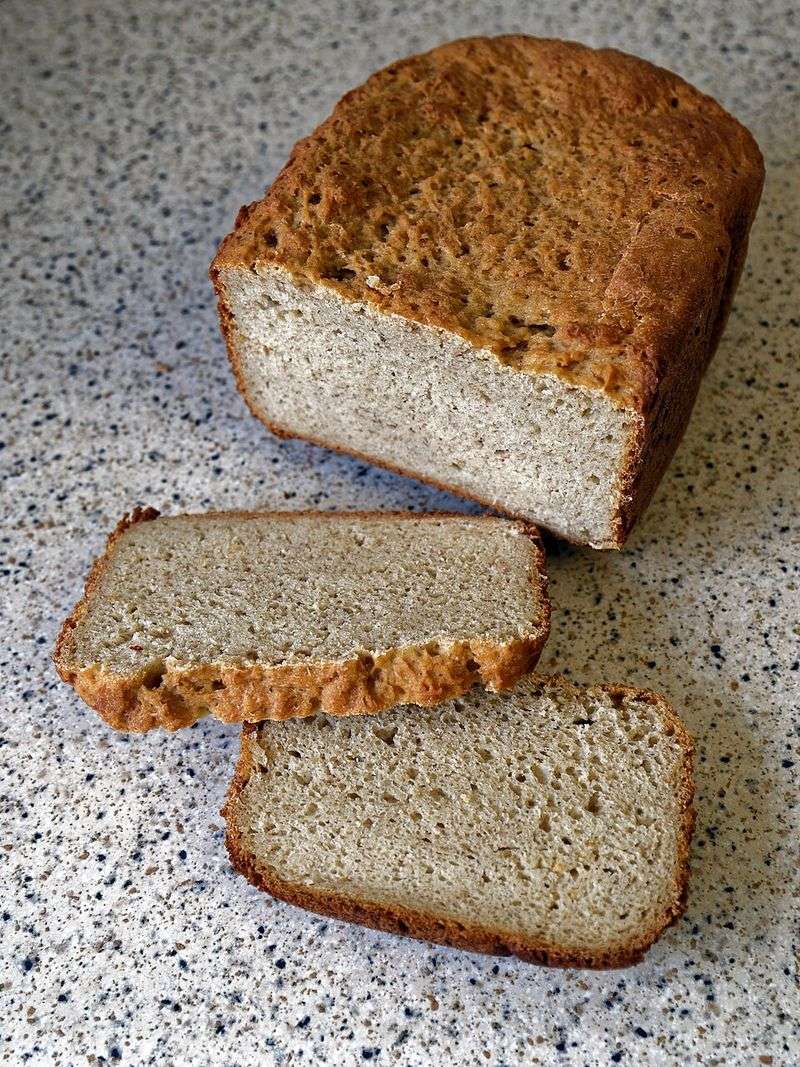
While store-bought bread has its place, homemade bread offers a tender crumb and fresh flavor that simply can’t be replicated.
Today, I’m sharing a foolproof method that transforms simple pantry staples into bakery-quality bread that’ll have your family wondering when you became a professional baker.
1. Why This Recipe Is Foolproof
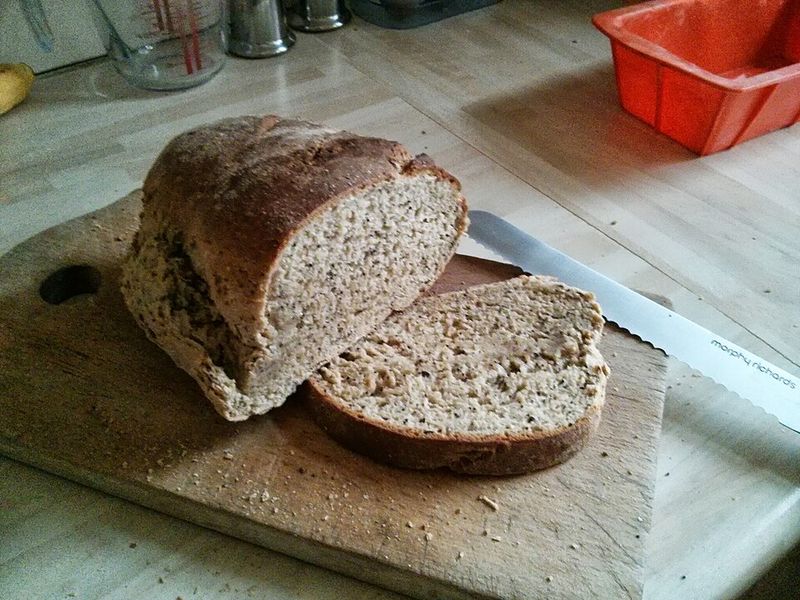
The beauty of this bread lies in its balance. Unlike denser whole wheat varieties or no-knead artisan loaves, this recipe creates what could be called a “celebration bread”—soft enough for sandwiches, sturdy enough for toast, and impressive enough to serve at dinner parties.
The secret? A carefully calibrated blend of ingredients and a two-rise method that develops flavor while maintaining that coveted fluffy texture.
2. The Foundation: Understanding Your Ingredients
Before diving in, it’s worth understanding what makes this loaf special. Bread flour brings higher protein content than all-purpose, creating the gluten network that gives bread its structure and satisfying chew.
The powdered milk adds richness and helps the crust brown beautifully, though it can be swapped for fresh milk if that’s what’s on hand. The combination of butter and oil creates a tender crumb while keeping the bread moist for days.
3. The Process: From Bowl to Oven
Start by awakening the yeast in lukewarm water with a generous helping of sugar. This isn’t just about activating the yeast—that sugar feeds the fermentation process that gives bread its complex flavor.
Once the mixture looks slightly foamy, it’s ready for the next step.
Combine the dry ingredients—the flour, powdered milk, and salt—then bring everything together in a stand mixer. The initial mixing at a gentle speed allows the flour to hydrate properly without developing too much gluten too quickly.
Think of it as introducing strangers at a party; they should mingle gradually, not collide.
After a few minutes, increase the speed to really work that dough. This is where the magic happens—gluten strands align and strengthen, creating the internal scaffolding that will trap all those beautiful air pockets during rising.
4. Add Butter at Room Temperature for Tender Crumb
Now comes one of the most satisfying steps: adding the butter and oil. Room temperature butter is crucial here—cold butter will seize up and refuse to incorporate, while melted butter can make the dough greasy.
At the right temperature, butter emulsifies into the dough, creating those tender layers that make homemade bread irresistible.
5. Achieving the Perfect Texture
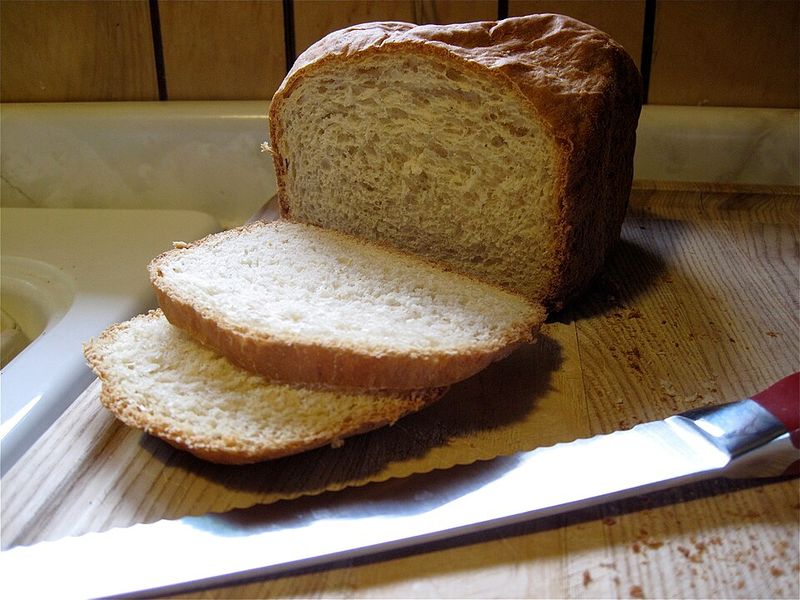
Continue kneading until the dough transforms from shaggy and rough to smooth and elastic. It’s ready when it pulls away from the bowl sides and bounces back when poked.
Don’t worry if it feels slightly sticky—that’s actually a good sign. Resist the urge to dump in extra flour, which will give a dense, dry loaf.
6. The Waiting Game
Transfer the dough to an oiled bowl and let patience work its magic. The first rise is where yeast converts sugars into carbon dioxide and alcohol, creating both lift and flavor.
Kitchen temperature will dictate timing—a warm spot near (but not on) a radiator or in a sunny window can speed things along, while a cool kitchen might require a few extra hours.
The dough should double in volume and feel light and airy when gently pressed. After the first rise, punch down the dough—literally. This deflates the large gas bubbles and redistributes the yeast for a more even crumb structure.
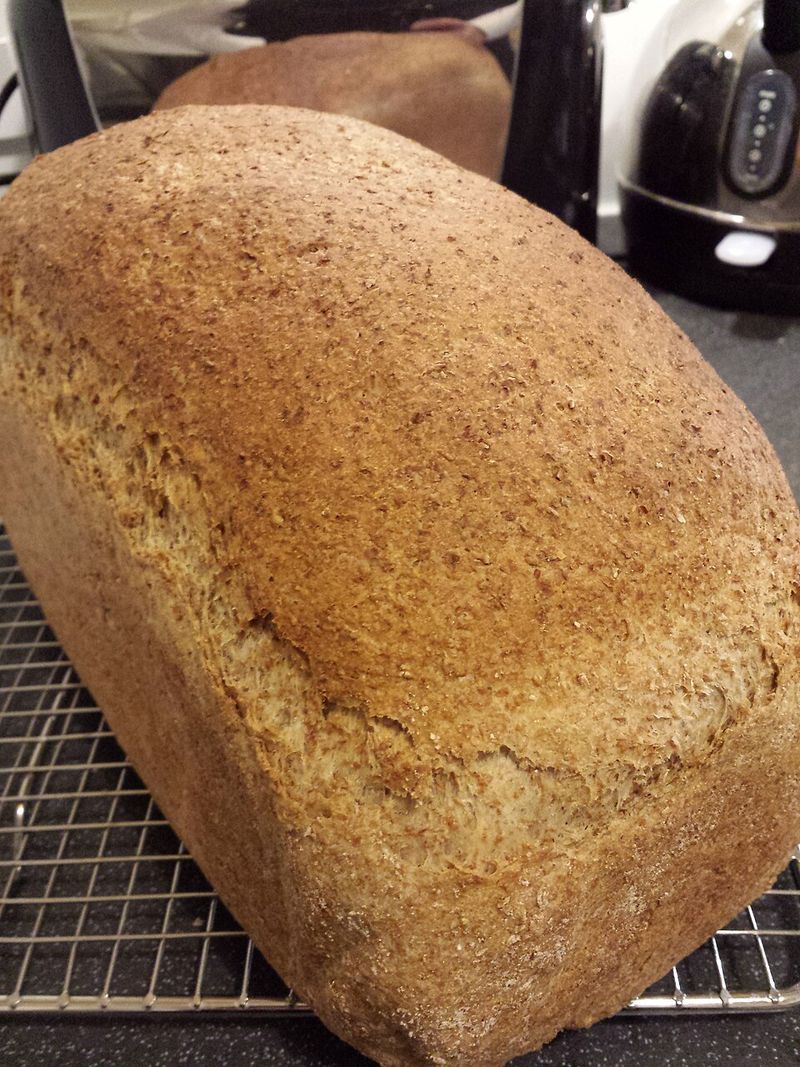
Shape it into a smooth log and nestle it into a greased loaf pan. The second rise is shorter but equally important, giving the dough one final opportunity to develop structure and flavor.
Slide the risen dough into a preheated oven and resist opening that door for at least twenty minutes.
7. What Happens in the Oven
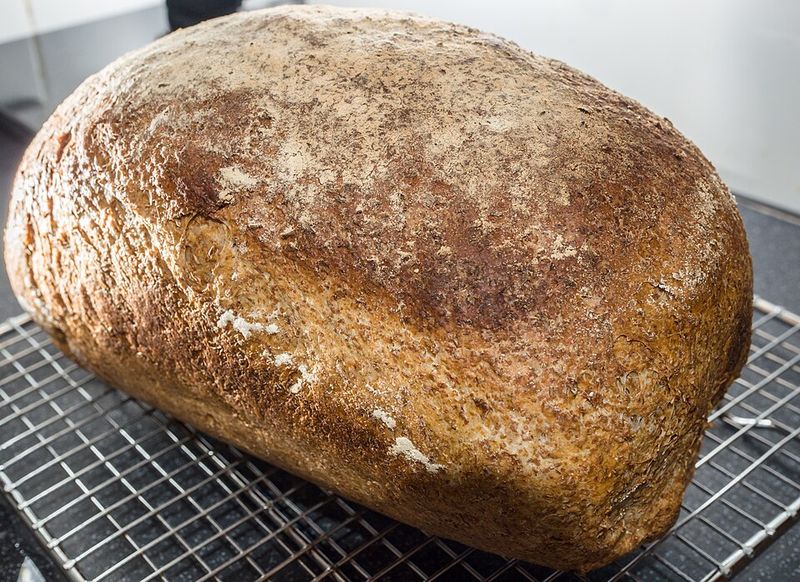
As the bread bakes, the heat causes a final burst of yeast activity (called “oven spring”), then sets the gluten structure and caramelizes the crust.
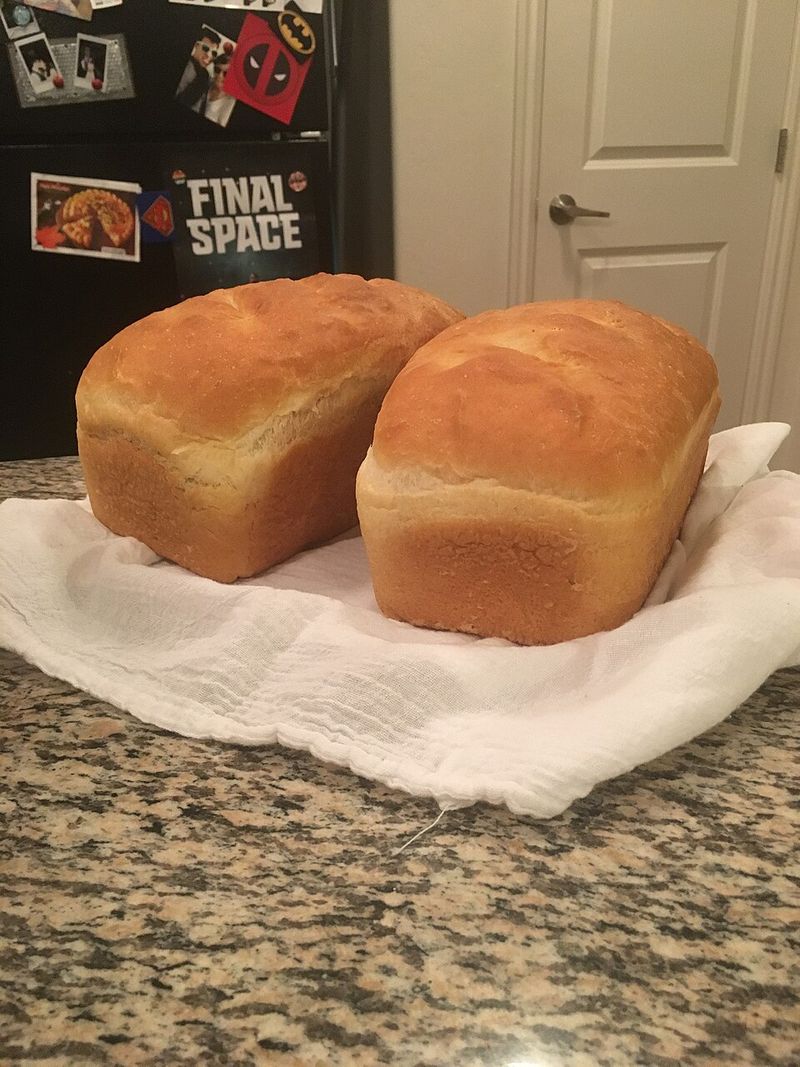
After thirty minutes, there will be a gorgeous golden loaf that sounds hollow when tapped on the bottom—the universal signal that bread is done.
8. Pro Tips for Perfect Bread Every Time
Yeast is a living organism that thrives in warmth but dies in heat. The water should feel lukewarm to the touch—around body temperature.
Too hot, and it’ll kill the yeast; too cold, and rising will take ages.
While it’s tempting to hurry things along, proper fermentation develops the complex flavors that separate good bread from great bread. For those who need to slow things down, dough can rise in the refrigerator overnight for an even deeper flavor.
Not sure if the dough has risen enough? Gently press a finger into it. If the indentation springs back slowly, it’s ready. If it springs back immediately, give it more time. If it doesn’t spring back at all, it’s slightly over-proofed—but don’t worry, the bread will still be delicious.
All ovens have hot spots and temperature variations. If the bread browns too quickly, tent it with foil for the final ten minutes. A thermometer inserted into the center should read about 190°F when fully baked.