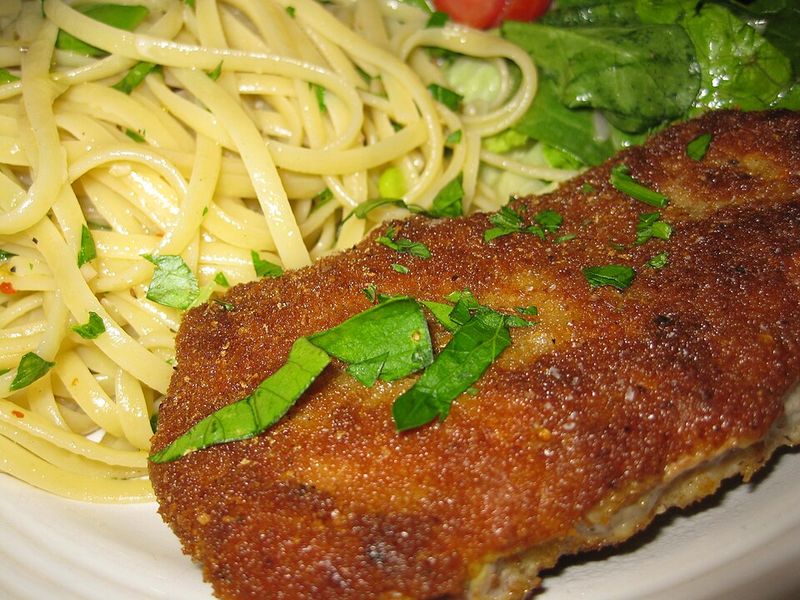
Quick 30-Minute Chicken Milanese For Effortless Dinners
Golden, crispy chicken cutlets crowned with peppery arugula hit the table in just 30 minutes. That’s the magic of Chicken Milanese, a simple, elegant dish that transforms everyday ingredients into restaurant-quality comfort.
Perfect for busy weeknights or whenever you want dinner to feel effortlessly special, this Italian classic delivers flavor, crunch, and a touch of culinary flair every time. Grab your skillet, channel your inner chef, and turn tonight’s dinner into a celebration.
1. Boneless Chicken Breasts
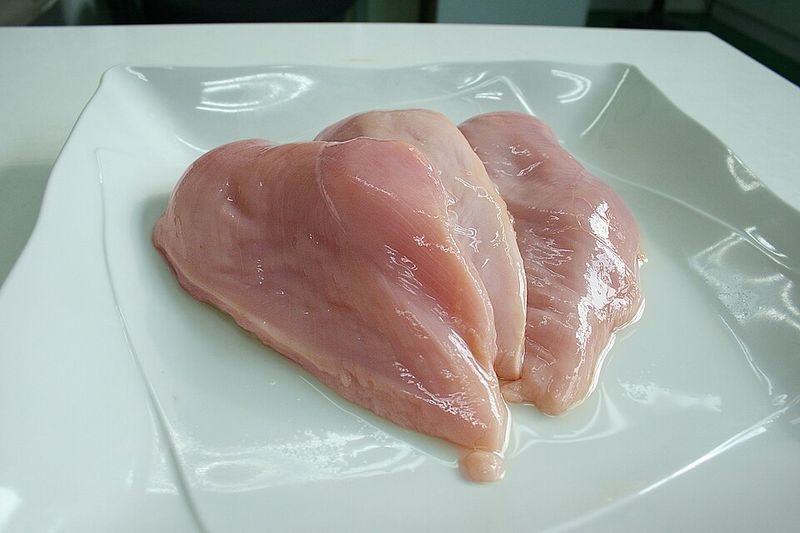
Start with the star of the show.
Boneless, skinless chicken breasts are your blank canvas here, waiting to be transformed into crispy, golden perfection. Look for pieces that are roughly the same size so they cook evenly and finish at the same time.
If they’re on the thicker side, no worries.
You’ll be pounding them down anyway, which not only speeds up cooking but also tenderizes the meat beautifully. Fresh or thawed works equally well, just pat them dry before you start so the breading sticks like a dream and crisps up without any sogginess.
2. Meat Mallet for Pounding
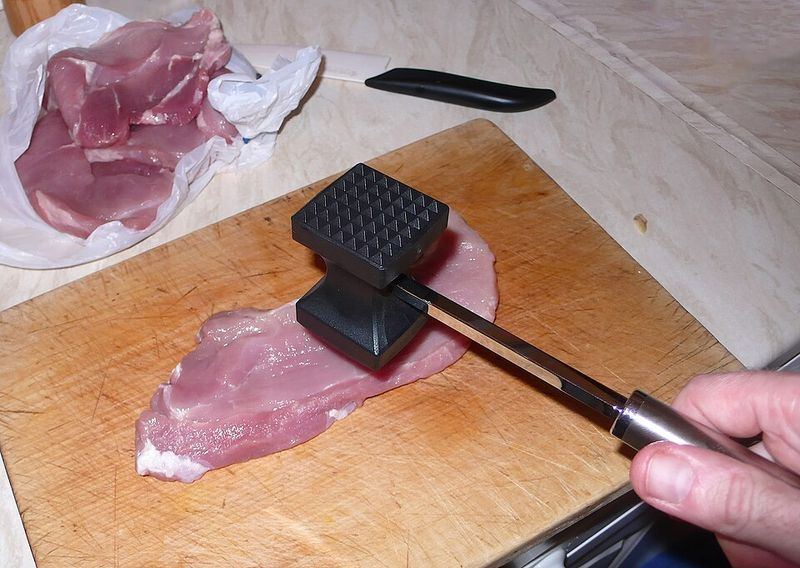
A meat mallet is your secret weapon for even cooking.
Pounding the chicken to about a quarter-inch thickness ensures it cooks through in minutes without drying out. Place each breast between two sheets of wax paper or plastic wrap to avoid a messy splatter situation.
Use the flat side of the mallet and work from the center outward with gentle, firm taps.
Think of it as stress relief with a delicious payoff. The thinner cutlets also mean more surface area for that irresistible crispy crust, which is exactly what you’re after in a proper Milanese.
3. All-Purpose Flour Station
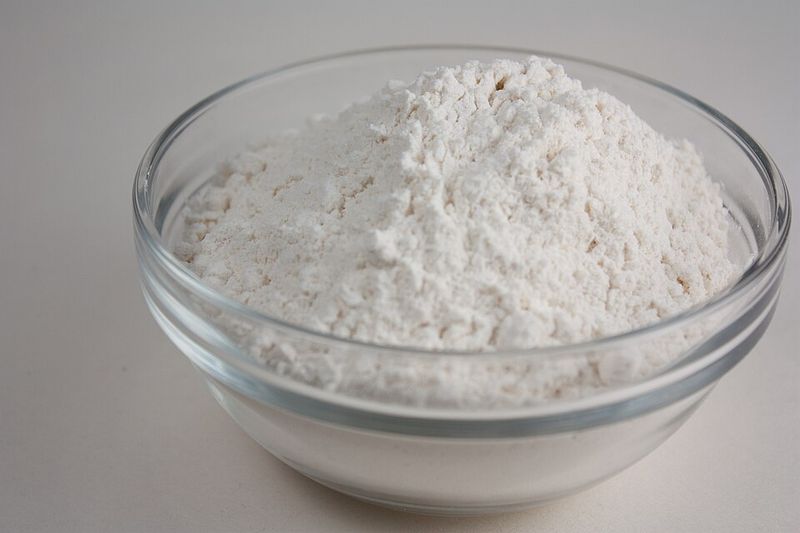
Flour is the foundation of your breading trio.
Set up a shallow dish and pour in about a cup of all-purpose flour, then season it generously with salt and freshly cracked black pepper. This first coating helps the egg wash cling to the chicken, creating a base layer that locks everything in place.
Don’t skip the seasoning step here.
Every layer should taste good on its own, building flavor as you go. Keep the flour light and even by shaking off any excess before moving to the next station, so you don’t end up with clumps that turn gummy when fried.
4. Beaten Egg Wash
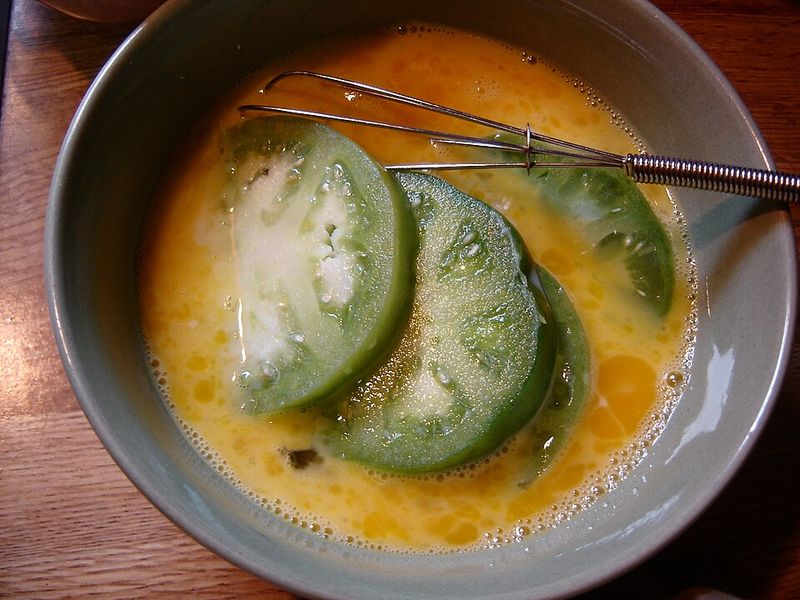
Eggs act like edible glue in this recipe.
Crack two or three large eggs into a shallow bowl and whisk them until the yolks and whites are fully blended and smooth. Adding a tablespoon of milk or water loosens the mixture slightly, making it easier to coat the chicken evenly without thick patches.
This wet layer is what grabs onto the breadcrumbs and holds them tight during frying.
Make sure each cutlet gets a full dip, letting any excess drip off before moving to the final coating. The result is a seamless, crunchy crust that stays put from pan to plate.
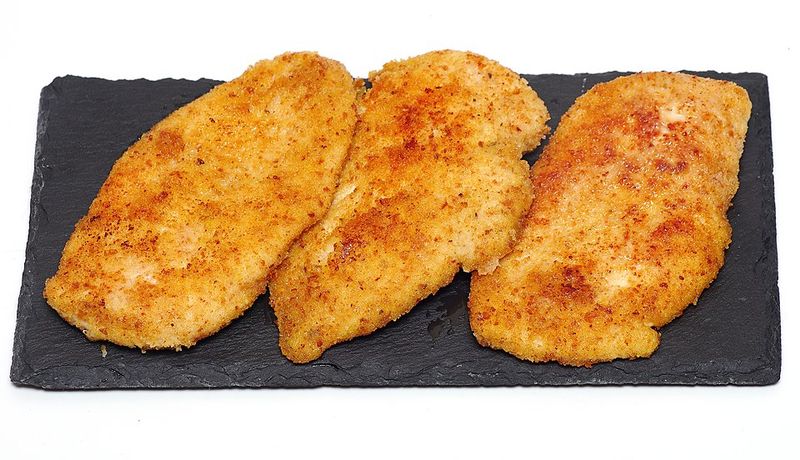
5. Panko Breadcrumbs Mix
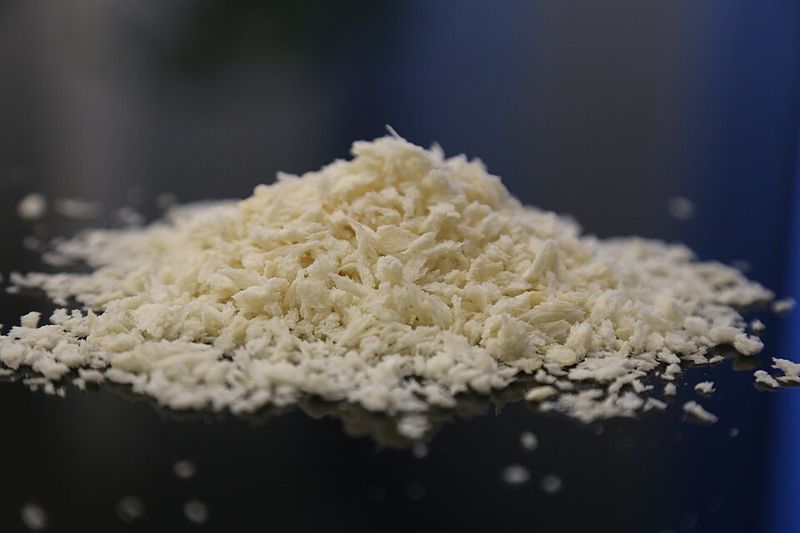
Panko brings the crunch factor you crave.
These Japanese-style breadcrumbs are lighter and flakier than regular ones, creating an extra-crispy coating that stays shatteringly crunchy even after a few minutes on the plate. Pour about two cups into a shallow dish and mix in a half-cup of finely grated Parmesan cheese for a nutty, salty boost.
Press each chicken cutlet firmly into the mixture, making sure every inch is covered.
The Parmesan not only adds flavor but also helps the breadcrumbs brown beautifully, giving you that signature golden hue that makes Milanese so irresistible.
6. Grated Parmesan Cheese
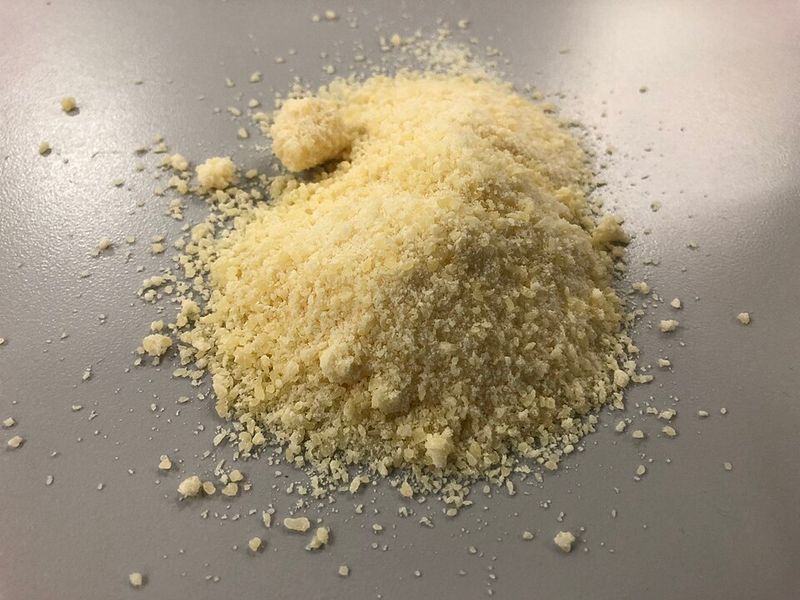
Parmesan is the flavor multiplier here.
Freshly grated is always best since it melts into the breadcrumbs and creates little pockets of savory richness that pre-shredded versions just can’t match. Use a fine grater or microplane to get a fluffy, snow-like texture that blends seamlessly into the panko.
You’ll want about half a cup for the breading, but keep extra on hand for the salad topping later.
The cheese adds a subtle umami depth that makes each bite feel more complex and satisfying, turning simple breaded chicken into something truly memorable.
7. Olive Oil for Frying
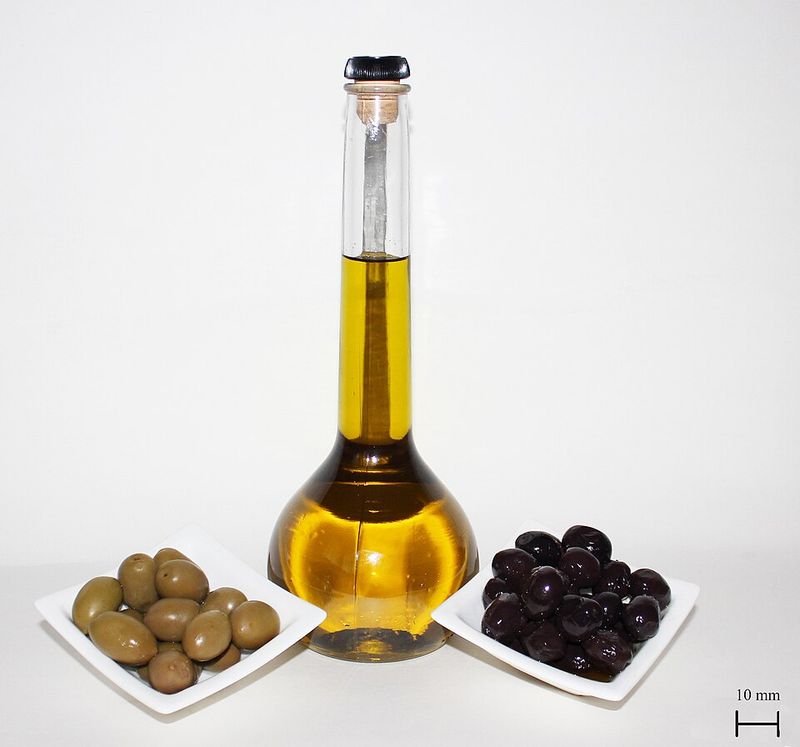
Olive oil brings both flavor and function.
Pour enough into a large skillet to create a shallow pool, about a quarter-inch deep, so the cutlets can fry rather than steam. Extra virgin olive oil adds a fruity, peppery note that complements the Italian vibe of the dish perfectly.
Heat it over medium until it shimmers but doesn’t smoke.
Test the temperature by dropping in a breadcrumb; if it sizzles immediately, you’re ready to go. The oil not only crisps the coating but also helps conduct heat evenly, ensuring the chicken cooks through while the outside turns golden and crunchy.
8. Butter for Richness
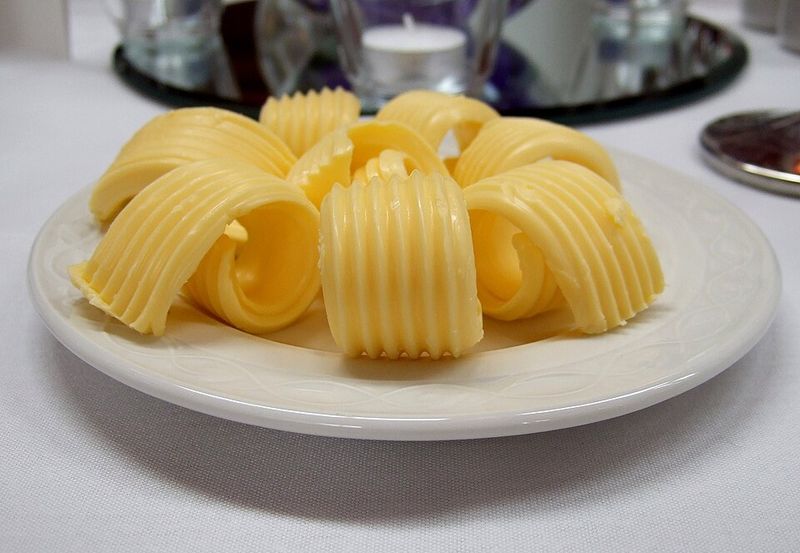
Butter adds a layer of richness that oil alone can’t achieve.
Drop a few tablespoons into the hot olive oil just before adding the chicken, letting it melt and foam slightly. The milk solids in butter brown as they cook, creating a nutty, caramelized flavor that seeps into the crust.
This combo also helps the breading achieve that deep, restaurant-quality golden color.
Just watch the heat carefully since butter can burn faster than oil. The balance of the two gives you the best of both worlds: olive oil’s high smoke point and butter’s irresistible taste.
9. Large Skillet or Frying Pan
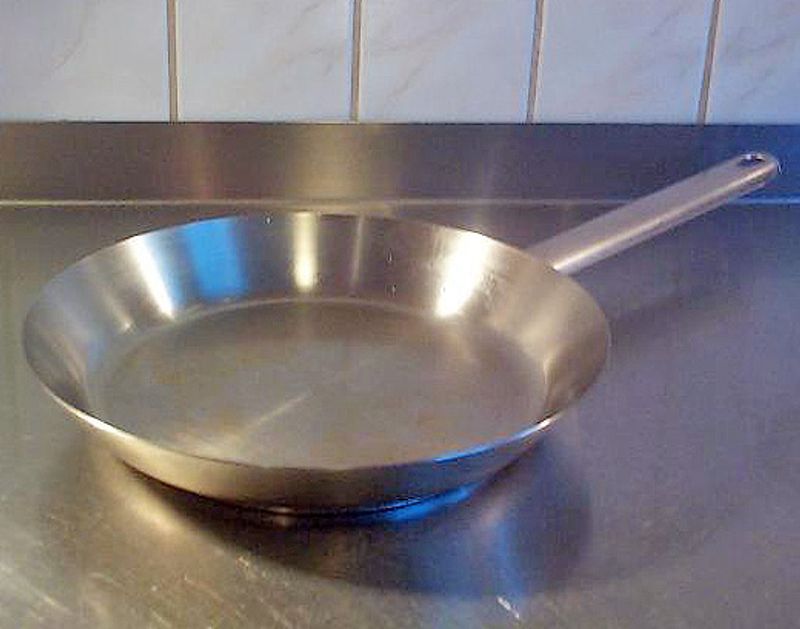
Your skillet size matters more than you think.
A large, heavy-bottomed pan distributes heat evenly and gives you enough room to fry two cutlets at once without crowding. Overcrowding drops the oil temperature, leading to soggy breading instead of a crispy crust.
Stainless steel or cast iron works beautifully here, holding heat steady throughout the cooking process.
Make sure the pan is fully preheated before adding the chicken so the breading sears on contact, locking in moisture and creating that satisfying crunch. A good skillet is an investment that pays off in perfectly cooked dinners night after night.
10. Wire Cooling Rack
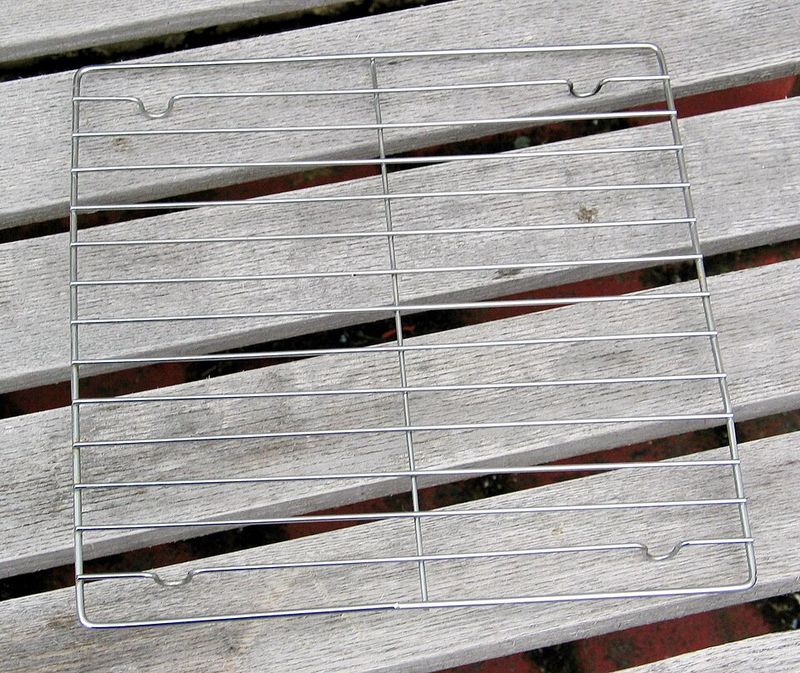
A wire rack is the unsung hero of crispy food.
Set it over a baking sheet and transfer your fried cutlets there as soon as they come out of the pan. Elevating the chicken lets air circulate underneath, preventing the bottom from steaming and turning soggy while the top stays perfectly crunchy.
This simple trick keeps the coating intact and crisp until you’re ready to serve.
If you’re making multiple batches, you can even keep the rack in a low oven to hold the finished cutlets warm without sacrificing texture. It’s a small step that makes a huge difference.
11. Fresh Arugula Greens
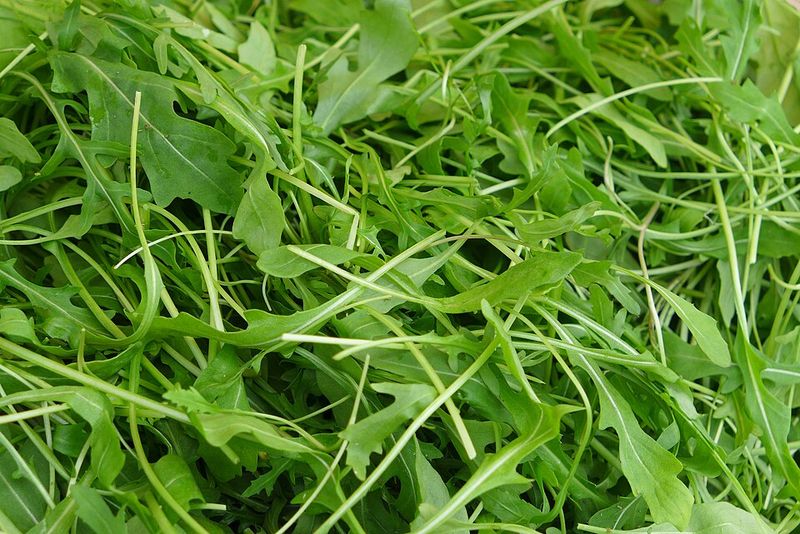
Arugula brings a peppery punch that cuts through the richness.
These tender, slightly spicy greens are the traditional topping for Milanese, adding freshness and a pop of color that makes the dish feel light despite the fried coating. Look for bright, crisp leaves without any yellowing or wilting.
Baby arugula is milder and more delicate, while mature arugula has a bolder bite.
Either works beautifully here. Toss it with a simple lemon dressing just before serving so the greens stay perky and don’t wilt under the warm chicken.
The contrast of cool, zesty salad against hot, crispy cutlets is pure magic.
12. Fresh Lemon Juice

Lemon juice is the brightening agent this dish needs.
Squeeze one or two fresh lemons to get about three tablespoons of juice, which you’ll whisk into the salad dressing and drizzle over the finished chicken. Bottled juice just doesn’t have the same vibrant, tangy punch that fresh lemons deliver.
The acidity cuts through the richness of the fried coating and balances the savory Parmesan beautifully.
Keep a few lemon wedges on the side for anyone who wants an extra squeeze at the table. That final hit of citrus ties everything together and makes each bite taste clean and lively.
13. Extra Virgin Olive Oil for Dressing
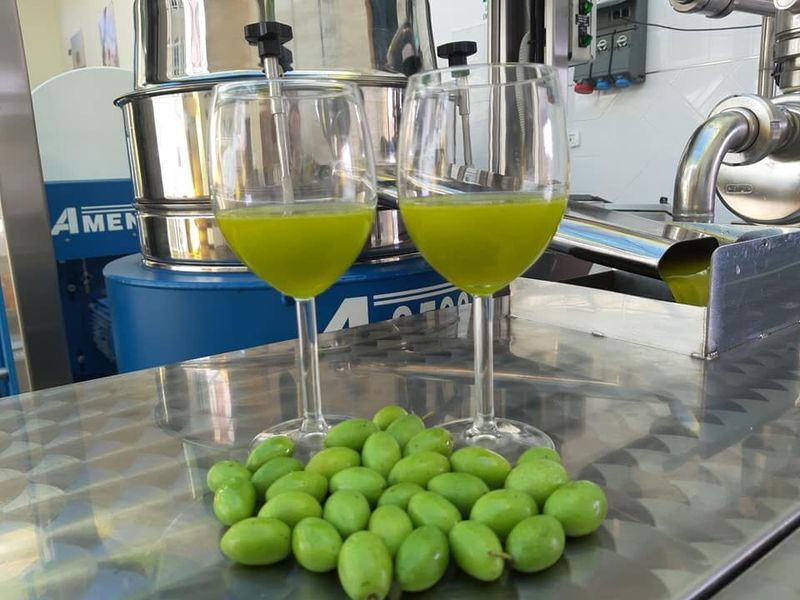
Good olive oil makes all the difference in a simple dressing.
Use a fruity, high-quality extra virgin variety for the arugula salad, whisking it with lemon juice, salt, and pepper until it emulsifies into a smooth, silky vinaigrette. You’ll need about two tablespoons, which is just enough to coat the greens without drowning them.
The oil adds body and richness while letting the peppery arugula and bright lemon shine through.
This is one place where quality really shows, so reach for a bottle you’d be happy to dip bread into. The dressing should taste like sunshine and grass, tying the whole dish together.
14. Sea Salt and Black Pepper
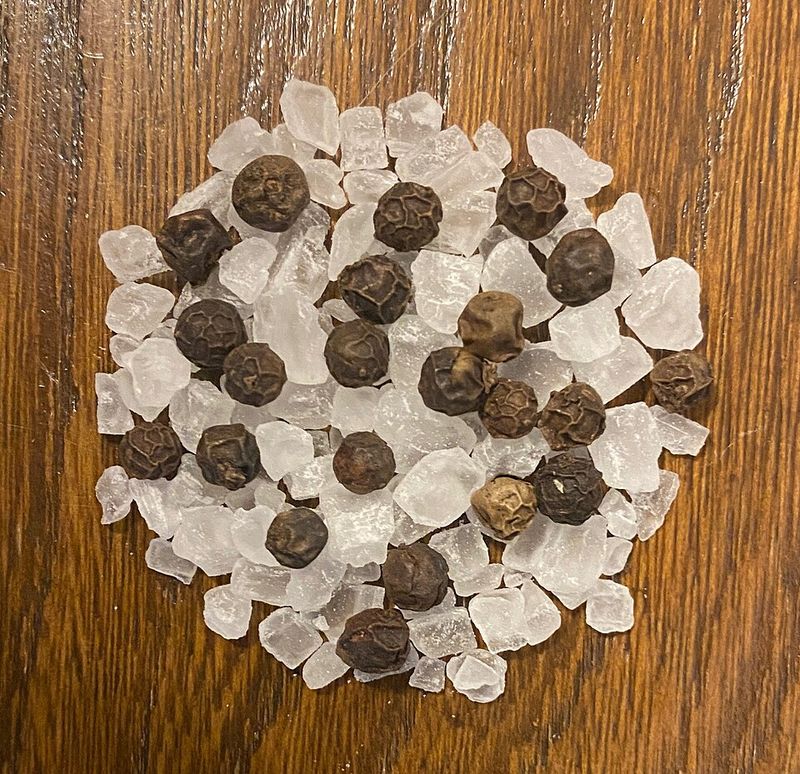
Seasoning is where good cooking begins.
Use flaky sea salt and freshly cracked black pepper at every stage, from the flour to the salad dressing, building layers of flavor as you go. Pre-ground pepper loses its punch quickly, so invest in a grinder and crack it fresh for maximum aroma and bite.
Salt enhances every ingredient it touches, bringing out the natural sweetness of the chicken and the nuttiness of the Parmesan.
Taste as you go and adjust boldly. Under-seasoned food is the easiest mistake to make and the simplest to fix, so don’t be shy with the shaker.
15. Thinly Sliced Red Onion
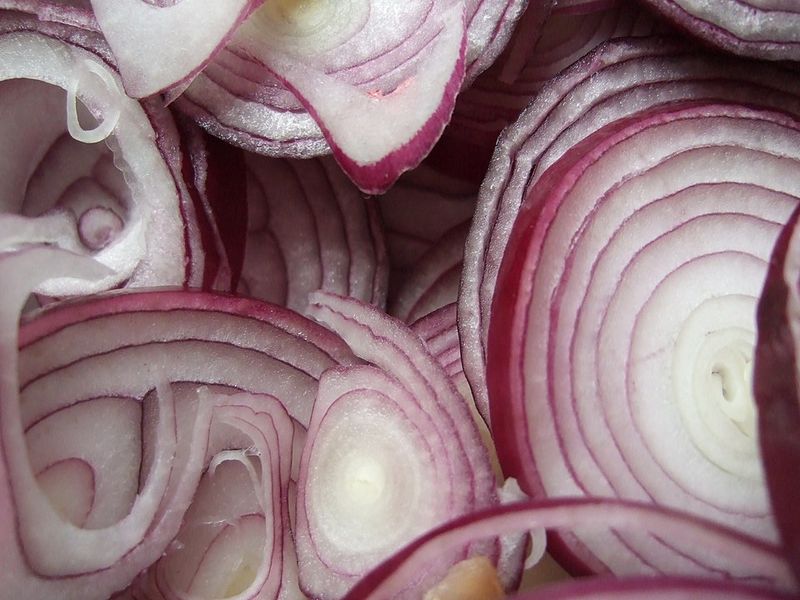
Red onion adds a sharp, sweet crunch to the salad.
Slice it as thin as you possibly can, almost translucent, so it adds bite without overwhelming the delicate arugula. If raw onion feels too intense, soak the slices in cold water for a few minutes to mellow the sharpness.
The vibrant purple rings look gorgeous against the green leaves and golden chicken, adding visual interest to the plate.
Just a handful is enough to give the salad a little backbone and a hint of sweetness that plays beautifully with the tangy lemon dressing and salty Parmesan shavings.
16. Shaved Parmesan for Topping
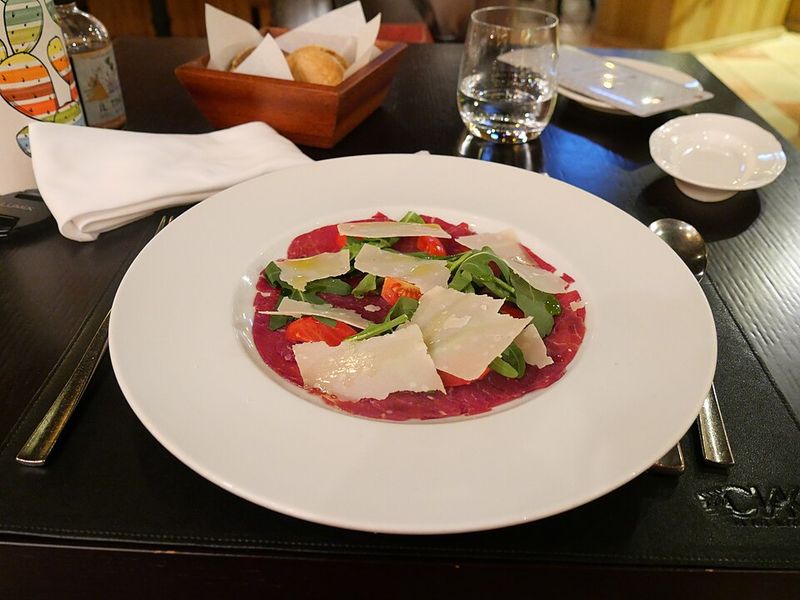
Shaved Parmesan is the elegant finishing touch.
Use a vegetable peeler to create delicate, paper-thin curls from a block of Parmesan, which you’ll scatter over the dressed arugula just before serving. These wispy shavings melt slightly from the warmth of the chicken, adding creamy, salty pockets of flavor throughout the salad.
They’re also gorgeous to look at, making the dish feel fancy without any extra effort.
Pre-shredded cheese won’t give you the same visual impact or texture, so take the extra minute to shave your own. It’s a small detail that elevates the whole presentation from weeknight dinner to something special.
17. Wax Paper for Pounding
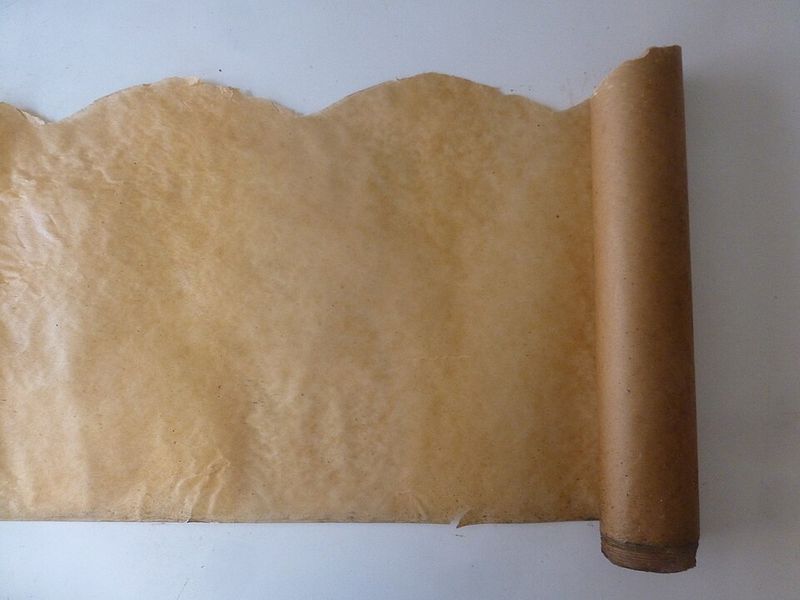
Wax paper keeps your kitchen clean and your chicken intact.
Place each breast between two sheets before pounding to prevent splatters and keep the meat from tearing under the mallet’s force. The paper also keeps the chicken from sticking to your cutting board or counter, making cleanup a breeze.
Plastic wrap works just as well if that’s what you have on hand.
This simple barrier lets you pound with confidence, knowing you won’t end up with raw chicken juice everywhere. It’s one of those tiny prep tricks that makes cooking feel less messy and more manageable, especially on busy nights.
18. Sharp Chef’s Knife
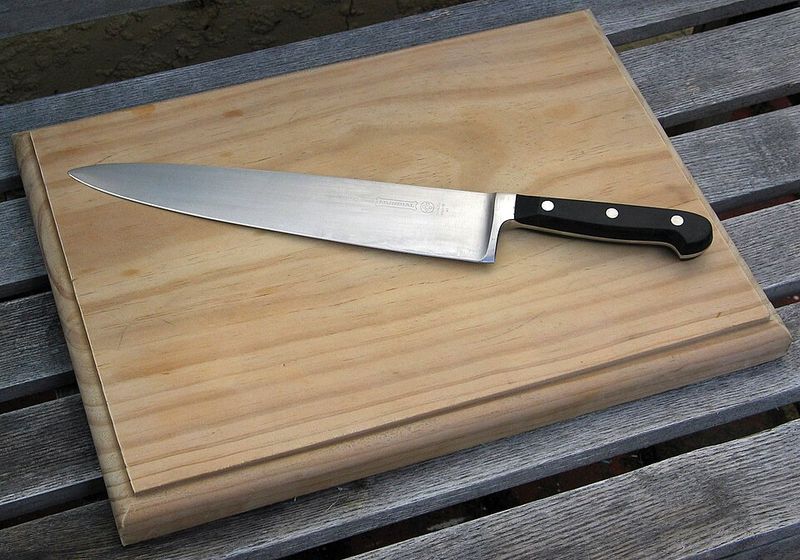
A sharp knife makes prep faster and safer.
You’ll use it to trim any excess fat from the chicken, slice the red onion paper-thin, and cut lemon wedges for serving. Dull knives require more pressure, which increases the chance of slipping and cutting yourself.
A good chef’s knife glides through ingredients effortlessly, giving you clean cuts and even pieces that cook uniformly.
Keep it sharp with regular honing and occasional professional sharpening. This one tool will transform your cooking experience, making every task feel smoother and more enjoyable.
It’s worth investing in quality and taking care of it properly.
19. Mixing Bowl for Salad
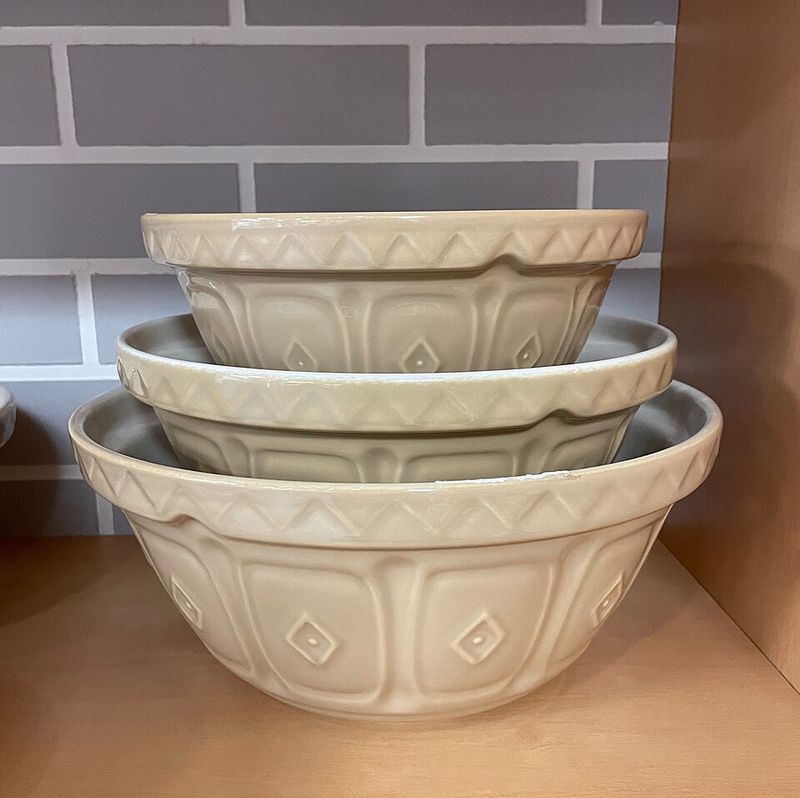
A large bowl gives you room to toss without spilling.
You’ll whisk the lemon dressing right in the bowl, then add the arugula, onion, and Parmesan, tossing everything together until the greens are lightly coated. Glass or stainless steel works best since they don’t absorb odors or flavors.
Make sure the bowl is big enough to let you toss enthusiastically without launching salad onto the counter.
The dressing should cling to every leaf without pooling at the bottom, which only happens when you have enough space to mix properly. A well-tossed salad is the difference between okay and outstanding.
20. Whisk for Dressing
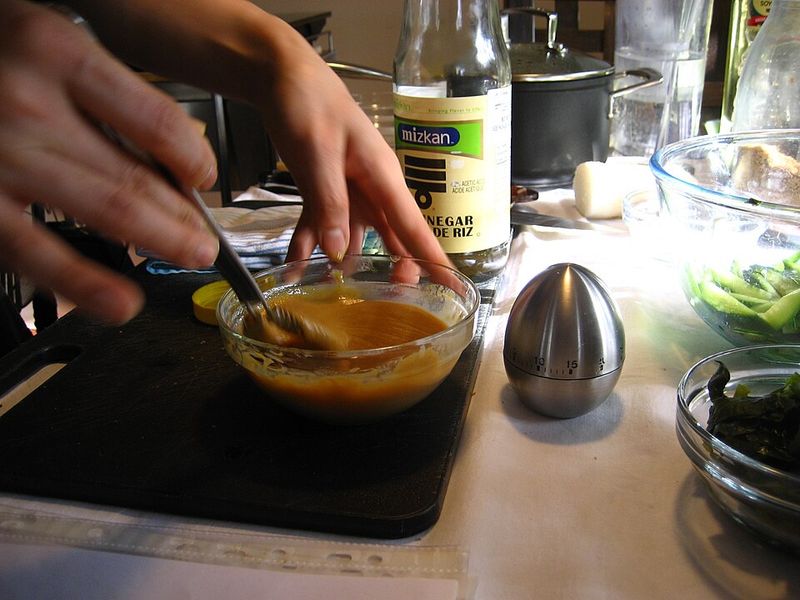
A whisk emulsifies your dressing into silky perfection.
Use a small wire whisk to blend the lemon juice, olive oil, salt, and pepper until they come together in a smooth, unified sauce rather than separating into oil and acid. The whisking action creates tiny droplets that suspend in the liquid, giving you a creamy consistency that coats the greens evenly.
It only takes about thirty seconds of vigorous whisking to get there.
A fork can work in a pinch, but a whisk does the job faster and more thoroughly, ensuring every bite of salad tastes balanced and delicious.
21. Paper Towels for Drying
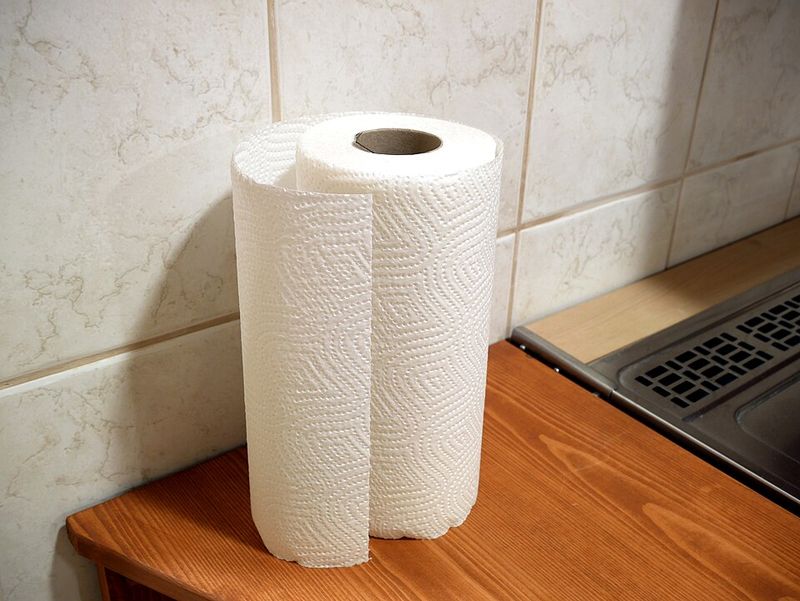
Dry chicken breads better and crisps up beautifully.
Pat each cutlet thoroughly with paper towels before you start the breading process, removing any surface moisture that could make the coating soggy or prevent it from sticking properly. Wet chicken also causes the oil to splatter more when you add it to the pan.
This quick step takes ten seconds but makes a noticeable difference in the final texture.
Keep extra paper towels nearby for wiping your hands between breading steps and cleaning up any spills. It’s a small habit that keeps your workspace tidy and your food turning out right every single time.
22. Kitchen Timer for Precision
A timer keeps you from overcooking or burning the chicken.
Set it for three minutes per side so you can focus on other tasks without constantly hovering over the stove. Thin cutlets cook fast, and even an extra minute can turn them dry and tough.
The timer also helps you keep track when you’re frying multiple batches, ensuring each one gets the same amount of attention and comes out perfectly golden.
Your phone timer works just fine if you don’t have a dedicated kitchen one. This small tool brings consistency and confidence, especially when you’re juggling multiple things at once during dinner prep.
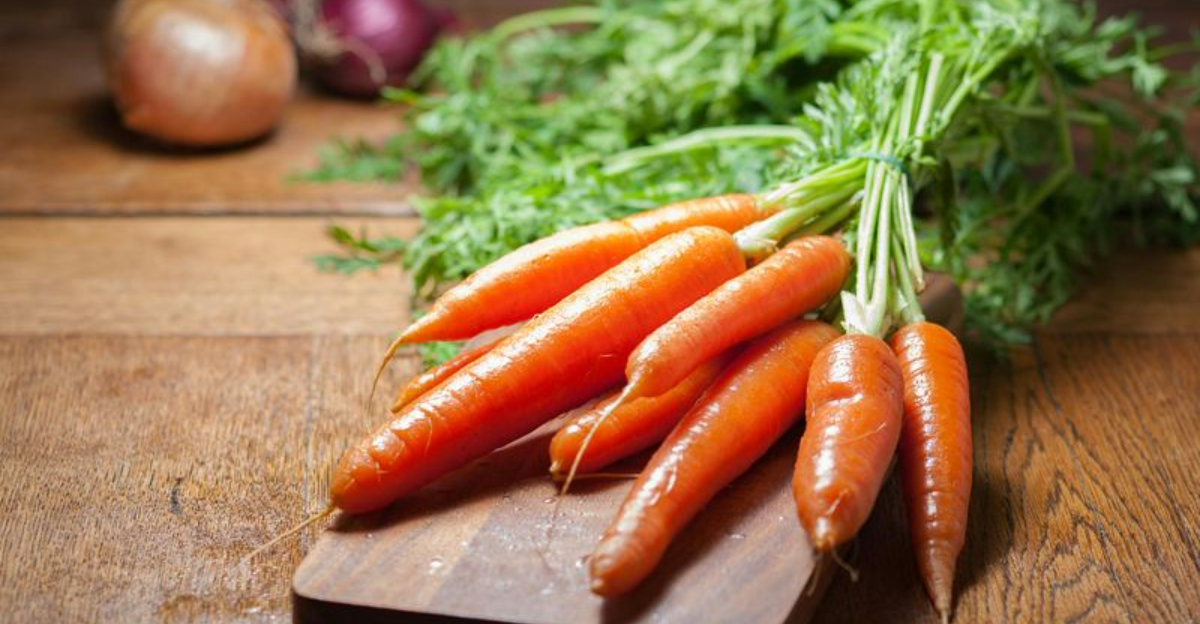
23. Your Favorite Side Dish
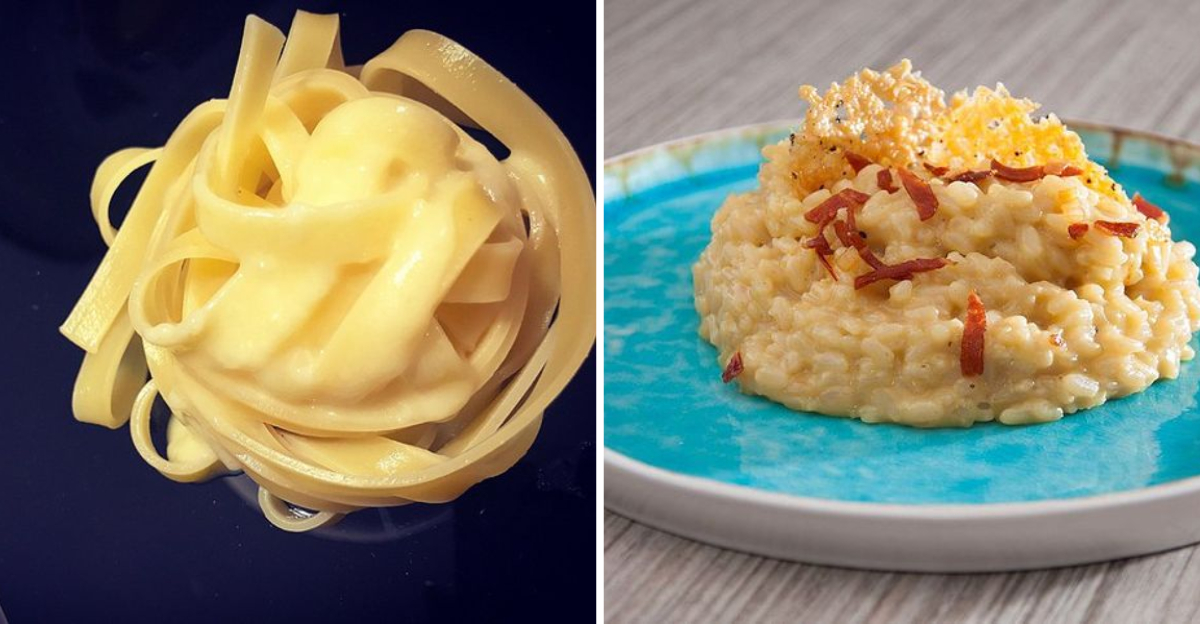
Milanese is versatile enough to pair with almost anything.
Serve it alongside roasted vegetables, a light pasta tossed with olive oil and garlic, or even a simple soup for a complete, satisfying meal. The chicken and salad combo is substantial on its own, but adding a side makes it feel like a full dinner spread.
Choose something that doesn’t compete with the flavors but complements the freshness and richness of the dish.
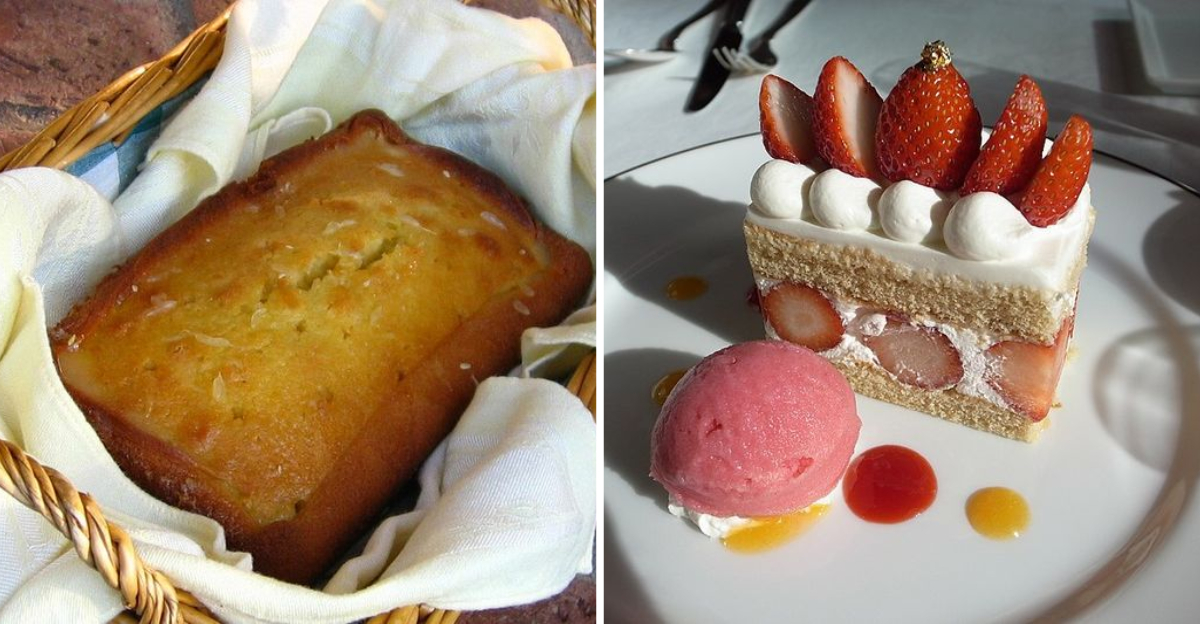
Honestly, even a crusty loaf of bread for soaking up any leftover lemon dressing is a win. The beauty of this recipe is its flexibility, letting you build the meal around what you have and what sounds good.