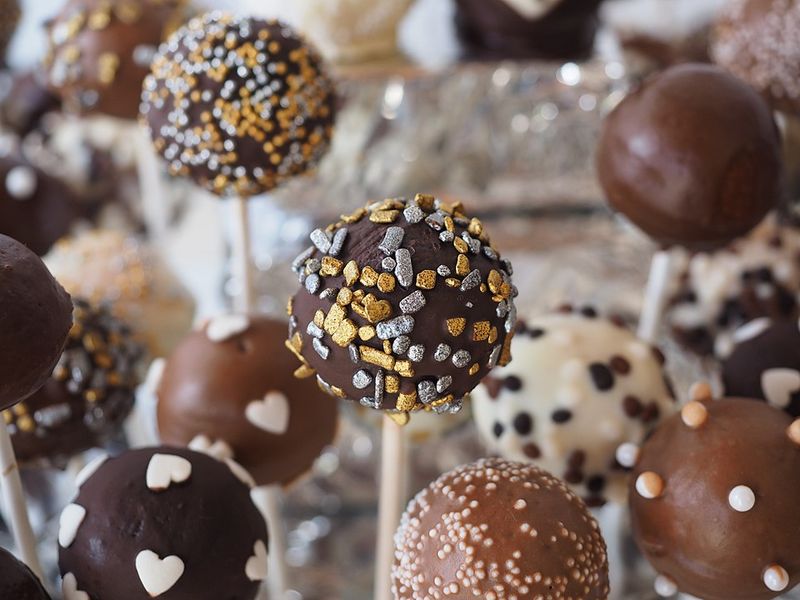
10 Common Cake Pop Mistakes And How To Fix Them
Baking cake pops sounds like a fun adventure until things start falling apart, literally!
From mushy mixtures to cracked coatings, these tiny treats can throw some serious curveballs.
But don’t worry, every problem has a simple fix that’ll turn your kitchen disasters into sweet victories worth sharing.
This article provides general baking tips intended for home cooks.
All guidance is based on widely accepted culinary practices and publicly accessible food-safety information.
10. Cake Pop Mixture Is Too Wet And Mushy
Too much frosting turns your mixture into a sticky, dense nightmare that refuses to cooperate.
Your balls will slump right off the stick like they’re giving up on life.
Crumble more plain cake into the mix a little at a time until it feels like soft cookie dough, not paste.
The ball should hold its shape when rolled and not leave thick residue on your hands.
Chill the rolled pops until firm before dipping to lock in the texture and save your sanity.
9. Cake Pop Mixture Is Too Dry And Crumbly
Cracking when you roll it means you skimped on the binder, friend.
Your mix won’t stay in a ball, and that’s just heartbreaking.
Add a teaspoon of frosting at a time and work it in with clean hands until the crumbs just start to cling together smoothly.
Stop as soon as the mix holds a shape because overworking can make the texture gummy.
Mix only until combined and then roll gently for best results.
8. Pops Crack After Dipping
Cold cake meeting very warm coating is like a bad superhero team-up that ends in disaster.
The temperature difference makes the chocolate shell split as it sets, ruining your masterpiece.
Let chilled pops sit at room temperature for five to ten minutes so they’re cool but not icy.
Thin and cool the coating slightly with a bit of vegetable oil or shortening.
Dip smoothly in a single motion and stand the pops upright so the coating sets evenly.
7. Pops Fall Off The Sticks
If the balls are too heavy, too warm, or not anchored, they’ll slide right off during dipping.
First, dip the tip of each stick into melted coating, then insert it halfway into the cake ball and chill until firm.
Avoid making pops huge; aim for about one tablespoon of mixture per ball.
When dipping, tilt and twirl instead of stirring so you’re not putting extra pressure on the stick and causing a cake pop avalanche.
6. Coating Is Thick, Lumpy, Or Streaky

Candy melts and chocolate can easily overheat or seize, turning into a lumpy mess.
Melt in short bursts, stirring often, and thin with a small amount of neutral oil or melted shortening until it flows like heavy cream.
If you see lumps, strain through a fine sieve or add a little more warm coating and stir until smooth.
Always work in a deep, narrow cup so you can dip in one motion and avoid streaks that look unprofessional.
5. Pops Turn Sticky Or Sweaty In The Fridge
Condensation forms when cold pops hit humid air, leaving a tacky surface that smudges decorations like a melting ice sculpture.
Chill pops only until the coating sets, then store them in a cool, dry place rather than an uncovered fridge.
If you must refrigerate, keep them in an airtight container.
Let them come to room temperature inside the closed container so the moisture forms on the container, not the pops, keeping them picture-perfect.
4. Air Bubbles And Pinholes In The Coating
Tiny bubbles trapped in the coating can pop and leave craters that look like a lunar landscape.
Gently tap the dipped pop on the edge of the cup while turning it so excess coating flows off smoothly.
If you already see bubbles, use a toothpick to lightly swirl the surface before it sets.
Keeping the coating slightly warm and fluid helps bubbles escape more easily and gives you a smoother finish every single time.
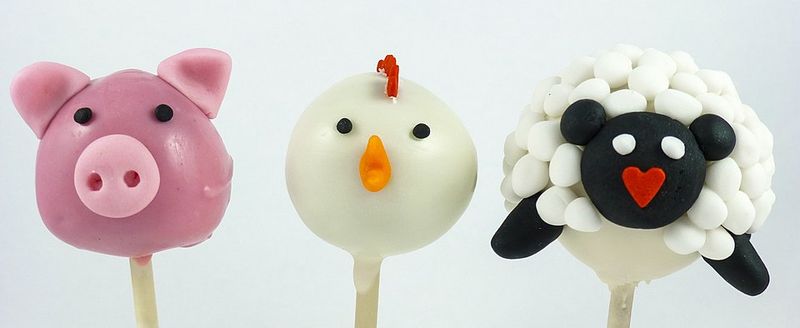
3. Misshapen Or Flat Cake Pops

Flattened spots come from setting pops on a tray while the coating is still soft, which is a rookie mistake.
For round pops, use a foam block or stand so they can dry upright with no contact points.
Shape the balls carefully, rolling them with gentle pressure until smooth.
Chill them long enough that they feel firm but not rock hard before dipping, and reshape any that crack or slump before you coat them for perfection.
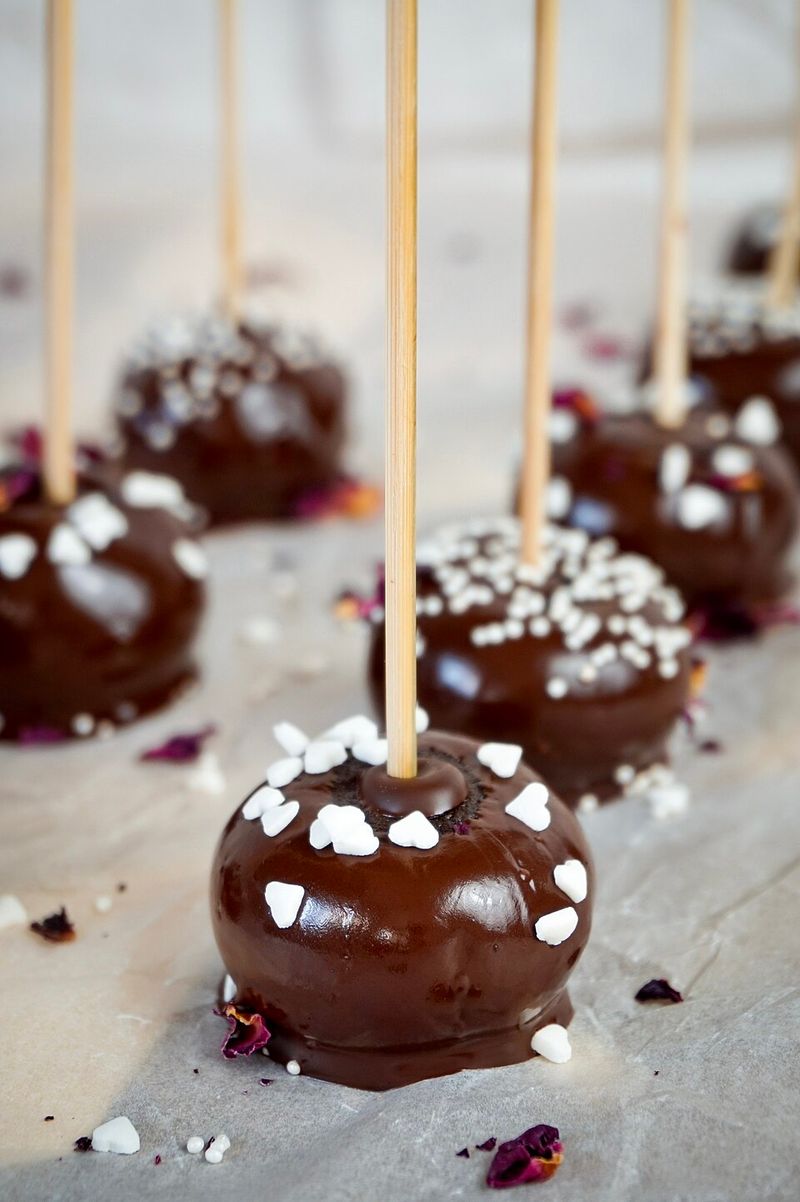
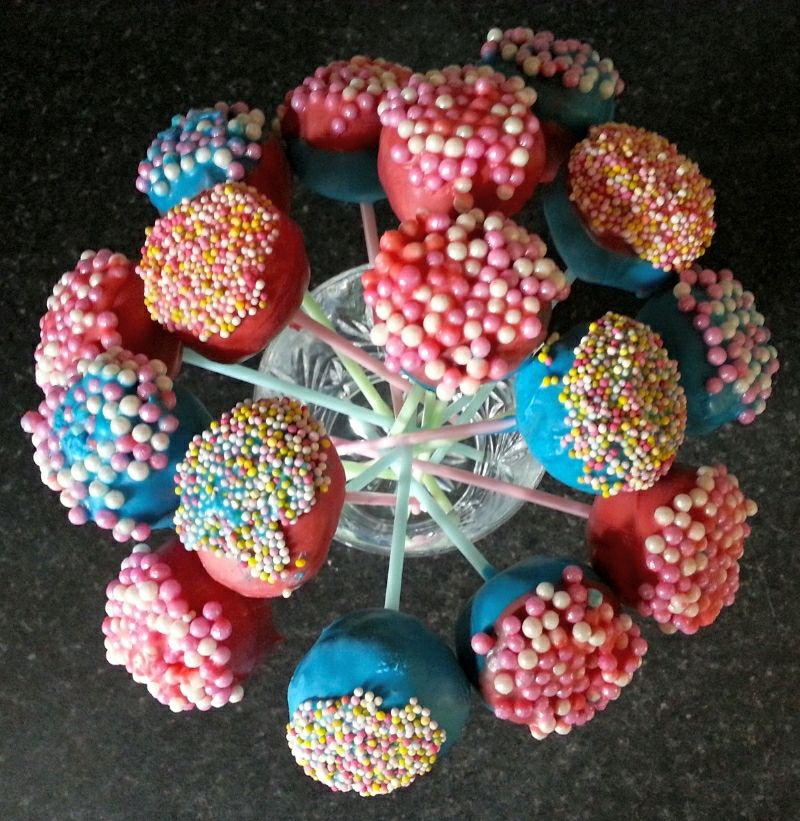
2. Decorations Slide Off Or Colors Bleed
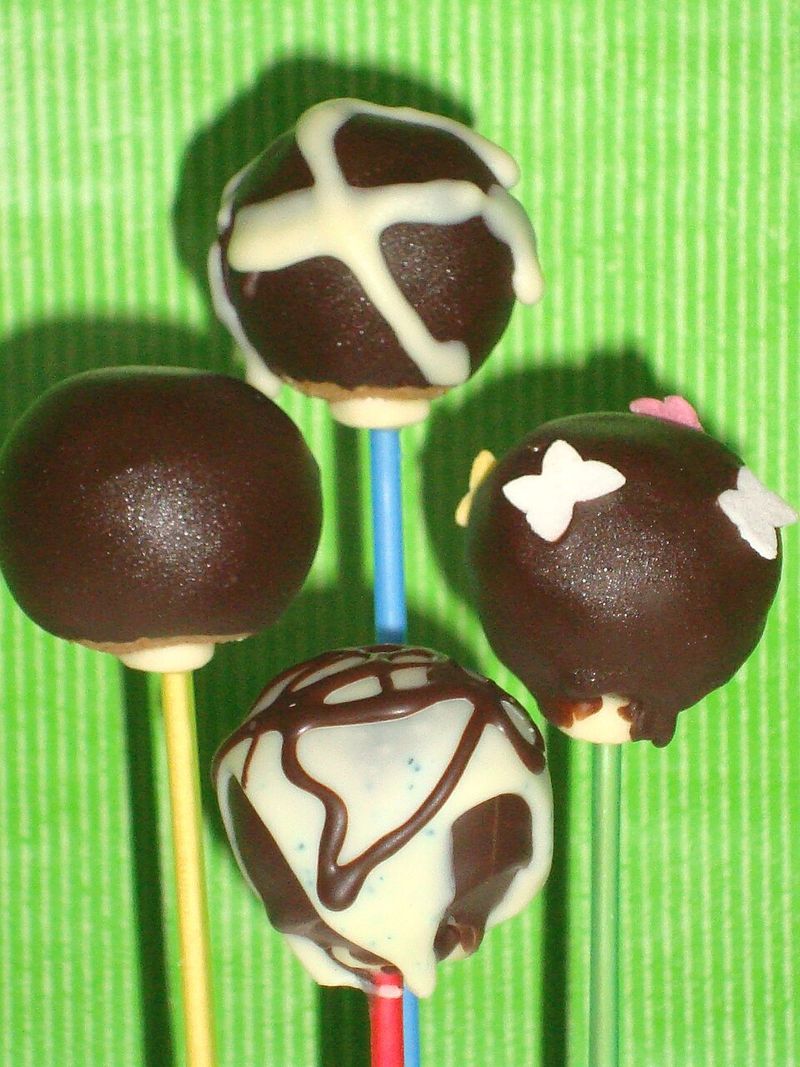
Adding heavy sprinkles or drizzles when the coating is too warm is like trying to build a sandcastle on water.
They can slip, streak, or melt into the surface, ruining your artistic vision.
Let the coating sit for a few seconds after dipping until it starts to thicken slightly, then apply sprinkles.
For colored details, use tinted candy melts instead of liquid food coloring to avoid thinning the coating and allow each layer to set before adding another color.
1. Pops Dry Out Or Spoil In Storage
Protecting your pops from air and temperature swings is the secret to keeping them fresh and delicious.
Once the coating is fully set, store pops in an airtight container at cool room temperature if the filling is shelf safe.
For fillings with cream cheese or other perishable ingredients, keep them in the refrigerator and serve within a few days.
Wrap individually if you need to freeze them so they stay moist and fresh for future celebrations.