10 Common Mistakes That Ruin Scalloped Potatoes (And How To Fix Them)
Scalloped potatoes deserve to come out creamy, tender, and rich with that warm, buttery aroma that fills the whole kitchen.
One small slip, however, can turn the dish into a watery, undercooked disappointment.
Holiday feasts and cozy weeknight dinners alike can fall victim to these simple errors that sneak in long before the casserole reaches the table. Good news waits on the other side – every mishap has an easy fix that brings the dish back to life and makes you look like a full-on kitchen superhero.
Disclaimer: Information is intended for general cooking interest. Ingredient variations, preparation methods, and kitchen equipment can affect results, so consider consulting reliable resources or a culinary professional for personalized guidance.
1. Using The Wrong Type Of Potato
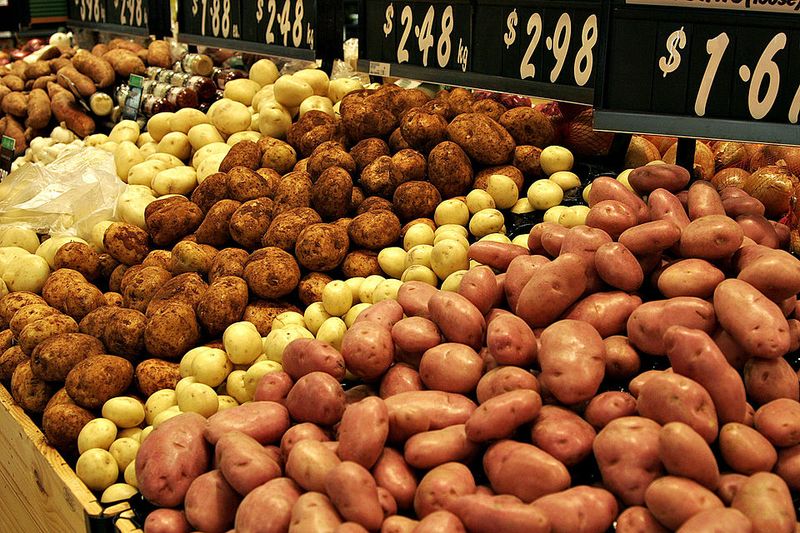
Waxy potatoes like red or fingerlings hold their shape beautifully in salads, but they’re a disaster for scalloped potatoes. They refuse to break down and release starch, leaving you with firm slices swimming in thin sauce.
Starchy varieties like russets or all-purpose Yukon Golds are your best friends here. Their natural starch thickens the cream as they bake, creating that dreamy, cohesive texture everyone loves.
2. Slicing Potatoes Too Thick Or Uneven
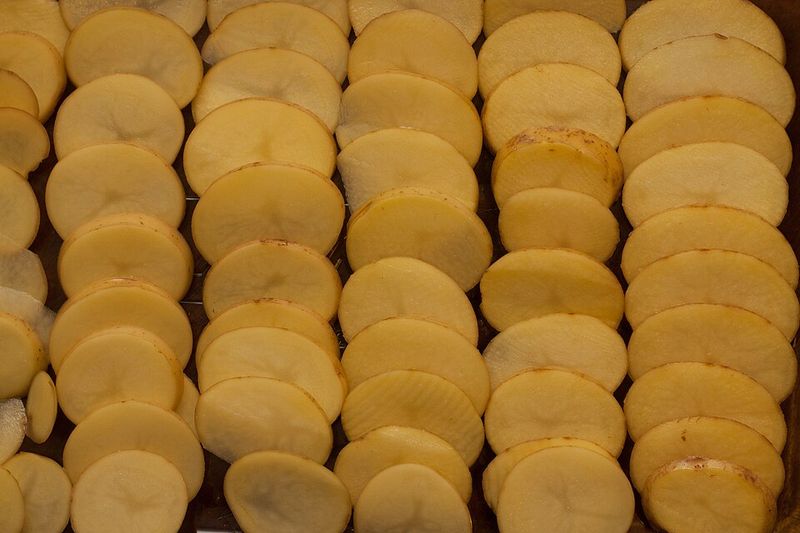
Chunky, mismatched slices cook at wildly different speeds. Some pieces turn to mush while others stay stubbornly crunchy, and nobody wants a potato lottery on their plate.
Grab a mandoline if you have one and aim for slices between ⅛ and ¼ inch thick. Consistency is key – even thickness means every layer cooks at the same rate, giving you tender, perfectly melted bites from top to bottom.
3. Rinsing Away The Starch
Soaking or washing your potato slices too aggressively strips away the surface starch that acts like a natural thickener. Without it, your sauce stays runny and never reaches that luscious, creamy consistency.
Pat your slices dry with a towel instead of giving them a long bath. Keeping a little starch on the surface helps the sauce cling and thicken as everything bakes together beautifully.
4. Skipping The Par-Bake Or Long Bake Time
Impatience is the enemy of great scalloped potatoes. Pulling the pan out too early leaves the center firm and your guests disappointed.
Low and slow is the secret here, plan for at least an hour in the oven, sometimes longer depending on your pan size. A knife should glide through the center with zero resistance. If it doesn’t, give it more time and thank yourself later.
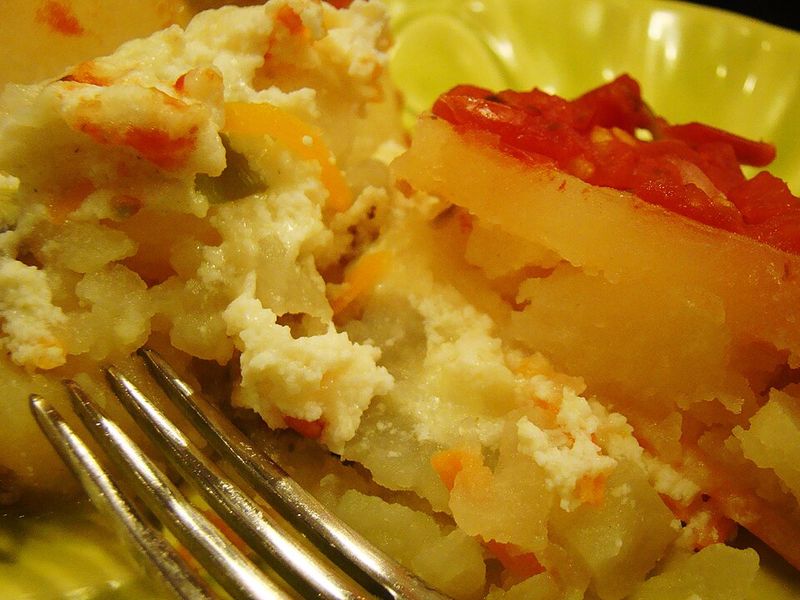
5. Using A Thin, Low-Fat Sauce
Skim milk or broth might save calories, but they’ll also leave your dish soupy and sad. Fat carries flavor and creates that silky, luxurious texture scalloped potatoes are famous for.
Reach for heavy cream or whole milk, and consider stirring in a bit of flour or cheese to boost richness. Gently warming the mixture before pouring it over the potatoes helps it thicken slightly during baking.
6. Letting The Dairy Curdle

Cranking the heat too high or letting the cream boil can cause it to break into greasy puddles and grainy clumps. Nobody wants curdled dairy ruining their comfort food.
Warm your cream gently and avoid rapid boiling. Bake at a moderate temperature, around 350°F, so the sauce stays smooth and velvety. Patience here pays off with a gorgeous, glossy finish every single time.
7. Underseasoning The Layers
Sprinkling salt only on top means the middle layers taste like plain starch. Flavor needs to reach every bite, not just the surface.
Season each layer as you build the dish – a pinch of salt, a crack of pepper, maybe some garlic or thyme. This way, every forkful is packed with flavor instead of leaving your guests reaching for the salt shaker mid-meal.
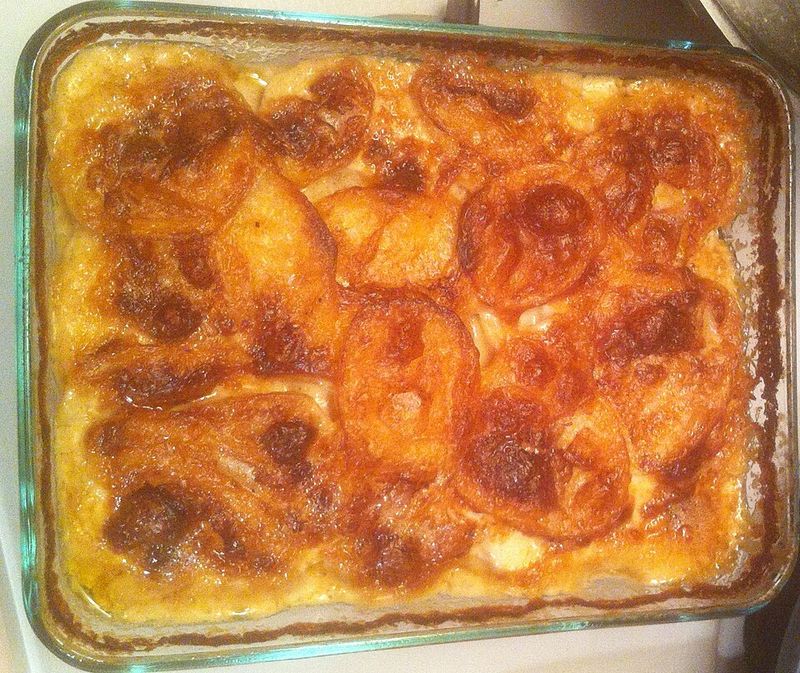
8. Burning The Top Before The Center Cooks
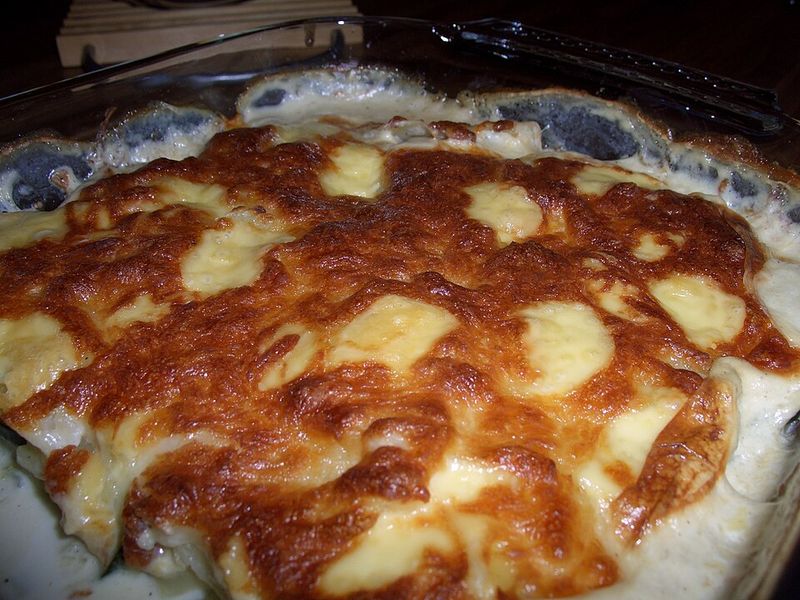
Cheese and breadcrumbs can brown fast, turning dark and bitter while the inside stays stubbornly firm. It’s a timing nightmare that’s easier to prevent than you think.
Cover your dish with foil for most of the bake, then whip it off during the last 15 minutes. This gives the center time to soften while the top gets that golden, bubbly finish without any burnt edges.
9. Using The Wrong Pan Size

Cramming too many potatoes into a tiny pan creates a dense, steamy pile that never gets that tender, layered texture. The middle turns gloopy while the edges dry out.
Choose a dish that holds your potatoes in a relatively shallow, even layer, about two inches deep at most. This ensures heat circulates properly and every slice cooks to creamy perfection without any soggy surprises.
10. Cutting Into The Dish Too Soon
Diving in straight from the oven might seem tempting, but the sauce will run everywhere and your beautiful layers will collapse into a messy puddle. Just saying, patience is a virtue here.
Let your scalloped potatoes rest for at least 10 to 20 minutes after baking. The sauce thickens as it cools, and the slices firm up enough to hold their shape on the plate.