16 Common Sourdough Mistakes Sabotaging Your Loaves
Sourdough has stood the test of time, yet even seasoned bakers still pull a loaf from the oven and wonder what went sideways. Each bake blends precision and instinct, where fermentation, temperature, and timing all play their part.
A small miscalculation can lead to a dense crumb, a pale crust, or a loaf that refuses to rise the way it should. Frustrating, yet also part of the craft that keeps people coming back to the kitchen.
Flour dust in the air, hands shaping dough, and the quiet anticipation during proofing create a rhythm that feels almost meditative. Every bubble tells a story, every rise builds expectation.
When things fall short, it is rarely a mystery without an answer. Most issues trace back to simple factors like hydration, starter strength, or patience running just a bit too thin.
Great sourdough comes through practice, observation, and a willingness to adjust along the way. Each attempt builds confidence and sharpens technique, turning mistakes into stepping stones toward that perfect loaf with a crisp crust and airy interior.
Curious which missteps might be holding your bread back and how to fix them for bakery worthy results?
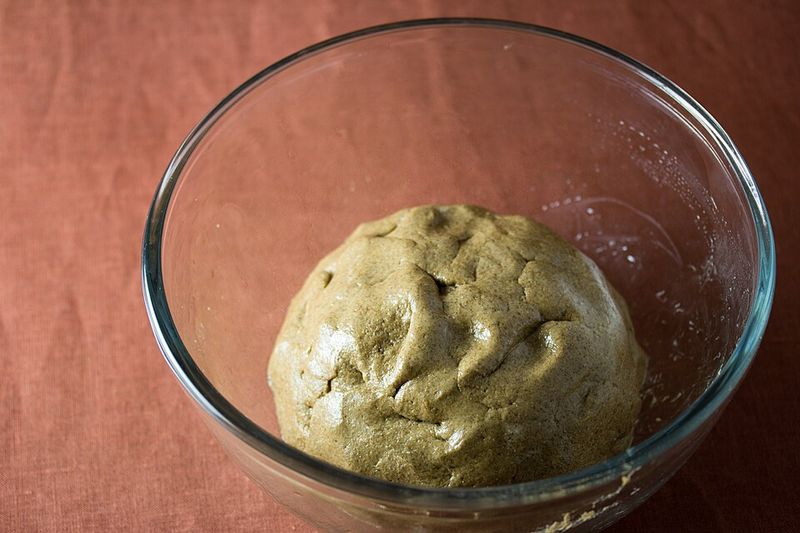
1. Using an Inactive Starter
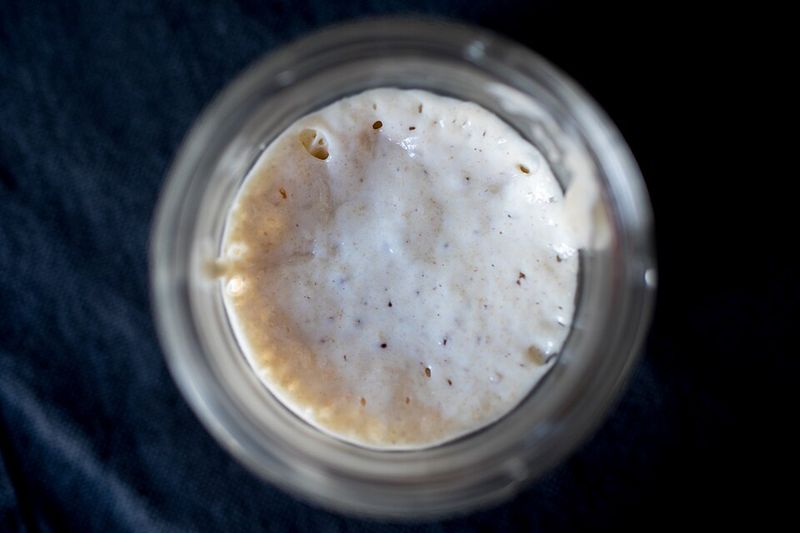
Your starter is basically the superhero of sourdough baking. If it is not active, nothing else you do will save your loaf.
An inactive starter produces little to no gas, leaving your bread flat and dense.
Before using a starter, check for bubbles, a noticeable rise, and a pleasantly tangy smell. A reliable test is the float test: drop a small spoonful into water.
If it floats, your starter is ready for action!
Feed your starter consistently and let it reach peak activity before mixing dough. Patience here pays off massively in the final bake.
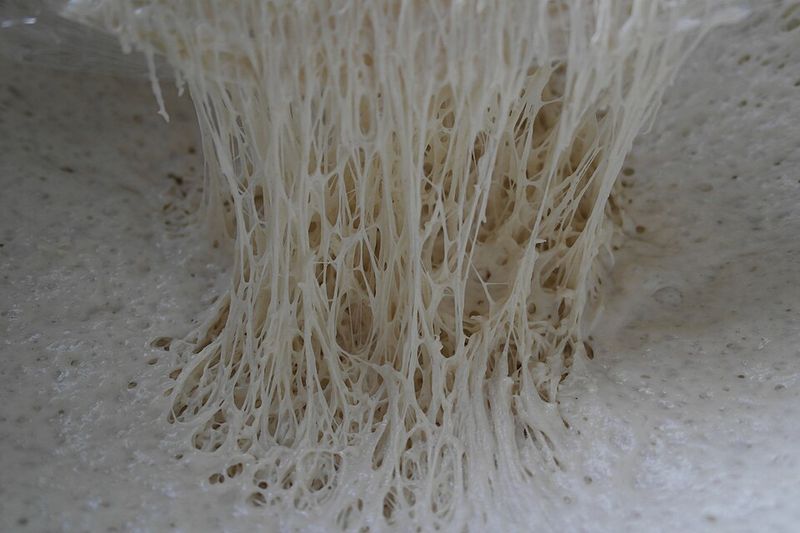
2. Inconsistent Starter Feedings
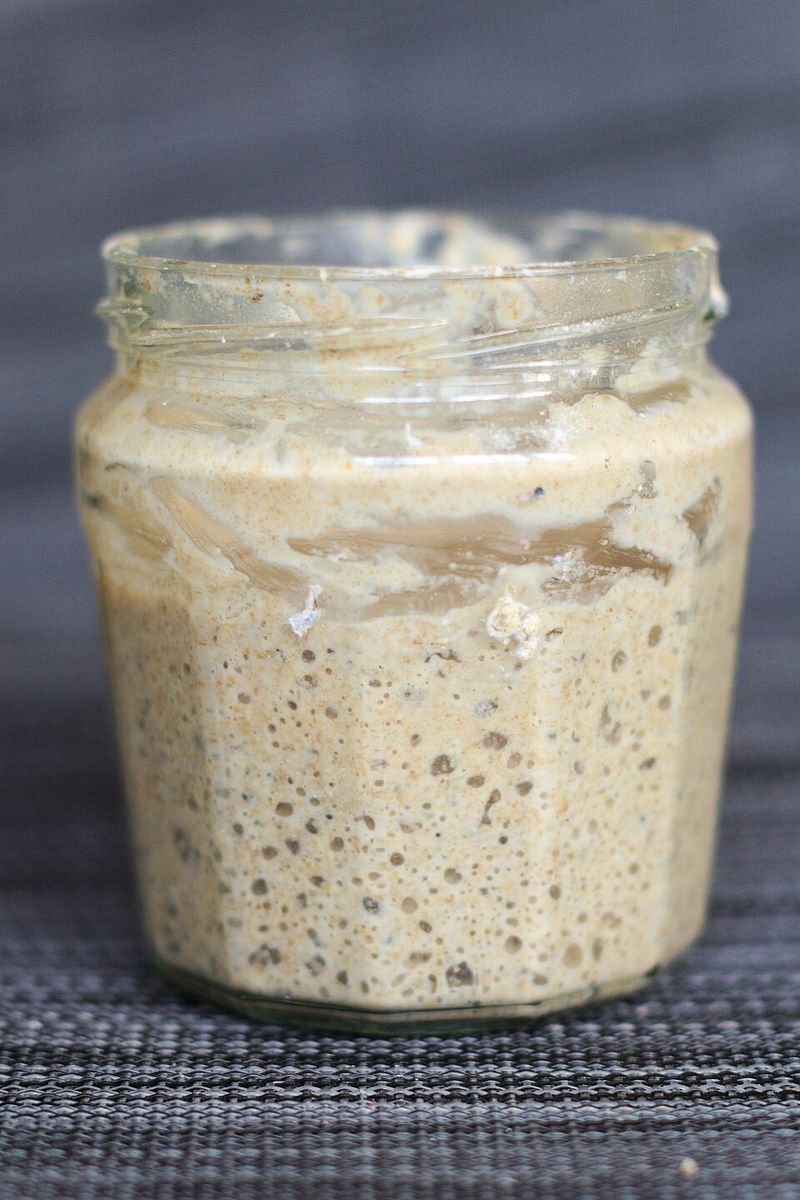
Skipping feedings is like forgetting to water a plant. Your starter is a living colony of wild yeast and beneficial bacteria, and it needs regular meals to stay strong and predictable.
Feed your starter every 24 hours at room temperature using a 1:1:1 ratio, meaning equal parts starter, flour, and water by weight. Consistency keeps the microbial balance healthy and your starter reliably powerful.
Irregular feedings cause weak, inconsistent rises, which leads directly to disappointing loaves. Set a daily reminder if needed.
A well-fed starter is a happy, hardworking starter every single time.
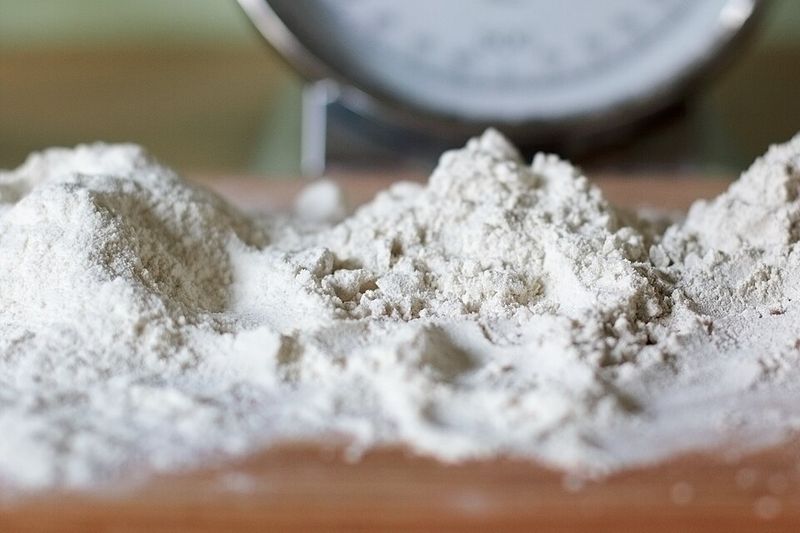
3. Measuring by Volume Instead of Weight
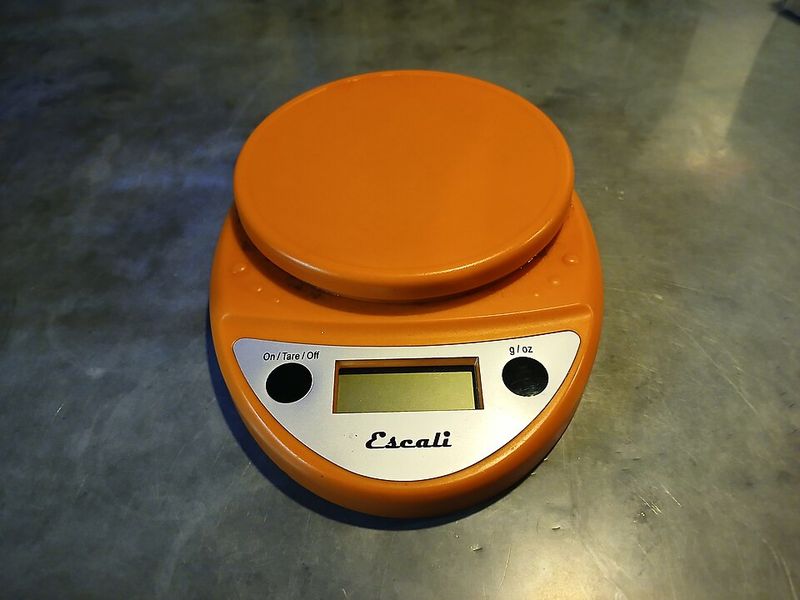
Here is a fun fact: one cup of flour can weigh anywhere between 120 and 160 grams depending on how it is scooped. Sourdough is a precision game, and eyeballing ingredients is a recipe for inconsistency.
A digital kitchen scale is one of the best investments any bread baker can make. Measuring by weight removes guesswork entirely and ensures your hydration ratios stay accurate every single bake.
Even small variations in flour or water amounts can drastically change dough texture and fermentation speed. Swap the measuring cups for a scale and watch your results improve almost immediately.
4. Using Chlorinated Tap Water

Chlorine is added to tap water to kill bacteria. Sounds helpful for drinking, right?
However, in sourdough, it actively works against you by harming the beneficial bacteria your starter desperately needs.
Even small amounts of chlorine can slow fermentation or weaken your starter over time. Switching to filtered, spring, or dechlorinated water makes a noticeable difference in starter health and dough performance.
If filtered water is not available, fill a jug of tap water and leave it uncovered overnight. Chlorine dissipates naturally within several hours, making it much safer for your sourdough process.
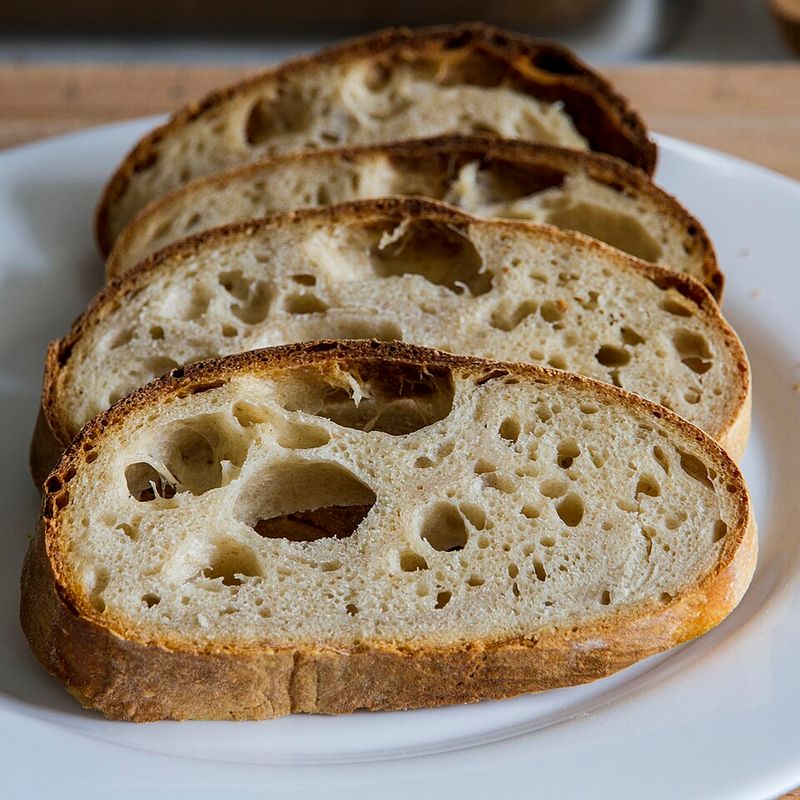
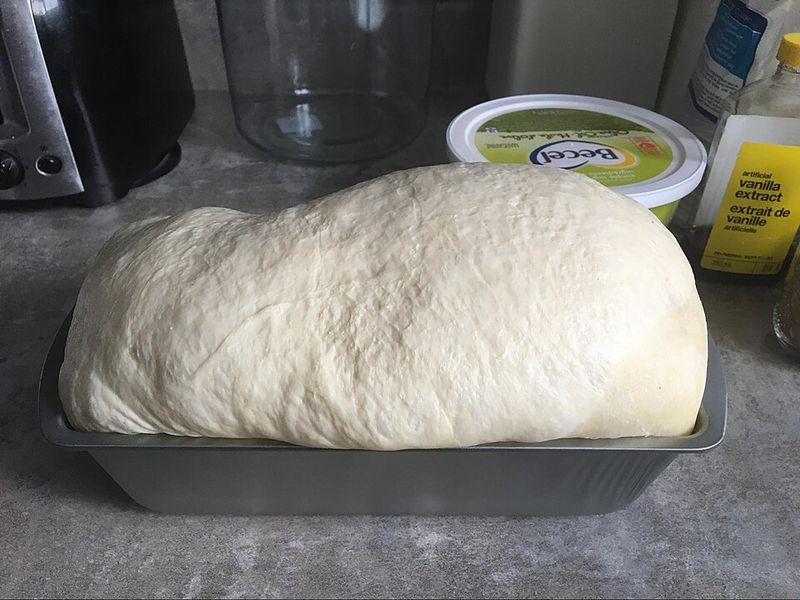
5. Under-Fermenting the Dough
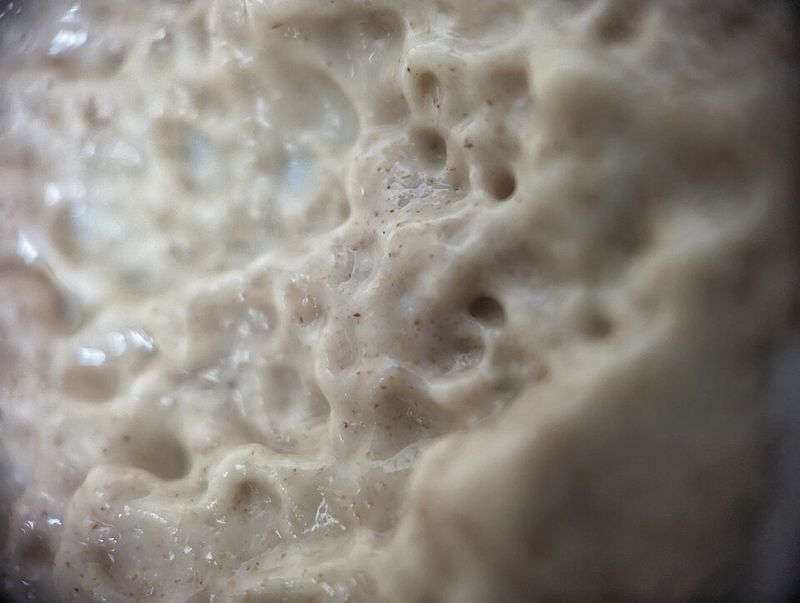
Rushing fermentation is one of the most common beginner blunders. Under-fermented dough lacks the gas bubbles needed to create a light, open crumb, producing bread so dense it could double as a doorstop.
Bulk fermentation typically takes four to twelve hours depending on your kitchen temperature and starter strength. Look for dough that has grown noticeably in volume, feels airy, and has visible bubbles throughout.
Temperature plays a massive role here. Cooler kitchens slow fermentation significantly.
Using a thermometer to monitor dough temperature helps you predict timing accurately and avoid cutting fermentation short too soon.
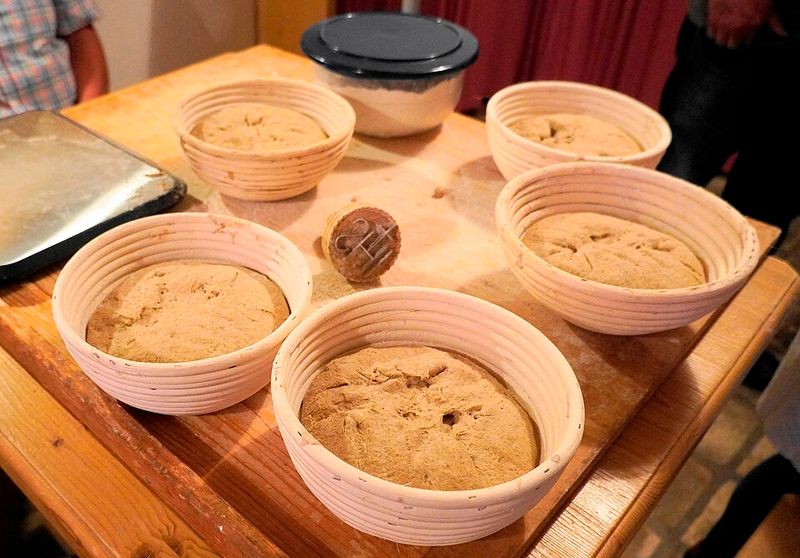
6. Over-Fermenting the Dough
Fermentation is not a “set it and forget it” situation. Leaving dough to ferment too long breaks down the gluten structure, causing it to collapse into a sticky, unworkable mess that bakes up flat and gummy.
Over-fermented dough often smells overly sour or almost alcoholic. It loses its elasticity and will not hold any shape during the final proof or baking stage.
Keep a close eye on bulk fermentation timing. Watch for a 50 to 75 percent volume increase rather than relying solely on time.
Every kitchen environment is unique, so observation beats guessing every single time.
7. Skipping Gluten Development
Gluten is the invisible scaffolding holding your loaf together. Without proper development, your bread will not trap gas efficiently, resulting in a dense, crumbly interior no matter how perfect your starter is.
Stretch and fold is a gentle, effective way to build gluten strength during bulk fermentation. Perform four sets of stretches every 30 minutes during the first two hours for noticeably better dough structure.
Alternatively, coil folds work beautifully for higher hydration doughs. Proper gluten development gives your loaf the strength to rise tall and hold an open, chewy crumb.
Structure truly is everything in sourdough.
8. Overworking the Dough

Sourdough dough is surprisingly sensitive to rough handling. Unlike commercial yeast breads, sourdough relies on wild fermentation to develop flavor and structure, and excessive kneading can literally tear apart the gluten network you worked so hard to build.
Handle dough gently, especially after shaping. Aggressive movements deflate gas bubbles and reduce oven spring, leaving you a flat, tough loaf instead of a proud, airy one.
Less is genuinely more during final shaping. Use confident but light hands, creating surface tension without overworking the dough.
Treat it like something precious, because at that stage, it absolutely is.
9. Improper Shaping Technique
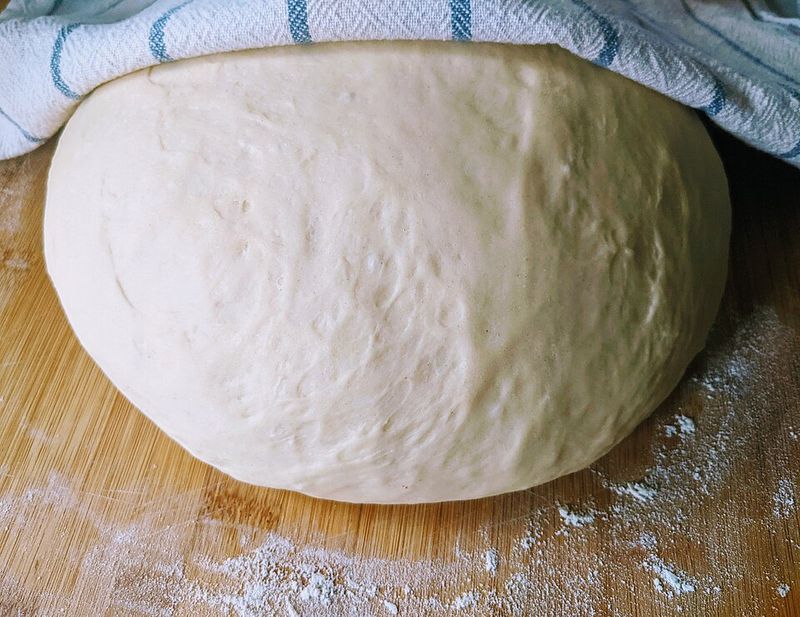
Shaping is where many bakers unknowingly sabotage an otherwise excellent dough. Poor shaping creates a loaf without enough surface tension, causing it to spread sideways in the oven rather than rising upward like a champion.
A well-shaped loaf should feel taut on the outside, almost like a drum. Use a bench scraper and practice the letter fold or batard shaping method for consistent, beautiful results every time.
Flour your hands lightly but avoid over-flouring the surface, which prevents proper grip. Shaping is a skill that genuinely improves with repetition, so do not feel discouraged if your first attempts look a little lumpy.
10. Skipping the Autolyse Step
Autolyse sounds fancy, but it is simply mixing flour and water together and letting them rest before adding your starter and salt. Discovered by French baker Raymond Calvel in the 1970s, autolyse dramatically improves gluten structure and dough extensibility.
During autolyse, flour fully hydrates and gluten begins forming naturally without any effort on your part. Resting for 30 to 60 minutes makes the dough noticeably smoother, more elastic, and easier to shape later.
Skipping autolyse often results in tighter, harder dough that takes longer to develop properly. Adding just one extra rest period before mixing can meaningfully upgrade your final loaf quality.
11. Scoring the Dough Incorrectly
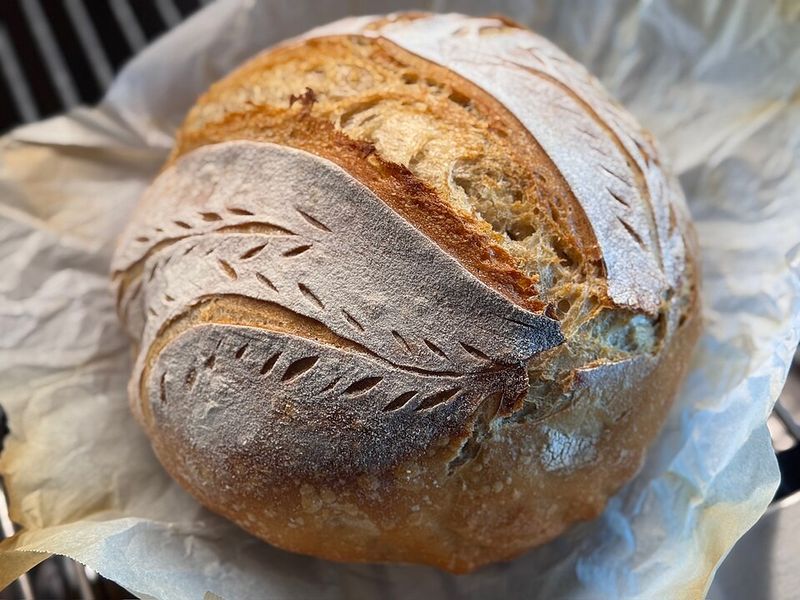
Scoring is not just decorative, though a beautiful ear on a sourdough loaf does feel deeply satisfying. Proper scoring gives the bread a controlled place to expand during baking, preventing random blowouts along the sides.
Use a sharp lame or razor blade held at a 30 to 45 degree angle. Cut decisively and quickly, about a quarter inch deep, just before loading the loaf into the oven.
Hesitant, dragging cuts tear the dough instead of slicing cleanly.
Dull blades are the number one scoring enemy. Replace your blade regularly, because a sharp tool truly makes all the difference between a gorgeous ear and a cracked mess.
12. Baking Without Steam
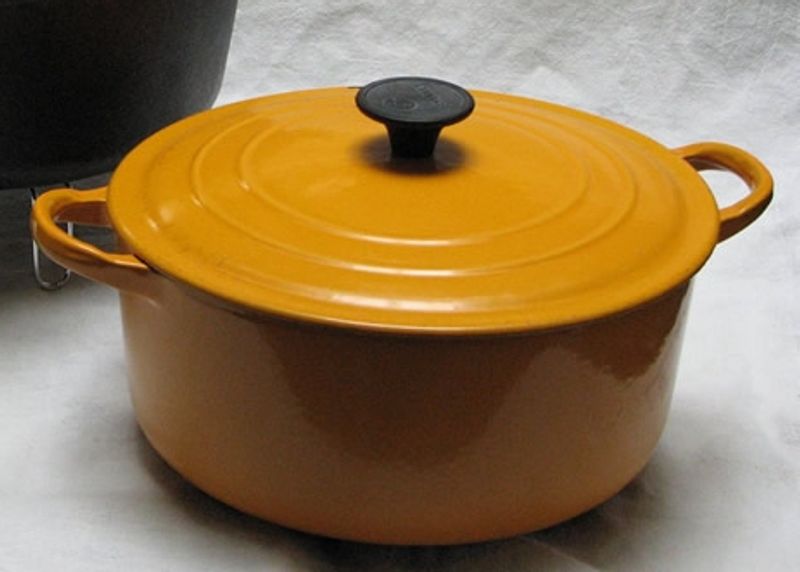
Steam is the secret weapon behind every bakery-quality sourdough crust. Without steam during the initial baking phase, the crust sets too quickly, restricting oven spring and producing a thick, pale, and sadly dull exterior.
A Dutch oven is the easiest way to trap steam around your loaf for the first 20 minutes of baking. Alternatively, place a pan of boiling water on the oven floor to create a steamy environment.
After the initial steam phase, remove the lid or water pan to allow the crust to brown and crisp beautifully. Steam in, lid off: remember this simple two-step rule every single bake.
13. Cutting the Bread Too Soon
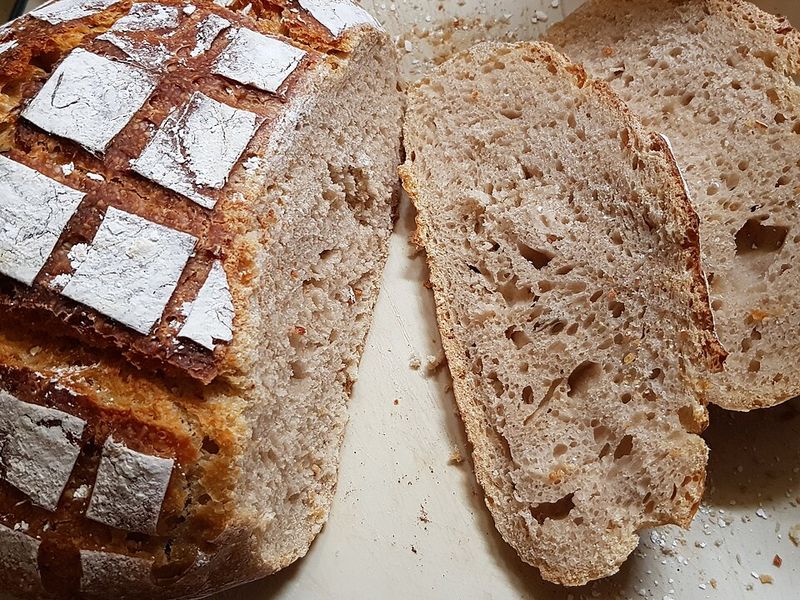
Waiting to cut into a fresh sourdough loaf might be the hardest thing a baker ever does. The smell alone is almost unbearable!
However, slicing too early is a guaranteed path to a gummy, undercooked-looking crumb.
During cooling, residual heat continues cooking the interior and steam redistributes throughout the crumb structure. Cutting before the loaf has rested at least one hour, ideally two, interrupts this process completely.
Place your loaf on a wire rack and walk away. Call a friend.
Watch a show. Do anything except hover over the bread.
Your patience will be rewarded by a perfectly set, sliceable crumb.
14. Wrong Flour Choice
Not all flours are created equal, and sourdough is particularly picky about protein content. All-purpose flour can work in a pinch, but bread flour, which is higher in protein, creates stronger gluten networks and better oven spring.
Whole wheat and rye flours add nutrients that wild yeast loves, often speeding up fermentation noticeably. However, adding too much whole grain flour without adjusting hydration results in dry, crumbly bread.
Start by using a blend of bread flour and a small percentage of whole wheat for balanced results. As your skills grow, experiment gradually.
Understanding your flour is genuinely one of sourdough’s most rewarding learning curves.
15. Ignoring Dough Temperature
Temperature is the invisible dial controlling every stage of sourdough fermentation. Wild yeast is incredibly sensitive to heat and cold, performing best in dough temperatures between 75 and 80 degrees Fahrenheit.
A cold kitchen can extend bulk fermentation by several hours, while a warm kitchen can push dough to over-ferment before you even notice. Using an instant-read thermometer to monitor dough temperature removes a huge amount of guesswork.
If your kitchen runs cold, try fermenting dough inside an oven with just the light on. Small adjustments in temperature management can completely transform your fermentation consistency and overall baking results.
16. Skipping the Cold Proof
Cold proofing, also called retarding, is the overnight refrigerator rest after shaping. Skipping it might feel like saving time, but you are actually leaving serious flavor and structure improvements on the table.
A long, cold proof slows fermentation dramatically, allowing organic acids to develop slowly and build that signature sourdough tang. It also firms up the dough, making scoring much cleaner and more precise.
Most bakers cold proof for 8 to 16 hours. Baking straight from the refrigerator actually improves oven spring because the temperature contrast is more dramatic.
Cold proofing is one of sourdough’s most powerful and underappreciated techniques.