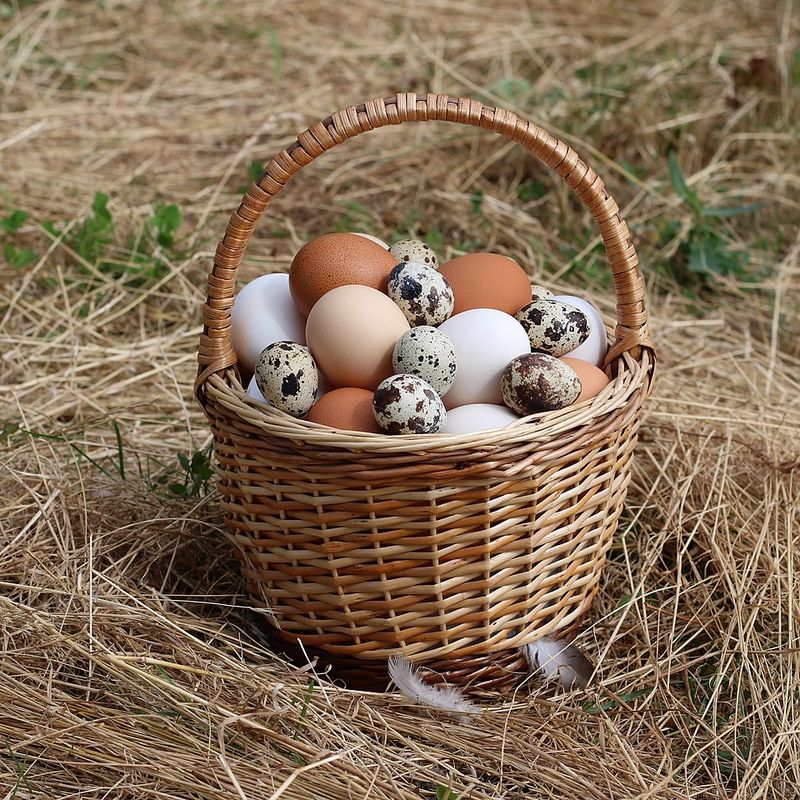
10 Easy Ways To Get Perfect Hard-Boiled Eggs
Hard-boiled eggs are one of those kitchen staples that seem simple until you end up with a rubbery white, a greenish yolk, or a shell that refuses to come off without taking half the egg with it.
After years of trial and error, I’ve figured out a foolproof system that delivers beautiful, easy-to-peel eggs with creamy yolks every time.
Whether you’re meal prepping for the week or just need a quick protein snack, these tricks will change your egg game forever.
Disclaimer: This article shares general cooking tips based on personal experience and is not a substitute for professional nutritional or food safety advice.
Always handle and store eggs properly, and cook them to safe temperatures according to your local food safety guidelines to reduce the risk of foodborne illness.
If you have specific dietary needs, allergies, or medical conditions, consult a healthcare professional or registered dietitian before making changes to your eating habits.
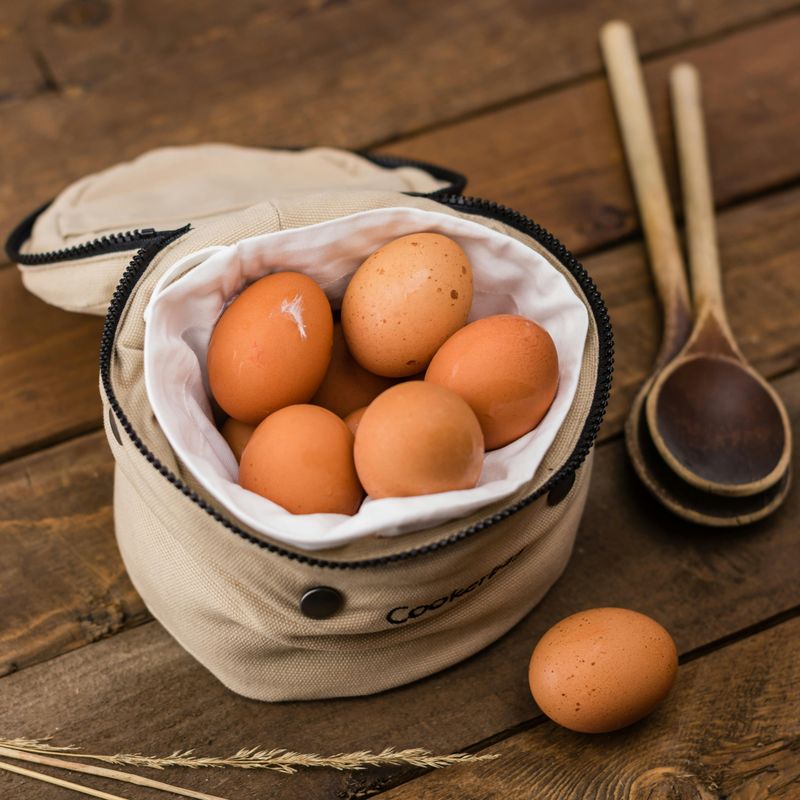
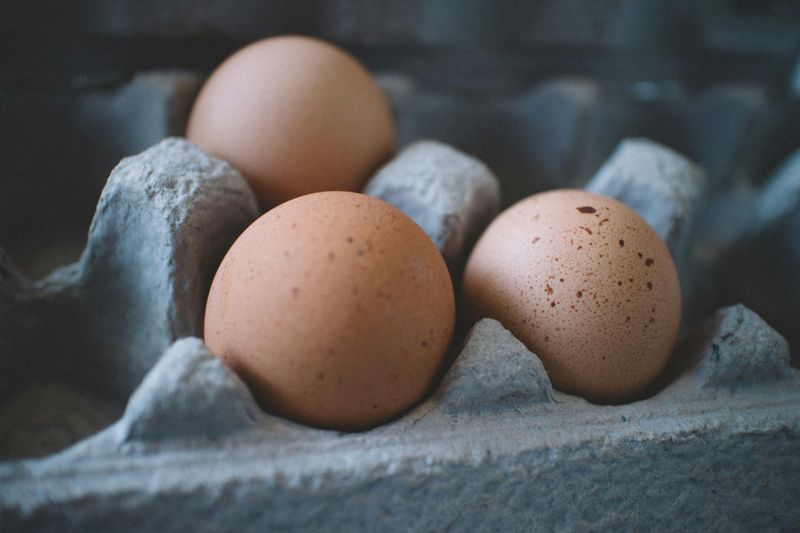
1. Start With Older Eggs For Easy Peeling

Fresh eggs might sound like the best choice, but when it comes to hard-boiling, older eggs are your secret weapon.
Eggs that have been sitting in your fridge for about a week or more develop a slightly higher pH level, which makes the membrane between the shell and the egg white pull away more easily.
This means less frustration and fewer chunks of egg white stuck to the shell when you’re trying to peel them.
If you buy eggs from the grocery store, they’re usually already a few days old by the time they reach your kitchen.
That’s actually perfect timing.
Just check the sell-by date and aim to use eggs that are at least five to seven days past the packing date.
I learned this trick after ruining way too many fresh farm eggs that looked gorgeous but peeled terribly.
Now I mark my egg cartons with the purchase date so I know exactly when they’re ready for boiling.
It’s like giving your eggs time to mature, kind of like aging cheese but way less fancy.
Trust me, this one step alone will save you so much time and annoyance.
Your deviled eggs will thank you, and so will your sanity.
2. Use A Steamer Basket Instead Of Boiling Water
Forget everything you thought you knew about boiling eggs.
Steaming them is actually a total game changer.
When you steam eggs instead of submerging them in boiling water, the heat circulates more evenly around each egg, which helps prevent those annoying cracks and gives you a more consistent cook from edge to center.
All you need is a steamer basket that fits inside a pot with a lid.
Fill the pot with about an inch of water, bring it to a boil, then carefully place your eggs in the basket.
Cover the pot and let the steam do all the work.
The eggs cook beautifully without bouncing around or cracking against each other.
I started using this method after reading about it in a cooking magazine, and I haven’t looked back since.
The shells practically slide off, and the yolks come out perfectly cooked without that greenish ring.
Plus, you use way less water, which means your pot heats up faster and you save a little energy.
It feels almost like a kitchen magic trick.
Even my pickiest friends who claim they don’t like hard-boiled eggs have been impressed by the texture.
3. Add A Teaspoon Of Baking Soda To The Water
Baking soda is like the superhero sidekick your eggs didn’t know they needed.
Adding just a teaspoon to your cooking water raises the pH level, which makes the egg whites less likely to stick to the inner membrane.
It’s a tiny step that makes peeling so much easier, especially if you’re working with eggs that aren’t quite as old as you’d like.
The science behind it is pretty cool.
Egg whites are naturally acidic when fresh, and that acidity makes them cling to the shell.
Baking soda neutralizes some of that acid, creating a small gap between the shell and the white.
You won’t taste the baking soda at all, so don’t worry about any weird flavors sneaking into your breakfast.
I keep a box of baking soda right next to my stove now because I use it for so many cooking hacks.
This one ranks high on my list of simple fixes that deliver big results.
Just sprinkle it in when you start heating the water, and you’re good to go.
It’s one of those tricks that sounds too easy to work, but it really does.
Even my skeptical sister tried it and texted me a thumbs-up emoji with a photo of her perfectly peeled eggs.
4. Bring Eggs To Room Temperature Before Cooking
Cold eggs straight from the fridge are more likely to crack when they hit hot water or steam.
Letting them sit out for about fifteen to twenty minutes before cooking helps them adjust to room temperature, which reduces the shock and keeps those shells intact.
It’s a small patience game, but it pays off big time.
I used to skip this step because I was always in a hurry.
Then I noticed that nearly every batch had at least one cracked egg leaking white all over the pot.
Once I started giving my eggs a little warm-up time, the cracking problem basically disappeared.
It’s kind of like stretching before a workout, except your eggs are the athletes and the pot is the gym.
If you’re meal prepping and boiling a dozen eggs at once, this step becomes even more important.
A cracked egg isn’t the end of the world, but it does make peeling messier and can leave you with an oddly shaped final product.
Plus, room temperature eggs cook more evenly, so your yolks stay centered and your whites come out tender instead of rubbery.
Just set them on the counter while you get everything else ready, and you’ll be all set.
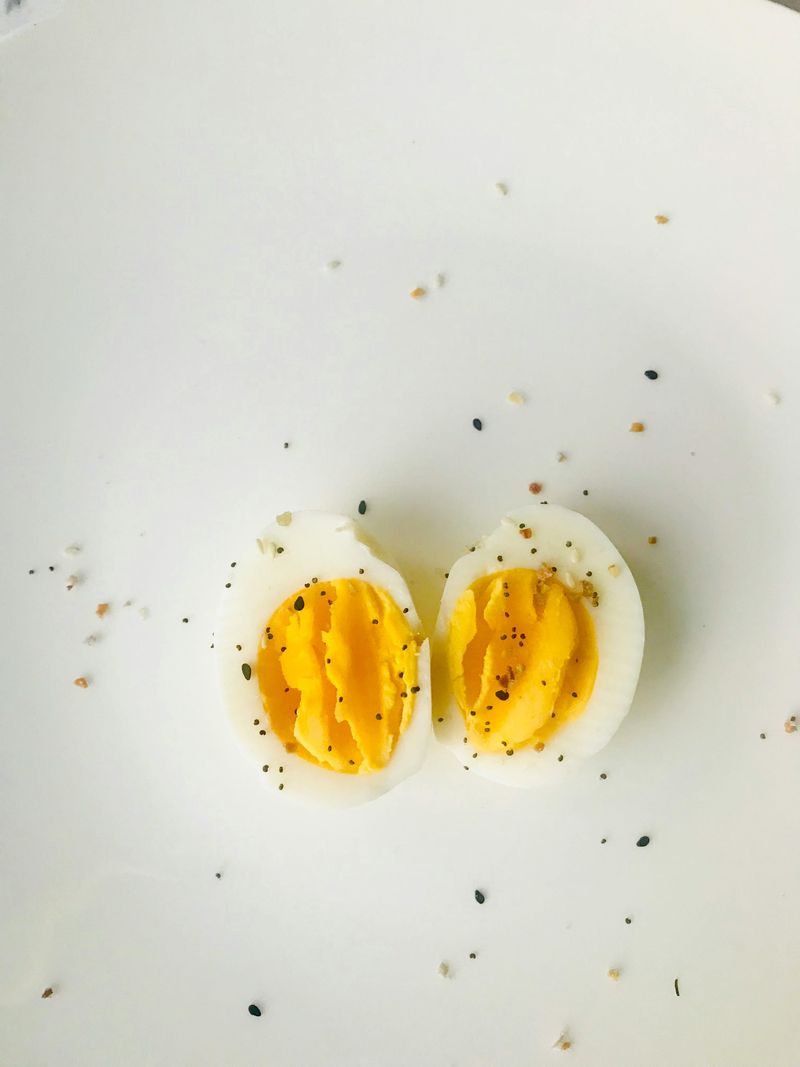
5. Set A Timer For Exactly 11 Minutes
Timing is everything when it comes to hard-boiled eggs.
Too short and you end up with a jammy yolk, which is great for ramen but not what you want for egg salad.
Too long and you get that chalky, dry yolk with a greenish-gray ring that tastes like disappointment.
Eleven minutes is the sweet spot for large eggs cooked in boiling water or steam.
I tested this over and over with different batch sizes and pot types, and eleven minutes consistently gave me fully cooked yolks that were still creamy and bright yellow.
If your eggs are extra-large, you might want to add an extra minute.
For medium eggs, subtract a minute.
It’s all about adjusting for size, kind of like tailoring a superhero cape to fit just right.
Get yourself a reliable kitchen timer or use your phone.
Don’t just eyeball it or rely on your memory, because trust me, you’ll get distracted by a text or a funny video and forget all about those eggs.
I keep a little magnetic timer stuck to my fridge just for this purpose.
Once that timer goes off, you know your eggs are done to perfection.
No guessing, no stress, just consistently great results every single time.
6. Prepare An Ice Bath Immediately After Cooking
The moment your timer goes off, you need to stop the cooking process fast.
That’s where an ice bath comes in.
Fill a big bowl with ice and cold water before you even start cooking, so it’s ready and waiting.
As soon as the eggs are done, transfer them straight into the ice bath using a slotted spoon or tongs.
This rapid cooling does a few amazing things.
First, it prevents overcooking, which keeps your yolks from turning green and your whites from getting rubbery.
Second, it causes the egg to contract slightly inside the shell, creating a tiny air pocket that makes peeling way easier.
Third, it cools the eggs down fast so you can handle them sooner if you’re in a hurry.
I learned this trick from a chef friend who used to work in a fancy brunch spot.
She said they’d boil hundreds of eggs every weekend, and the ice bath was non-negotiable.
Now I do the same thing at home, and my eggs always come out looking restaurant-quality.
Let them sit in the ice bath for at least five minutes, but ten is even better.
You can even leave them in there for up to thirty minutes if you’re multitasking.
Just make sure the water stays cold.
7. Crack The Shell All Over Before Peeling
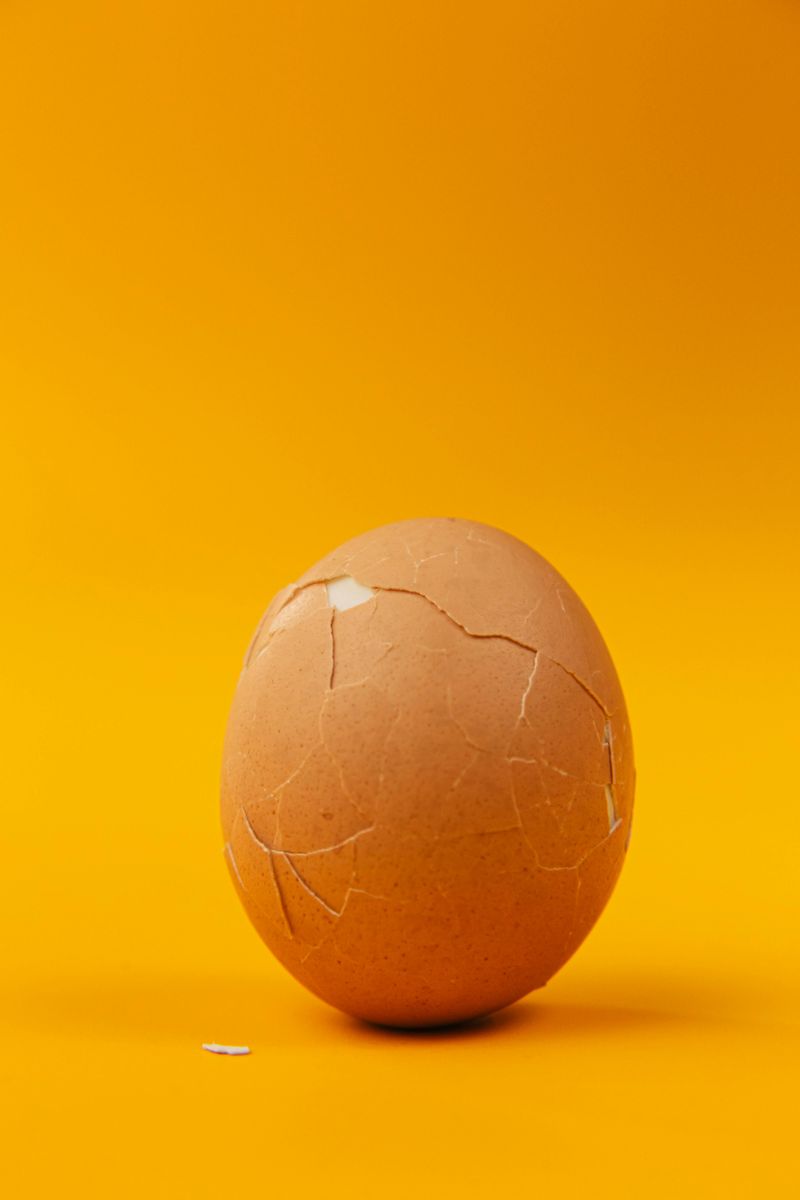
Once your eggs are cool, don’t just start picking at the shell from one spot.
Instead, gently tap the egg all over on a hard surface to create a web of cracks.
Then roll it lightly between your hands or on the counter to loosen the shell even more.
This creates multiple entry points and makes the whole peeling process smoother and faster.
I like to start by tapping the wider end of the egg, where the air pocket usually sits.
That spot tends to peel away easiest.
Then I work my way around the egg, giving it little taps until the entire shell is covered in tiny cracks.
It sounds like it would take forever, but it actually only adds a few seconds and saves you so much frustration.
Think of it like cracking open a treasure chest.
You wouldn’t just pry at one corner and hope for the best.
You’d look for weak spots and work your way in strategically.
The same logic applies to eggs.
Once the shell is fully cracked, you can often peel it off in just a few large pieces instead of picking at stubborn bits.
My kids love helping with this part because it feels satisfying, kind of like popping bubble wrap but with a delicious snack waiting at the end.
8. Peel Under Running Water For Best Results
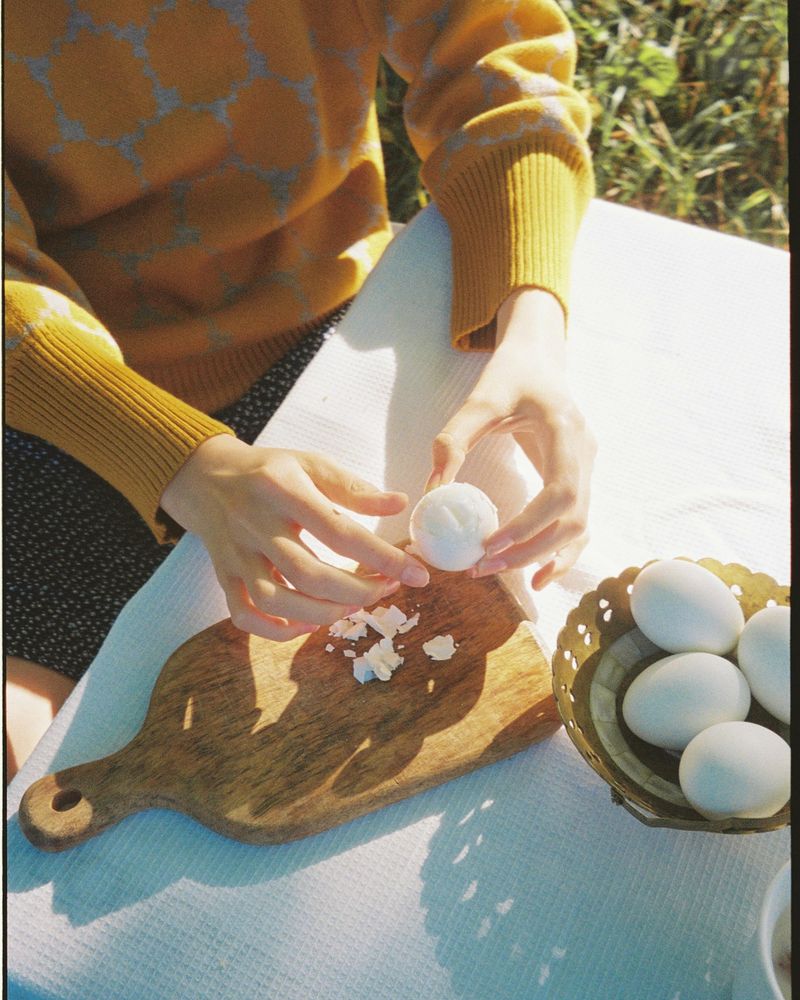
Water is your best friend when it comes to peeling stubborn shells.
Hold the egg under a gentle stream of cool running water as you peel.
The water slips between the shell and the egg white, helping to lift the membrane away and wash off any tiny shell fragments.
It’s like giving your egg a spa treatment while you work.
This trick works especially well if you’re dealing with slightly fresher eggs that haven’t had as much time to develop that air gap.
The water acts as a lubricant and makes everything glide off more smoothly.
Plus, it keeps your hands clean and prevents little shell bits from flying all over your counter.
I used to peel my eggs dry and end up with shell pieces everywhere, including stuck under my nails.
Gross, right? Now I just do it over the sink with the faucet on low, and the whole process is way cleaner and faster.
Some people like to peel eggs in a bowl of water instead, which also works great if you’re doing a big batch.
Either way, adding water to the equation is a total game changer.
Your eggs will look smooth and professional, like something you’d see in a fancy cookbook photo.
9. Store Peeled Eggs In Water To Keep Them Fresh
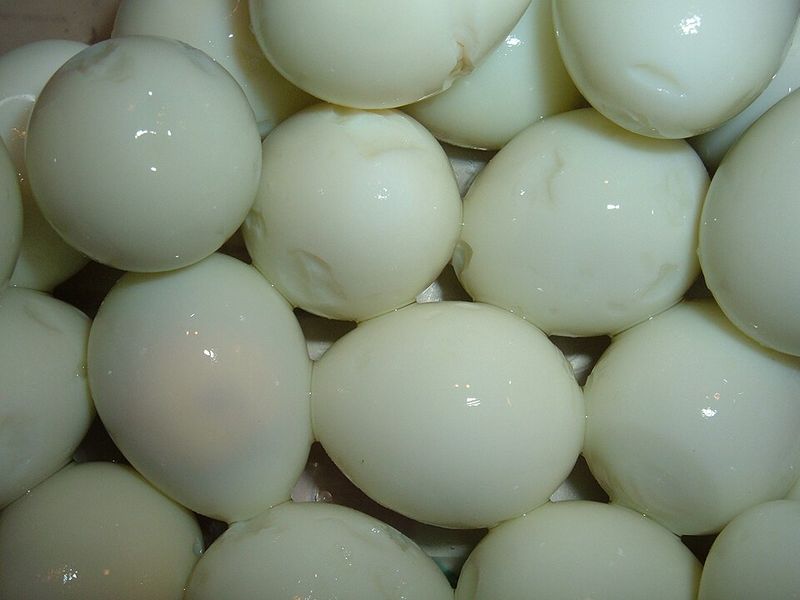
If you’re meal prepping or just want to have peeled eggs ready to grab and go, store them in a container of water in the fridge.
The water keeps them moist and prevents them from drying out or absorbing weird fridge odors.
Just make sure the container has a lid and change the water every day or two to keep things fresh.
Peeled eggs can get rubbery and develop an odd texture if they’re left exposed to air for too long.
The water acts like a protective barrier, keeping them soft and tasty.
I usually prep a batch of six to eight eggs at the start of the week and keep them in a big glass container filled with cold water.
They last up to five days this way, and they taste just as good on day five as they did on day one.
This trick is especially handy if you pack lunches or need quick protein snacks throughout the day.
Just pull an egg out, pat it dry, and you’re good to go.
You can sprinkle it with salt, slice it onto a salad, or mash it up for egg salad.
It’s convenient, healthy, and way cheaper than buying those pre-packaged snack eggs at the store.
Plus, you know exactly what went into them.
10. Use A Spoon To Slide Between Shell And Egg
Sometimes even with all the right tricks, you still get a stubborn egg that refuses to cooperate.
That’s when a spoon becomes your secret weapon.
After cracking the shell all over, slip a small spoon between the shell and the egg white at the wider end.
Gently slide the spoon around the egg, and the shell will pop right off in big, satisfying pieces.
This method works because the curved shape of the spoon matches the curve of the egg, and it creates a smooth path for the shell to separate.
It’s way less likely to tear the egg white than using your fingers, especially if the membrane is being stubborn.
I learned this trick from a YouTube video, and it honestly felt like discovering a cheat code for life.
I keep a small teaspoon in my utensil drawer just for this purpose now.
It’s especially helpful when I’m making deviled eggs and need them to look picture-perfect.
No one wants lumpy, torn-up egg whites for a party platter.
With the spoon method, every egg comes out smooth and beautiful.
It takes a little practice to get the angle right, but once you’ve got it down, you’ll feel like an egg-peeling wizard.
Seriously, it’s that satisfying.