The Secret To Perfect Pumpkin Cookies
Fall baking often means dealing with dense, cake-like pumpkin treats that miss the mark. These pumpkin cookies break that pattern entirely, delivering the soft, chewy texture cookie lovers crave without any of that dreaded sponginess.
The game-changer? A simple moisture-removal technique that transforms ordinary pumpkin puree into the foundation for exceptional cookies.
1. Why Most Pumpkin Cookies Fall Flat
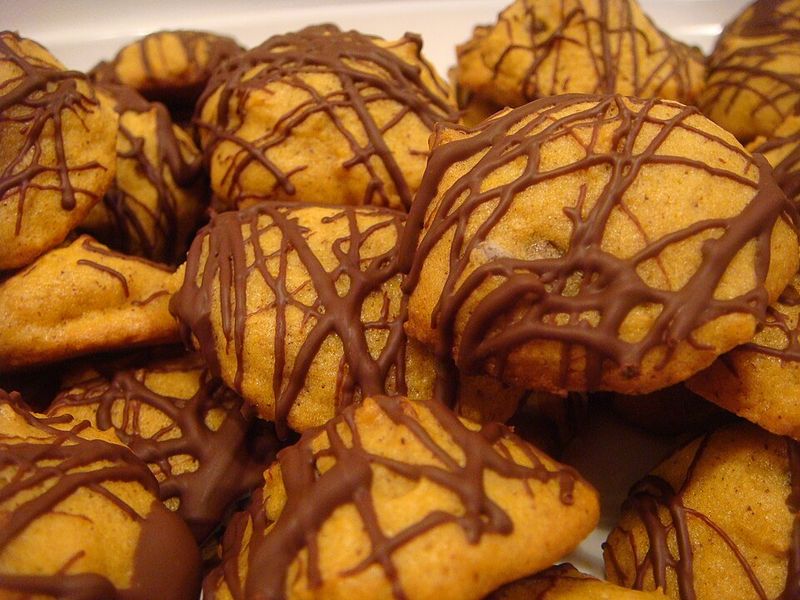
Pumpkin puree contains significant water content, which typically creates that unwanted cake-like consistency in baked goods. While moisture works beautifully in actual cakes, it’s the enemy of a proper cookie texture.
The solution involves spreading half a cup of puree thin and pressing it repeatedly with paper towels until the volume reduces by roughly half. This straightforward step makes all the difference between mediocre and memorable results.
2. Building the Base
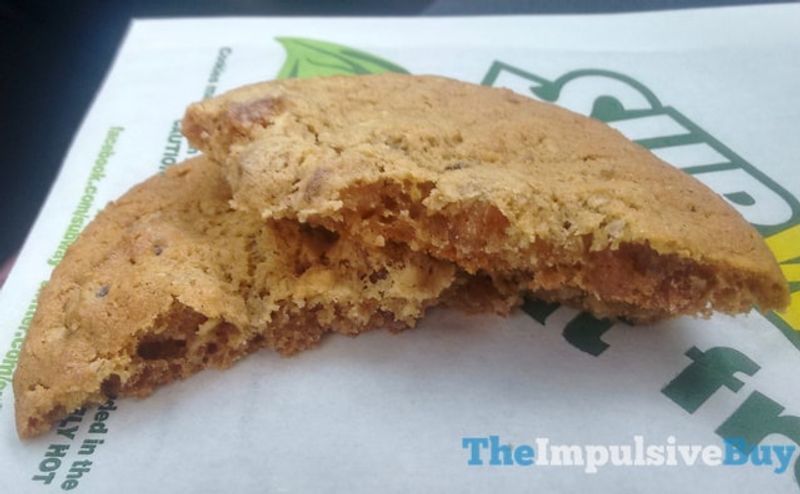
The dry mixture combines one and a half cups of all-purpose flour with a teaspoon of baking soda, half a teaspoon of salt, and one teaspoon of cinnamon.
Whisking these together ensures even distribution, which prevents random pockets of leavening or spice throughout the finished cookies. Meanwhile, half a cup of softened butter gets beaten with three-quarters cup of brown sugar and a quarter cup of granulated sugar until creamy, not fluffy, just combined without lumps.
3. The Fat Factor
These cookies use only two egg yolks, leaving the whites aside entirely. The extra fat from yolks creates chewiness and prevents that cakey texture pumpkin desserts usually suffer from.
After beating the yolks into the butter mixture, the pressed pumpkin and a teaspoon of vanilla get incorporated until everything looks uniform. The dry ingredients fold in last, mixed only until no flour streaks remain visible.
4. Handling Sticky Dough
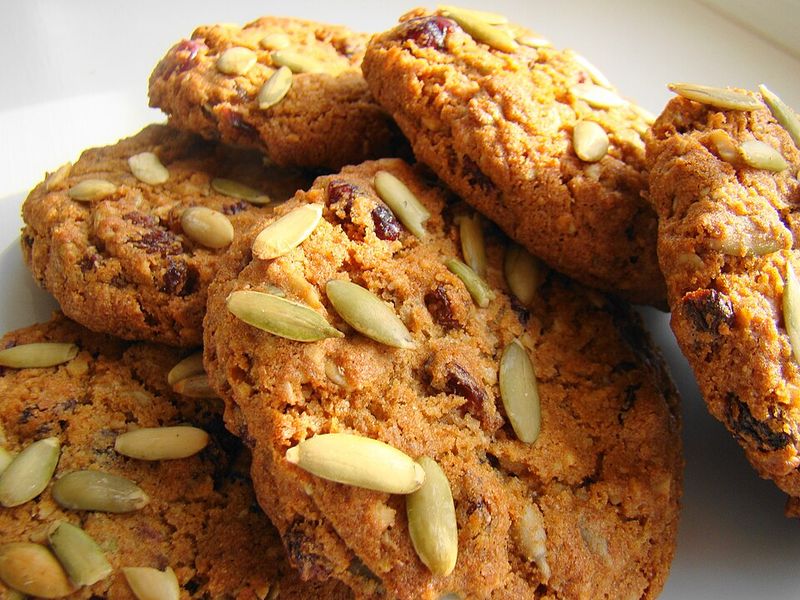
The dough feels soft and somewhat tacky before baking, which initially might seem wrong. This stickiness actually contributes to the final chewy texture, so resist the urge to add more flour.
Scooping the dough into roughly three-tablespoon portions and spacing them two inches apart on a parchment-lined sheet prepares them for a thirty-minute chill. This brief rest firms everything up and makes the cinnamon-sugar rolling process far less messy.
5. The Finishing Touch
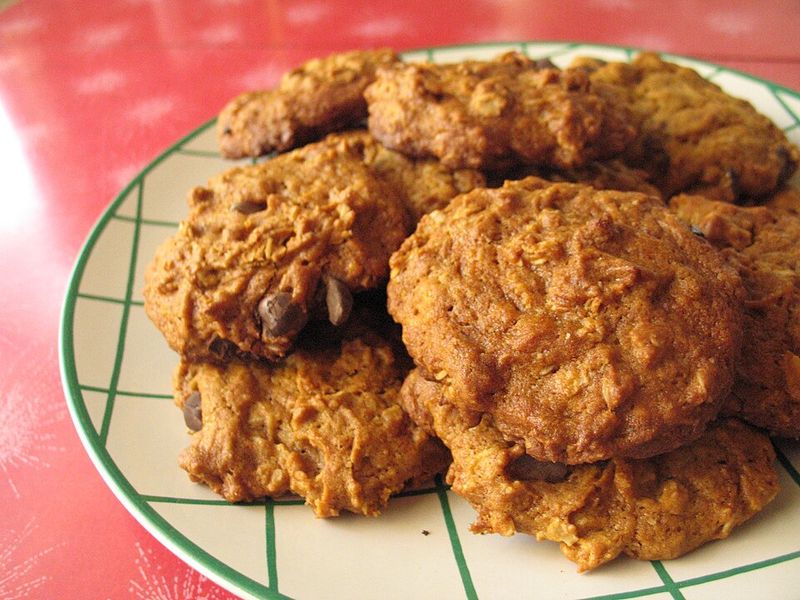
While the oven preheats to 350 degrees, the remaining quarter cup of sugar gets mixed with another teaspoon of cinnamon.
Each chilled dough ball gets rolled in this mixture, twice if a heavier coating appeals. Some bakers skip this step entirely, and the cookies still deliver excellent results. The coated cookies return to their baking sheet before heading into the oven.
6. Baking and Beyond

At 350 degrees, these cookies need just twelve to fourteen minutes until edges set while centers remain soft. They’ll look slightly underdone when removed from the oven, that’s exactly right. Leaving cookies on the hot baking sheet for five minutes allows carryover cooking to finish the job, then they transfer to a wire rack for complete cooling.
An airtight container keeps them fresh at room temperature for three days, though adding a slice of white bread maintains softness even longer. The dough also freezes beautifully for up to a month, making it easy to have fresh-baked cookies whenever the craving strikes.

