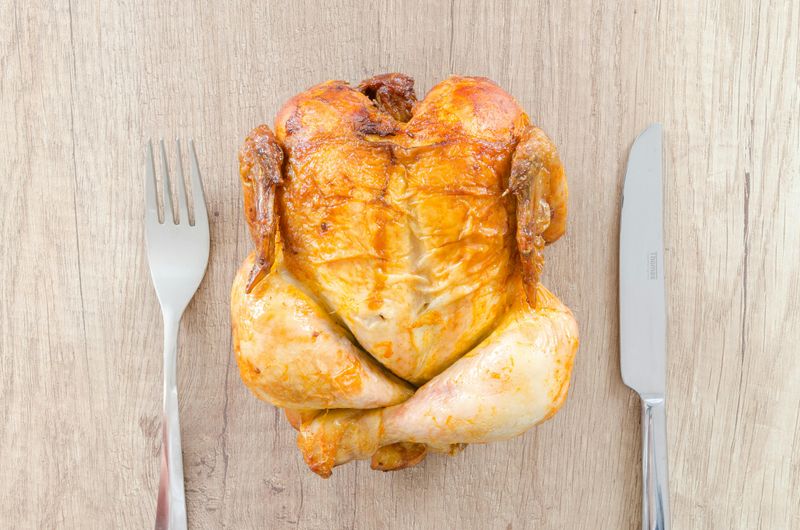
10 Simple Ways To Improve Your Roast Chicken
Roast chicken is one of those classic dishes that makes any dinner feel special, but getting it just right can be tricky.
Maybe your bird comes out dry, or the skin stays rubbery instead of golden and crispy.
The good news is that a few easy tweaks can turn your ordinary roast chicken into something absolutely amazing. These simple tricks will help you master the art of juicy meat and crackling skin every single time.
Disclaimer: Cooking guidance reflects widely accepted culinary practice and current food-safety recommendations at the time of publication. Always handle raw poultry carefully, avoid rinsing raw chicken, cook to a safe internal temperature of 165°F, and refrigerate leftovers promptly. Oven performance varies, so use a reliable thermometer and visual doneness cues. For dietary or allergy concerns, review product labels and consult a qualified professional as needed.
1. Pat The Bird Dry
Moisture is the enemy of crispy skin, plain and simple. When you pull your chicken from the package, it’s usually sitting in its own juices and feels pretty wet to the touch. Grab some paper towels and give that bird a thorough rubdown, inside and out.
Getting rid of surface moisture lets the skin dry out properly in the oven. Dry skin crisps beautifully, while wet skin just steams and stays disappointingly rubbery. Think of it like drying off after a swim before putting on fresh clothes.
However, don’t skip the cavity either! Water trapped inside can slow down cooking and make everything soggy underneath.
2. Generously Salt Inside And Out
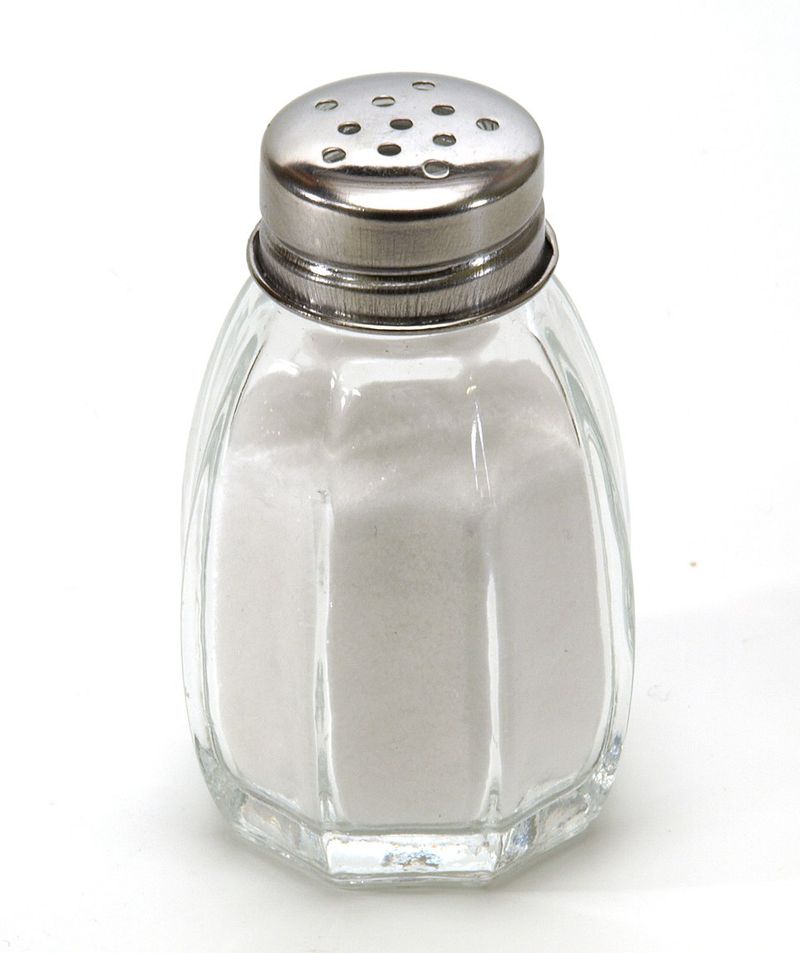
Salt is basically magic for roast chicken. Sprinkling it generously all over the outside and inside the cavity does two amazing things at once. First, it draws out extra moisture from the skin, which helps create that crackling texture everyone loves.
Second, salt penetrates deep into the meat, flavoring it from the inside out rather than just on the surface. Your chicken won’t taste bland when you cut into it. If you have time, salt your bird a few hours ahead or even overnight in the fridge.
Though it seems like a lot, trust the process! Proper seasoning makes all the difference between boring and brilliant.
3. Rub Butter Or Oil Under The Skin
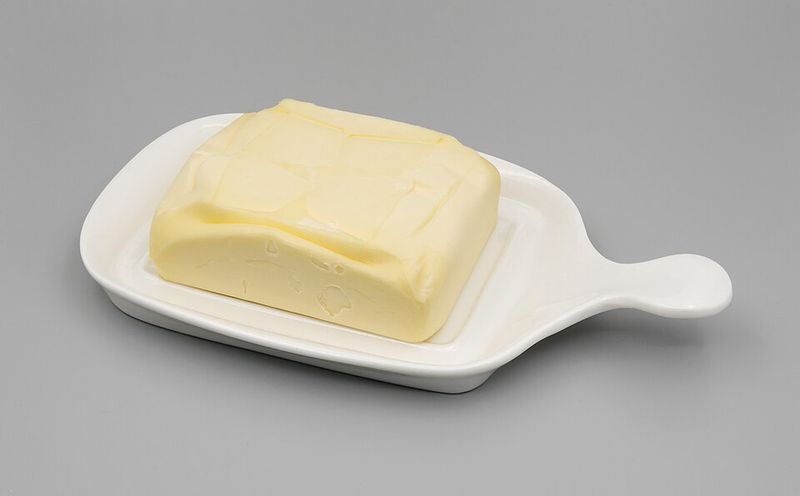
Here’s a sneaky trick that professional chefs love: slip softened butter or olive oil right under the skin before roasting. Gently loosen the skin over the breast and thighs with your fingers, being careful not to tear it. Then massage in that fat so it sits between the meat and skin.
Why does this work so well? Fat conducts heat beautifully and keeps the breast meat moist while helping the skin get gorgeously golden and crispy. You can even mix herbs, garlic, or lemon zest into your butter for extra flavor.
Just saying, this step turns a basic roast chicken into something restaurant-worthy without much extra effort!
4. Bring The Chicken Closer To Room Temperature Before Roasting
Tossing a freezing cold chicken straight into the oven is a recipe for uneven cooking. The outside might look perfect while the inside stays undercooked, or worse, the breast dries out before the thighs finish. Taking your bird out of the fridge about 30 to 60 minutes before roasting helps solve this problem.
When the chicken starts closer to room temperature, the heat penetrates more evenly throughout. Your breast meat won’t overcook while waiting for the darker meat to catch up. This small step makes a surprisingly big difference in texture.
Though food safety matters, an hour on the counter is perfectly safe and totally worth it!
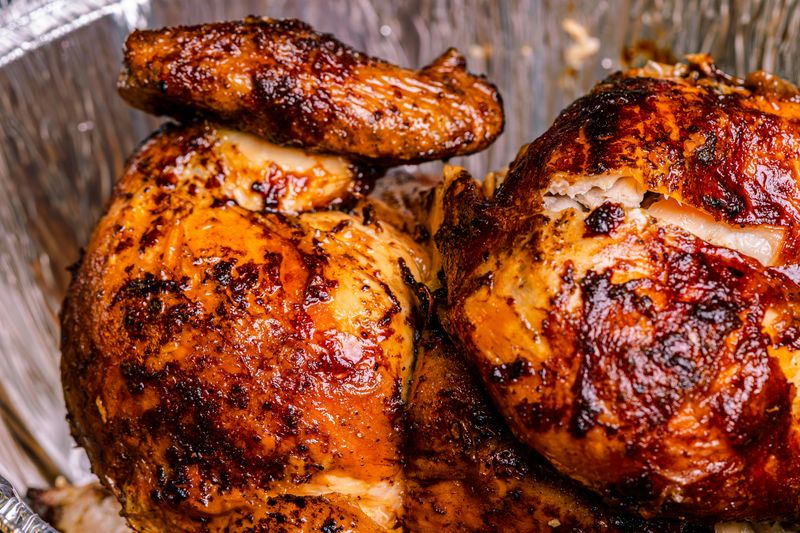
5. Start With A High Oven Temperature Then Reduce
Temperature strategy can make or break your roast chicken. Starting with a blast of high heat around 425-450 degrees gets the skin browning and crisping right away. That initial sizzle locks in flavor and creates texture fast.
After about 20 to 30 minutes, drop the temperature down to around 350-375 degrees. Lower heat lets the inside cook through gently without drying out the meat. Think of it like a sprint followed by a steady jog to the finish line.
If you keep high heat the whole time, you’ll end up with burnt skin and raw insides. This two-stage method gives you the best of both worlds every time!
6. Use A Meat Thermometer And Let The Chicken Rest After Roasting

Guessing when your chicken is done is risky business. Overcook it and you’re chewing cardboard; undercook it and you’re facing food safety issues. A simple meat thermometer takes all the guesswork out of the equation.
Insert it into the thickest part of the thigh without touching bone. You’re looking for 165 degrees Fahrenheit for safe, juicy meat. Once it hits that magic number, pull the bird out and resist the urge to carve immediately!
Letting it rest for 10 to 15 minutes allows juices to redistribute throughout the meat instead of running all over your cutting board. Patience pays off with tender, moist slices.
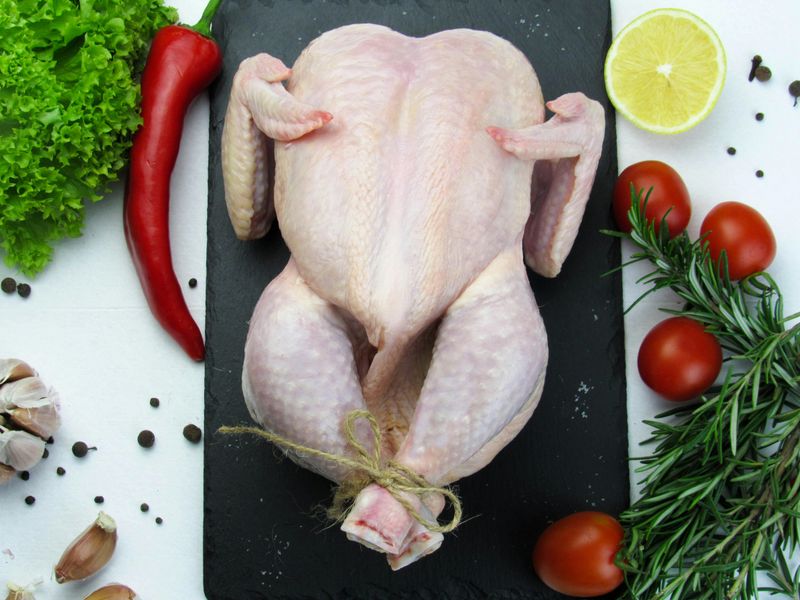
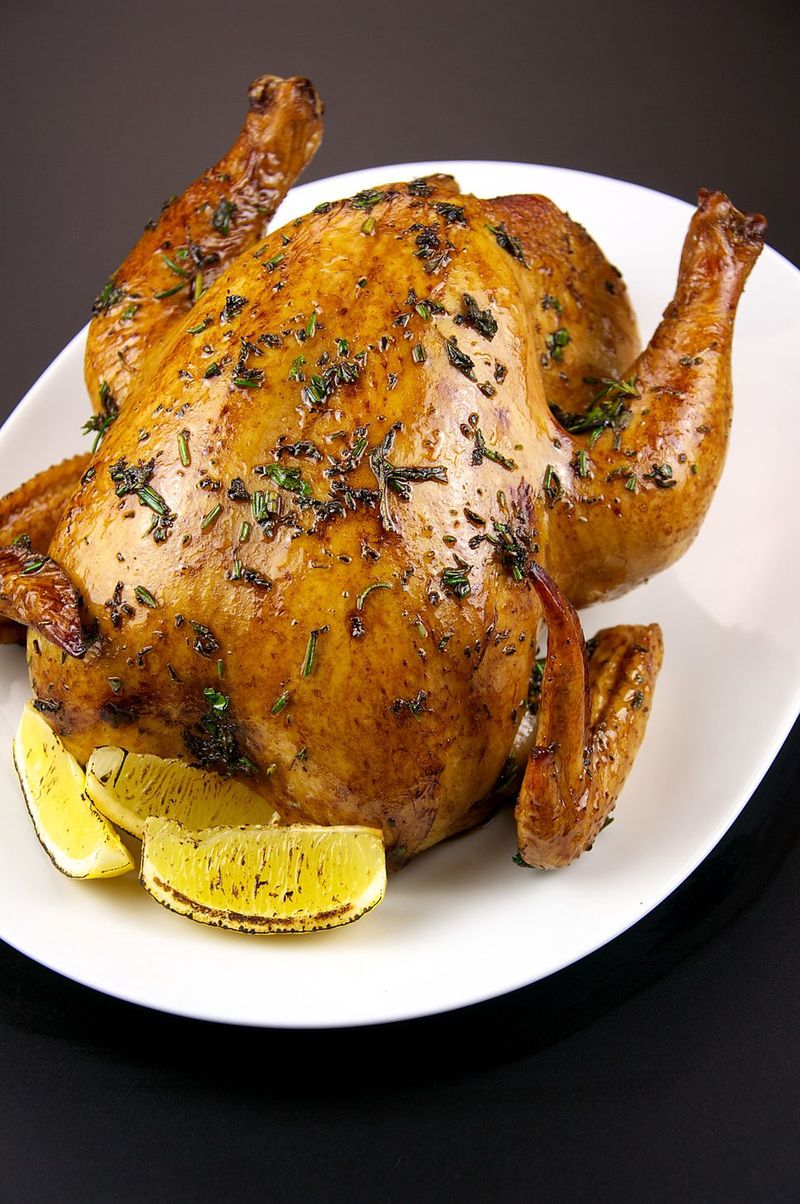
7. Stuff Cavity With Aromatics (Lemon, Garlic, Herbs)
Want your chicken to smell like a fancy restaurant kitchen? Fill the cavity with aromatics before it goes into the oven. Halved lemons, smashed garlic cloves, fresh rosemary, thyme, or even onion quarters work beautifully together.
As the chicken roasts, these ingredients release their oils and fragrances, steaming the bird from the inside out. The flavor infuses throughout the meat rather than just sitting on the surface. Your whole house will smell incredible, which is honestly half the fun.
Did you know? Those same aromatics can flavor your pan drippings, making the most delicious gravy you’ve ever tasted. Double win!
8. Truss Or Tie The Bird To Promote Even Cooking
Trussing might sound fancy, but it’s just tying up your chicken with kitchen string. Why bother? Loose wings and legs stick out and cook way faster than the rest of the bird, often ending up burnt and dried out.
Tying everything snugly against the body creates a compact, uniform shape that roasts evenly. Heat circulates more consistently, and you get beautifully cooked meat from breast to drumstick. Plus, a trussed bird just looks more impressive when you bring it to the table.
However, if trussing feels too complicated, even just tucking the wing tips under and tying the legs together makes a difference!
9. Roast The Bird On A Rack Or On Veggies To Allow Air Circulation And Catch Drippings
Placing your chicken directly on the pan bottom is a mistake that leads to soggy, steamed skin underneath. Elevating the bird on a roasting rack lets hot air flow all around it, crisping every inch of skin beautifully.
No rack? No problem! Create a bed of chunky vegetables like carrots, onions, celery, and potatoes. They lift the chicken while absorbing all those amazing drippings and turning into the most flavorful side dish imaginable. It’s like getting two dishes in one pan.
Where there’s good air circulation, there’s crispy skin. Where there’s trapped moisture, there’s disappointment. Choose wisely!
10. Don’t Overcrowd The Pan; Give The Bird Space To Breathe
Cramming your chicken into a too-small pan or surrounding it with too many vegetables creates a steamy environment instead of a roasting one. Steam makes skin soft and rubbery, which is the opposite of what you want.
Choose a pan that gives your bird at least a couple inches of breathing room on all sides. Proper space allows heat and air to circulate freely, creating that coveted golden, crackling exterior. If you’re adding vegetables, spread them around the edges rather than piling them high.
Think of your chicken like it’s doing yoga. It needs space to stretch out and achieve its best, most relaxed state. Namaste, delicious dinner!