17 Smart Egg Tricks Every Home Cook Can Use
Eggs are doing a lot more work in the kitchen than they usually get credit for.
They can rescue breakfast, patch up dinner, stretch a grocery budget, and quietly save a recipe that was one bad move away from becoming a very expensive mistake.
That is a pretty strong résumé for something that can crack under light pressure and roll off the counter with zero survival instinct.
Home cooks tend to learn egg tricks the same way people learn most useful kitchen wisdom, by messing something up first.
One rubbery scramble and suddenly a tiny bit of technique starts looking like life-changing information.
Good egg tricks are not flashy either. A better peel, a fluffier texture, a cleaner fry, a more reliable boil, and now the whole kitchen feels like it is cooperating for once.
Disclaimer: This article is intended for general informational and entertainment purposes only. Cooking tips, techniques, and recipe results may vary based on ingredients, equipment, and individual skill level, and readers should follow current food safety guidance when handling and preparing eggs.
1. Add A Splash Of Milk Or Cream For Softer Scrambled Eggs
Want scrambled eggs that practically melt in your mouth? The secret is simpler than you think.
Adding just a tablespoon of milk or cream per egg creates those dreamy, cloud-like curds everyone craves.
The dairy adds moisture and fat, which keeps the eggs tender instead of rubbery. Heavy cream gives you the richest result, while whole milk offers a lighter touch.
Even half-and-half works beautifully.
Whisk it in before the eggs hit the pan, and watch the magic happen. Your breakfast game just leveled up without any fancy techniques required.
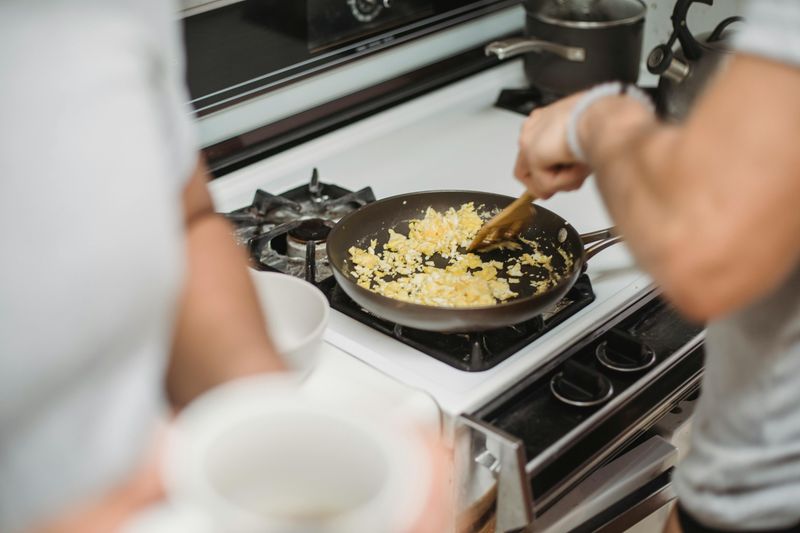
2. Use Low Heat For Creamier Scrambled Eggs
Patience pays off big time when scrambling eggs. High heat might seem faster, but it turns eggs tough and dry before you can say breakfast.
Low and slow is the golden rule here.
Gentle heat gives proteins time to set gradually, creating those luscious, small curds that define restaurant-quality scrambles. Stir frequently and take your time . think five to seven minutes instead of two.
The result? Eggs so creamy they barely need butter.
3. Salt Eggs A Few Minutes Before Cooking For Better Texture
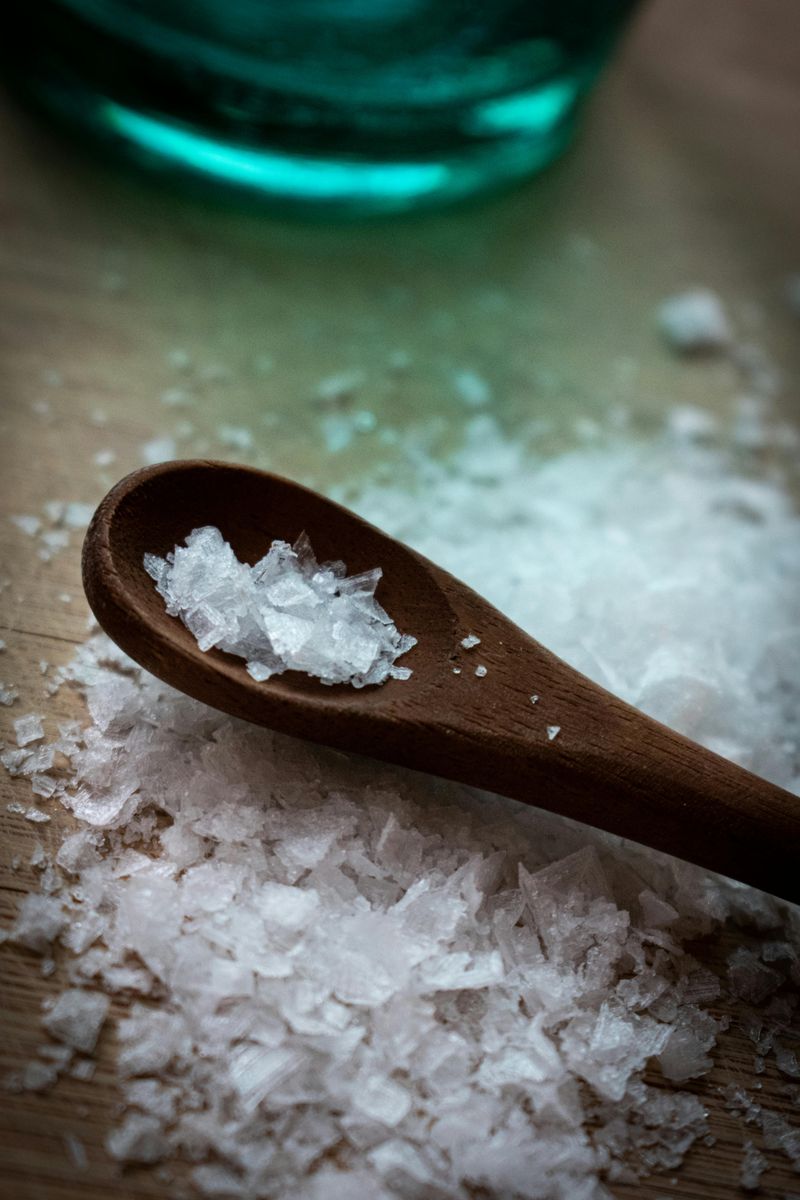
Timing your salt can actually change everything about your eggs. Most people season while cooking, but adding salt five to ten minutes beforehand breaks down proteins slightly, resulting in incredibly tender eggs.
This pre-salting trick works because salt dissolves some of the egg structure, which might sound bad but actually creates a silkier final texture.
Just whisk salt into beaten eggs and let them rest while you prep everything else.
The difference is subtle but noticeable – your eggs will taste more seasoned throughout, not just on the surface.
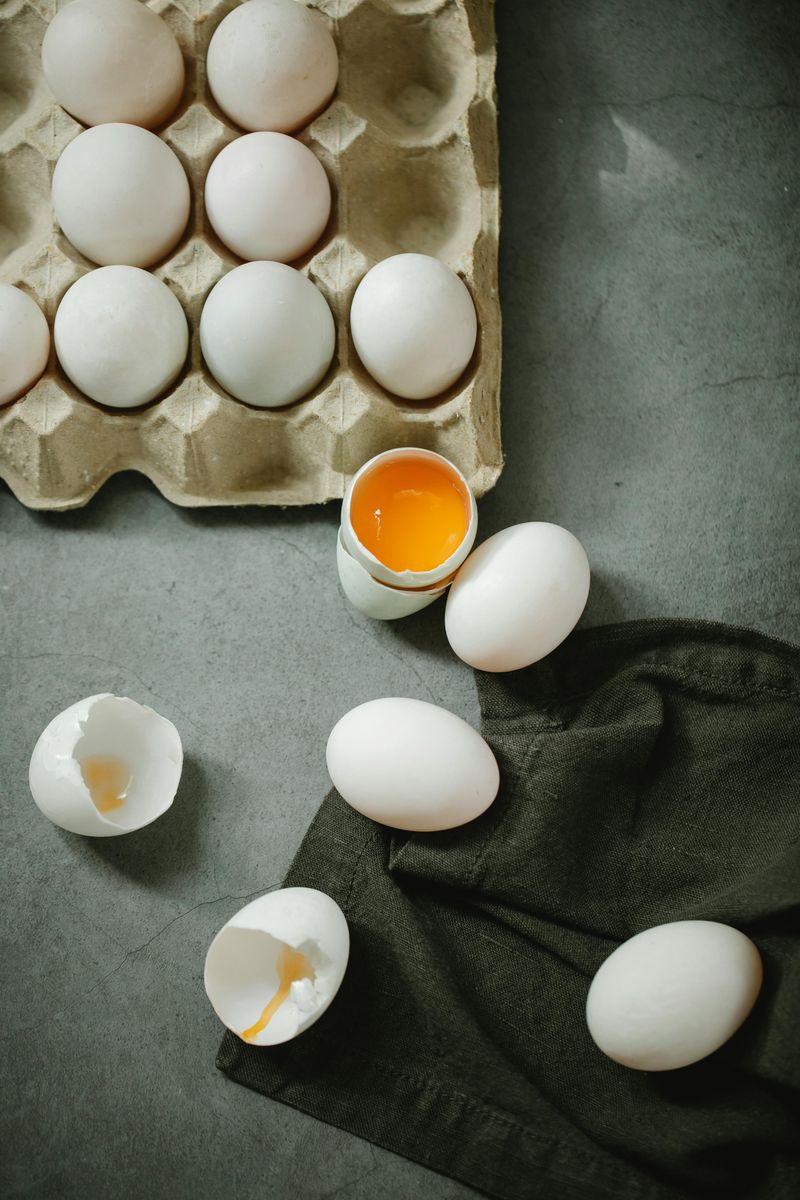
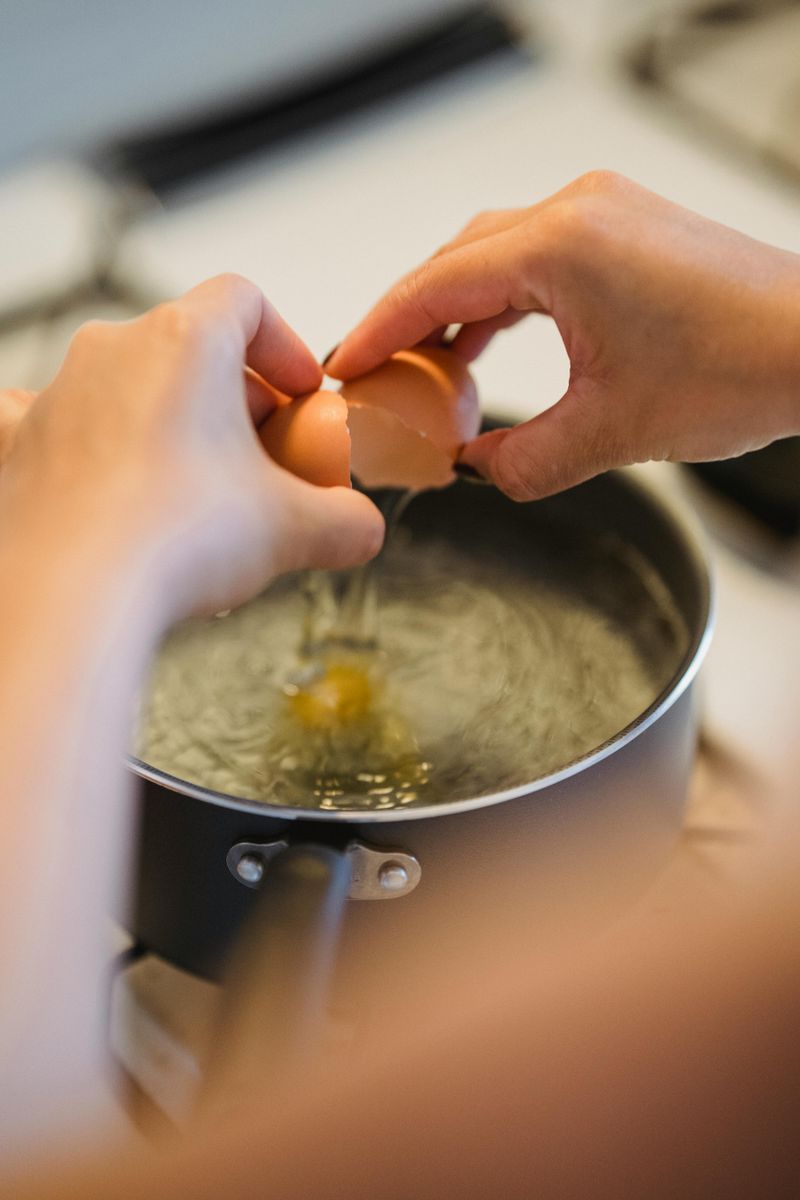
4. Crack Eggs On A Flat Surface To Reduce Shell Fragments
Stop cracking eggs on bowl edges right now. That sharp rim actually drives shell fragments into your egg instead of keeping them out. Flat surfaces are where it’s at.
Use your countertop, a cutting board, or even a plate – anything flat works better than a sharp edge. The shell breaks cleaner with less chance of tiny pieces sneaking into your food.
One firm tap is all you need, then pull the shell apart over your bowl.
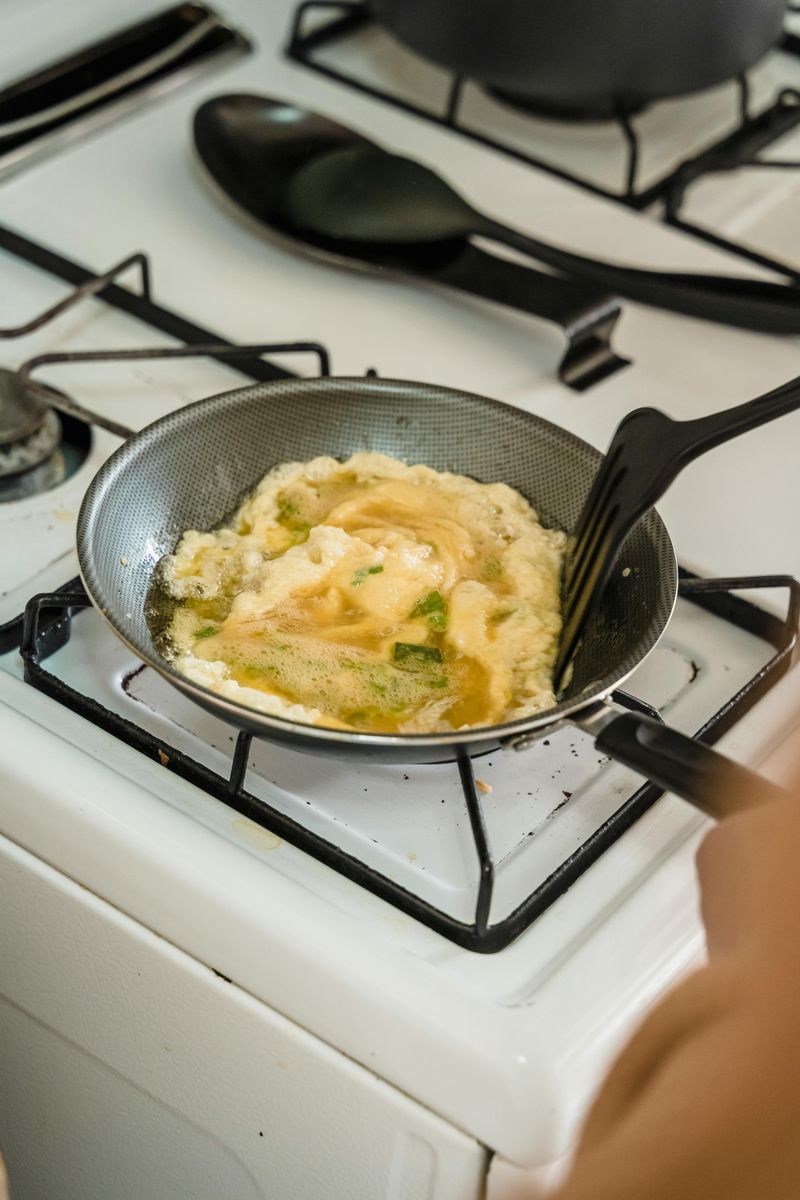
5. Strain Beaten Eggs For Extra-Silky Omelets

Professional chefs have a secret weapon for impossibly smooth omelets: a fine-mesh strainer. Sounds fancy, but it takes literally ten seconds and transforms your egg game completely.
Pouring beaten eggs through a strainer removes those stringy chalazae (the white cords that anchor the yolk) and any stray shell bits.
What’s left is pure, silky egg liquid that cooks into the most elegant omelet you’ve ever made. This trick works for custards and quiches too.
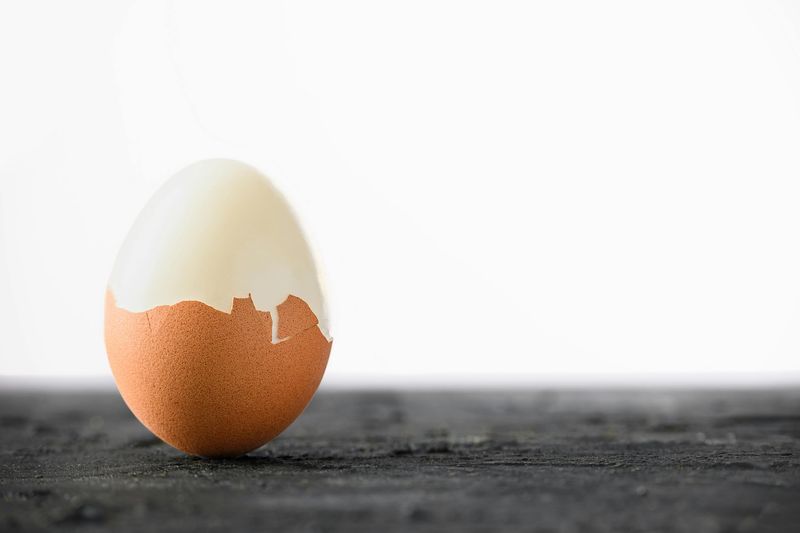
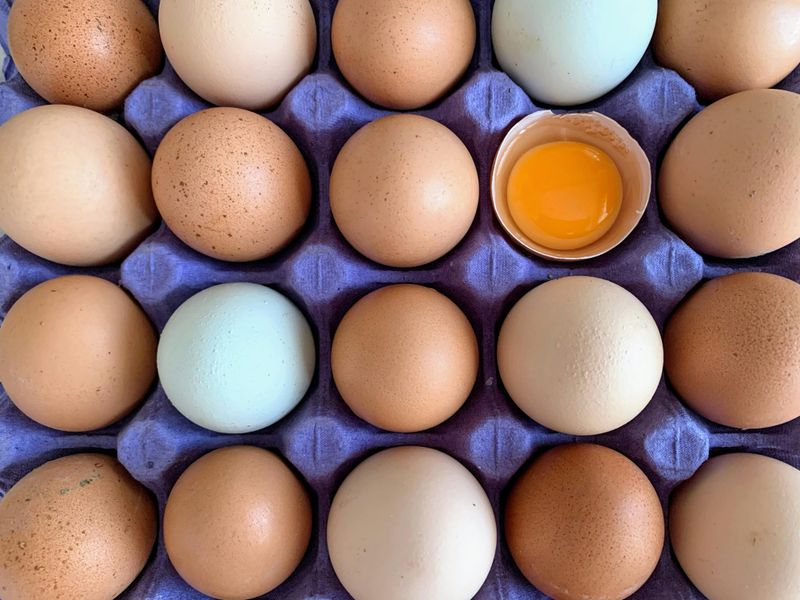
6. Use Older Eggs For Easier Peeling When Hard-Boiling
Fresh eggs are fantastic for frying, but they’re your worst enemy when boiling. The fresher the egg, the more stubbornly that shell clings to the white, leaving you with a cratered mess.
Eggs that have hung out in your fridge for a week or two develop a slightly higher pH, which weakens the bond between shell and membrane. Science for the win!
Check the carton date and save your oldest eggs for boiling.
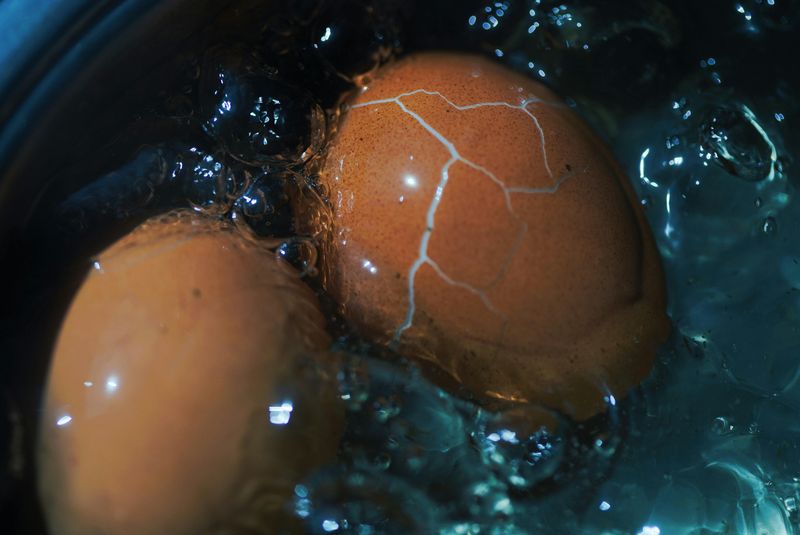
7. Add Baking Soda To Boiling Water To Help With Peeling
Here’s a kitchen hack that feels like cheating: adding half a teaspoon of baking soda to your boiling water makes eggs peel like a dream.
The alkaline water raises the egg white’s pH, loosening that stubborn membrane.
You’ll notice the difference immediately when peeling – the shell practically slides off in big, satisfying pieces. No more picking away tiny fragments for five minutes per egg.
Just don’t overdo the baking soda, or your eggs might taste slightly off.
8. Shock Hard-Boiled Eggs In Ice Water Right Away
The moment your eggs finish cooking, they need an ice bath – no exceptions. This isn’t just about cooling them down; it’s about stopping the cooking process that continues even after you remove the heat.
Plunging hot eggs into ice water prevents that ugly green ring around the yolk (caused by overcooking) and makes peeling infinitely easier.
The rapid temperature change causes the egg to contract slightly, separating it from the shell.
Leave them in the ice bath for at least five minutes. Your perfectly cooked, easy-to-peel eggs are worth the wait.
9. Peel Eggs Under Running Water For Less Mess
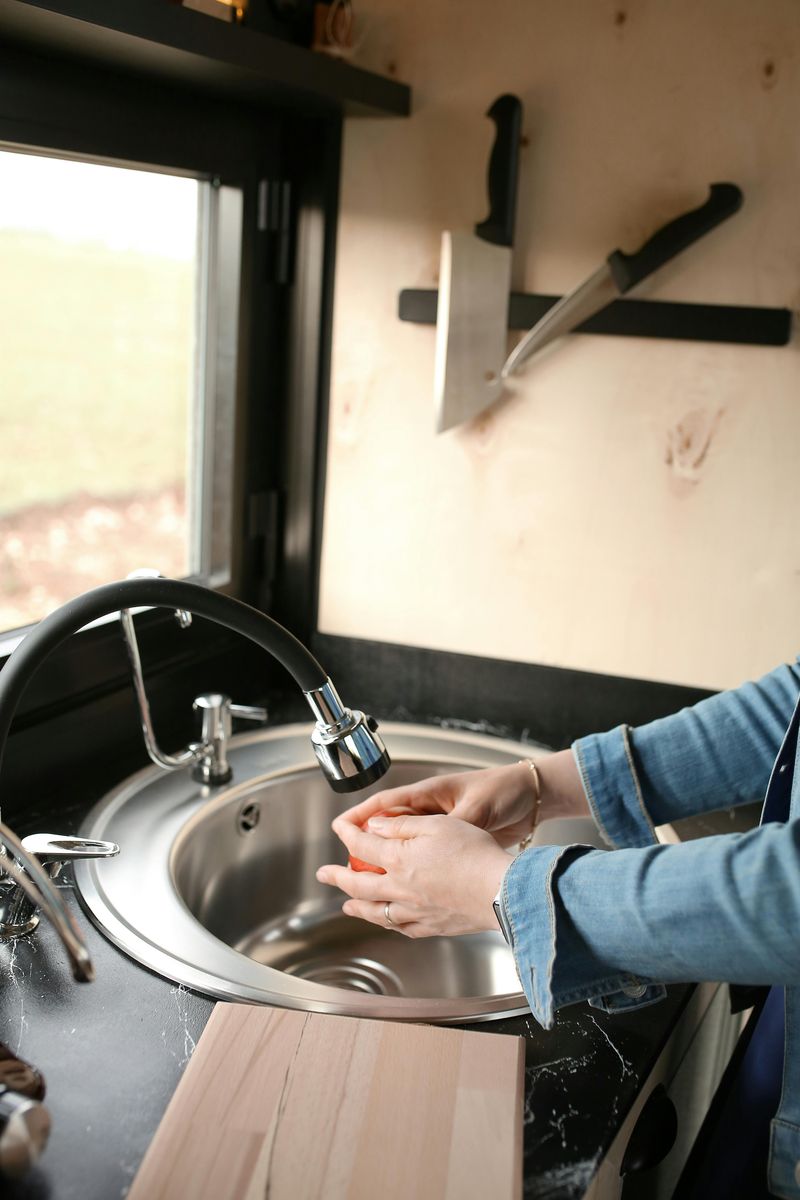
Peeling eggs can turn your counter into a shell graveyard, but running water solves everything. The water gets between the shell and the egg, helping pieces slide off while washing away the mess simultaneously.
Start by gently cracking the shell all over, then hold the egg under cool running water as you peel. The stream helps lift stubborn bits and keeps your workspace clean.
This method works especially well for slightly fresher eggs that might otherwise fight you.
10. Bring Eggs To Room Temperature Before Baking
Baking with cold eggs straight from the fridge? You’re sabotaging your cakes without even knowing it.
Room temperature eggs incorporate into batter much more smoothly, creating better texture and rise.
Cold eggs don’t emulsify as well with butter and sugar, leading to dense, uneven baked goods.
Let your eggs sit out for thirty minutes before baking, or place them in warm water for five minutes if you’re impatient.
The difference in your final cake or cookies is totally worth the tiny bit of planning.
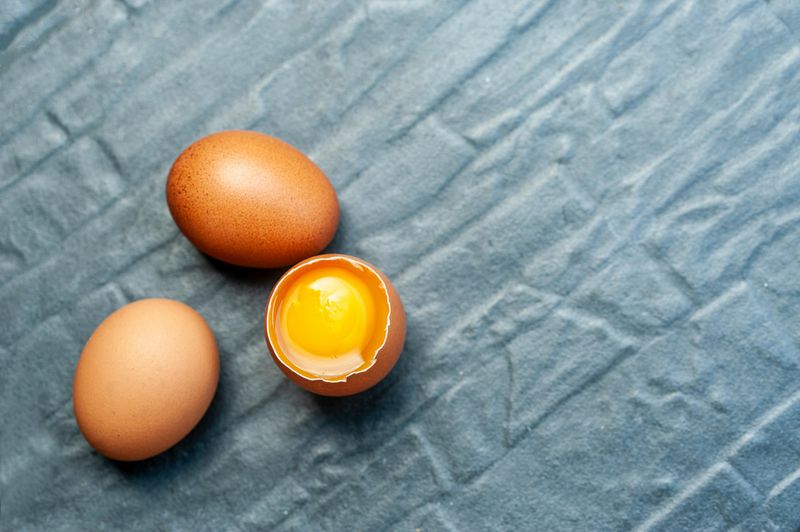
11. Separate Yolks And Whites More Easily While Eggs Are Cold
Cold eggs have firmer yolks that hold together beautifully when separating. Warm eggs turn into slippery disasters where the yolk breaks and ruins your perfectly separated whites.
Pull eggs straight from the fridge and separate them immediately. The cold yolk stays intact while you transfer it between shell halves or use your hands to separate.
Once separated, you can let the whites come to room temperature for whipping – they’ll reach peaks better when warmer.
12. Whip Egg Whites In A Clean, Grease-Free Bowl
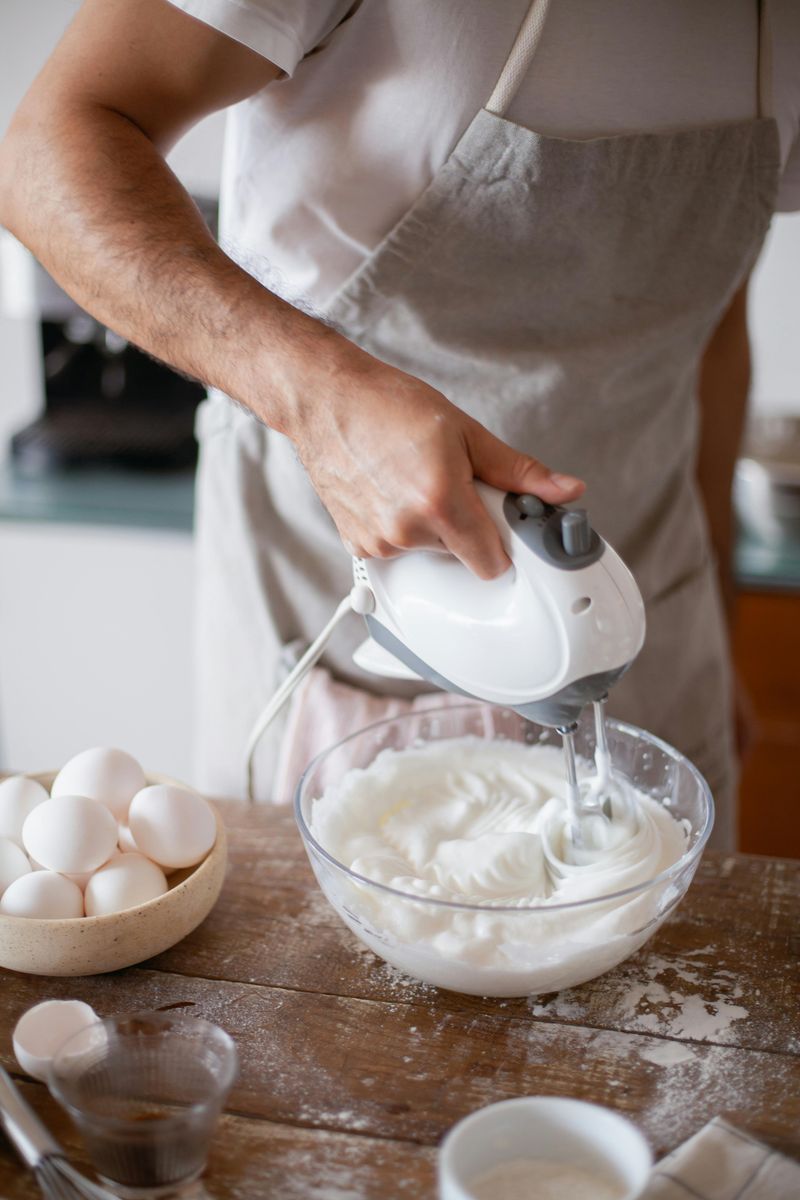
Even a tiny bit of grease is egg white kryptonite. Fat prevents whites from forming those gorgeous, stiff peaks you need for meringues, soufflés, and angel food cakes.
Glass or metal bowls work best – plastic can harbor invisible grease even after washing. Wipe your bowl with vinegar or lemon juice before starting, and make absolutely sure no yolk sneaks into your whites.
Clean equipment equals perfect peaks every single time.
13. Use a Nonstick Pan For Cleaner Omelets And Fried Eggs
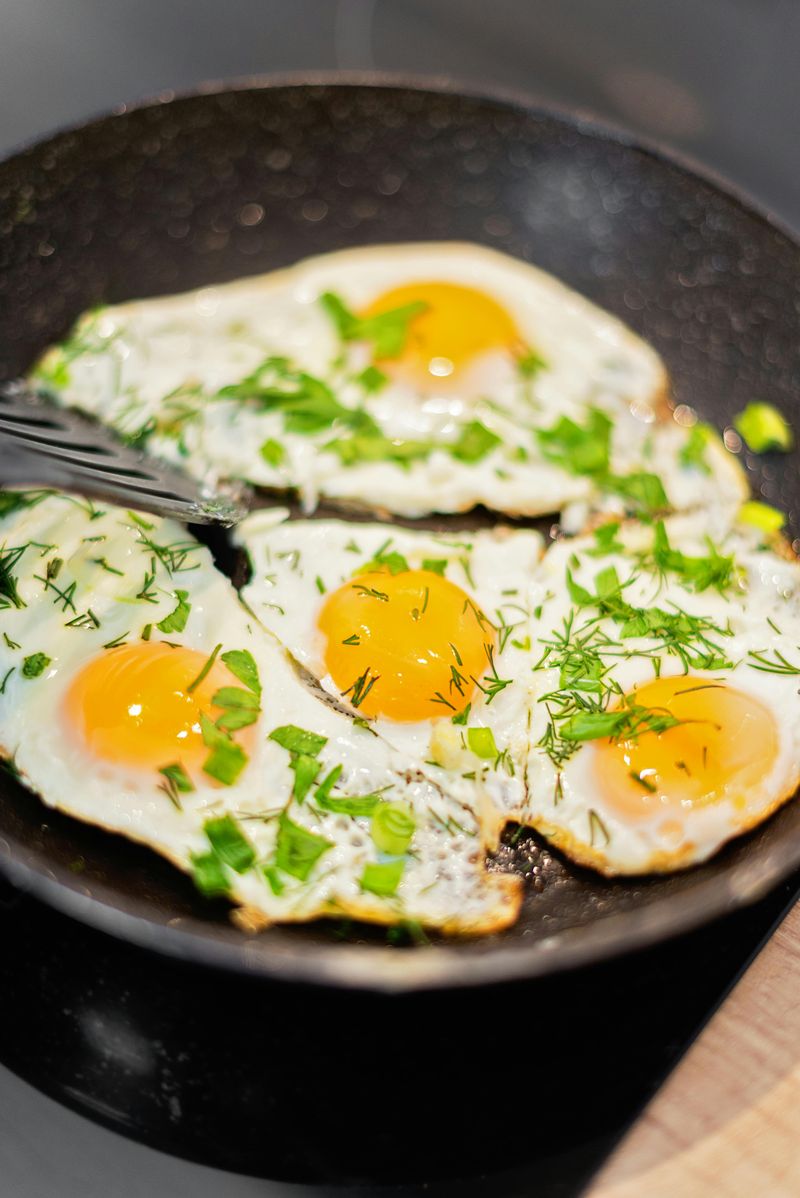
Fighting with eggs that stick and tear? Your pan is the problem.
A good nonstick skillet is non-negotiable for beautiful omelets and fried eggs that actually look like the pictures.
Nonstick surfaces let you use less fat while still getting eggs that slide around freely and fold perfectly.
Even budget nonstick pans work wonders compared to regular stainless steel for egg cooking. Keep your nonstick pan just for eggs and delicate foods, and it’ll last longer.
14. Baste Fried Eggs With Butter For More Flavor
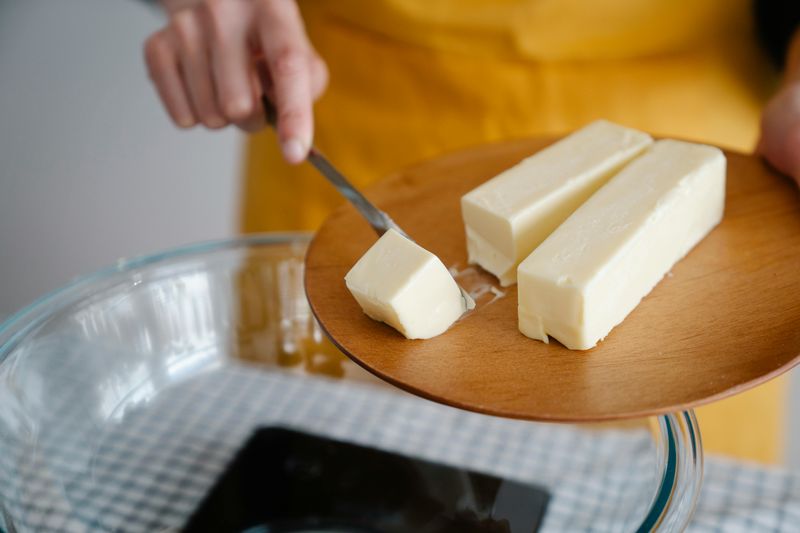
French chefs have been basting eggs forever, and once you try it, you’ll understand why. Spooning hot butter over frying eggs cooks them evenly while adding incredible richness and flavor.
Tilt your pan slightly so the butter pools, then use a spoon to drizzle it over the egg whites and around the yolk. The hot fat cooks the top while crisping the edges beautifully.
This technique works with olive oil too, but butter creates those nutty, golden flavors that make simple fried eggs taste absolutely luxurious.
15. Poach Eggs In Barely Simmering Water, Not A Rolling Boil
Violent, boiling water turns poached eggs into stringy disasters. You want gentle, barely-there bubbles – think hot tub, not jacuzzi.
The calm water lets egg whites set smoothly around the yolk instead of getting blown apart.
Bring water to a boil, then reduce heat until you see just a few bubbles breaking the surface. That’s your sweet spot for poaching perfection.
Slide your egg in gently and watch it form a neat little package instead of dispersing into wispy threads.
16. Add A Little Vinegar When Poaching Eggs To Help Them Hold Shape

Vinegar in your poaching water sounds weird but works like magic. The acid helps egg whites coagulate faster, keeping everything compact and tidy instead of feathering out into the water.
Add about a tablespoon of white vinegar to your pot – you won’t taste it in the finished egg, promise.
The whites will set quickly around the yolk, creating those picture-perfect poached eggs you see in brunch photos.
Some cooks swear by this trick, others skip it. But if you struggle with wispy whites, vinegar is your new best friend for poaching success.
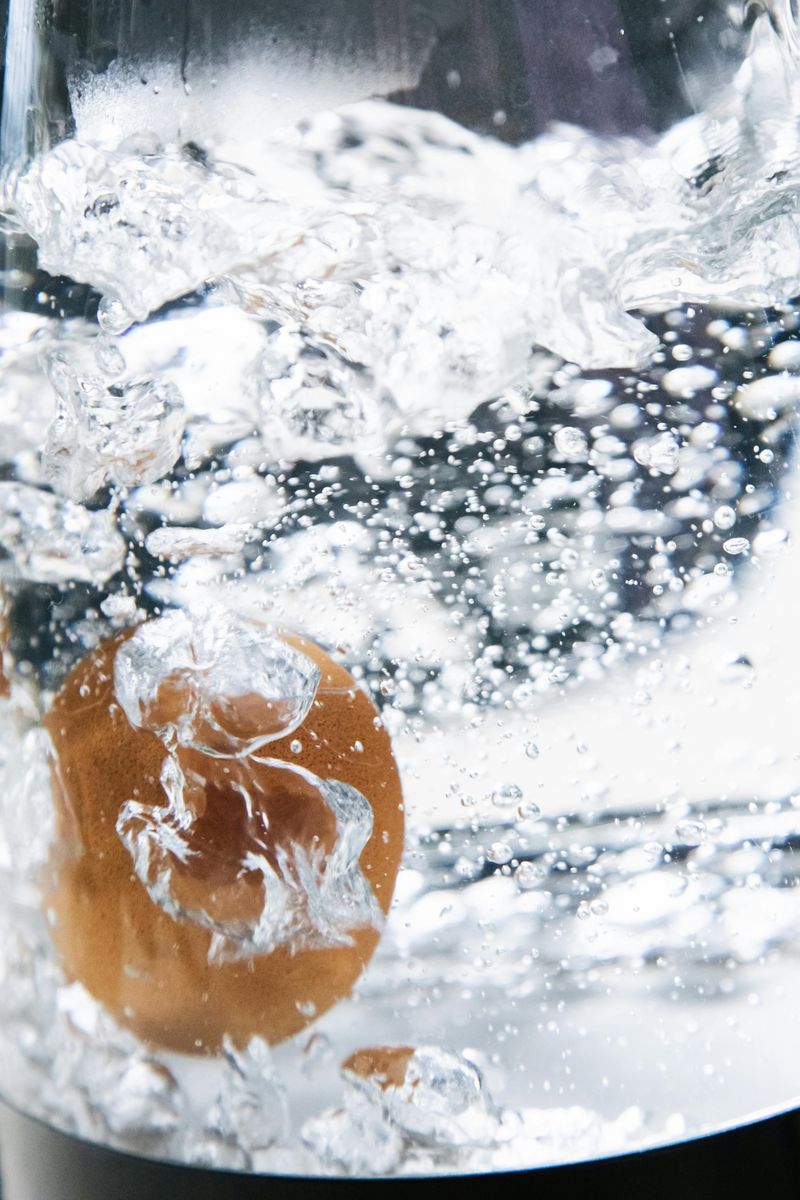
17. Test Egg Freshness In Water Before Using Older Eggs
Not sure if those eggs are still good? Drop them in water and let physics do the talking.
Fresh eggs sink and lay flat because they’re dense with minimal air inside.
As eggs age, moisture evaporates through the shell and air pockets grow, making them float. If your egg stands upright or floats completely, it’s past its prime and should be tossed.
Eggs that sink but stand slightly are older but still safe for cooking.