13 Genius Tips To Make Your Bread Truly Irresistible
Nothing beats the aroma of fresh bread baking in your kitchen. A few simple techniques can turn ordinary dough into loaves that are golden, soft, and packed with flavor.
Start with properly measuring ingredients and using the right flour for the type of bread you want, whole wheat, white, or artisan blends all behave differently. Kneading correctly develops gluten, giving your bread structure and chew, while proofing at the right temperature ensures it rises perfectly without collapsing.
Even small touches, like scoring the top for an elegant crust or brushing with butter after baking, can elevate the final result. Experimenting with mix-ins like herbs, cheese, or seeds adds personality and flavor that make every loaf unique.
Whether baking for breakfast, dinner, or a special occasion, these tips will help you impress without stress. Try them out and watch as your homemade bread becomes the highlight of every meal, fresh, warm, and utterly irresistible.
1. Ditch the Measuring Cups and Grab a Scale
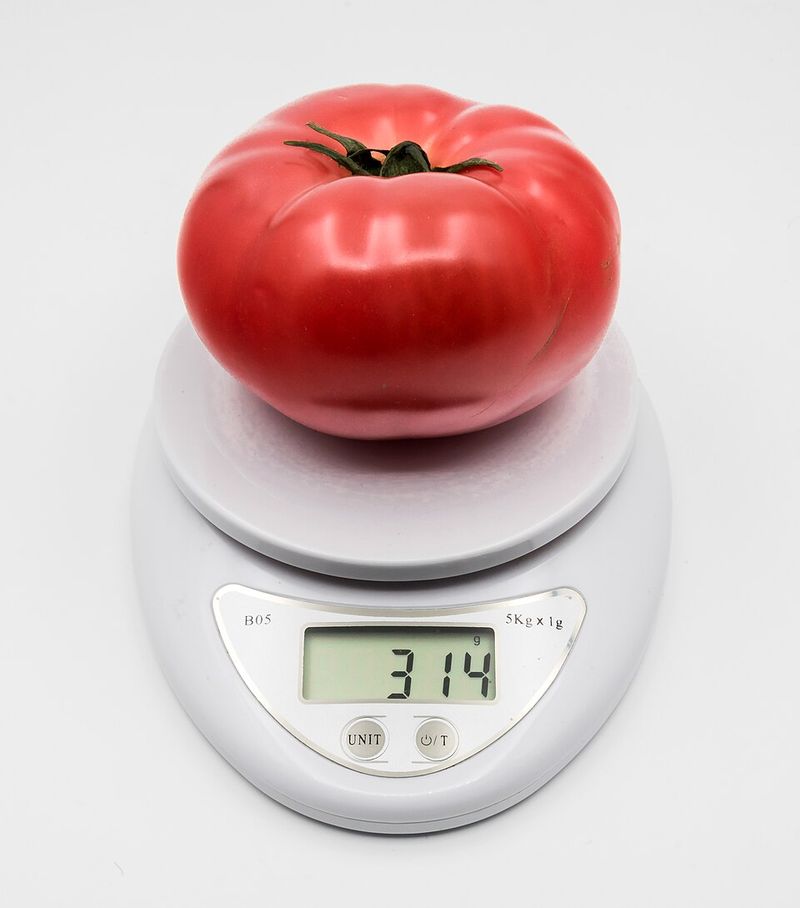
Baking by weight instead of volume is like switching from guessing to knowing. A digital scale removes all the mystery from your measurements, giving you the same perfect results every single time.
Flour can pack down in a cup, making your dough too dry or too wet depending on how you scoop it.
With a scale, you’ll nail the exact amount every time, and your bread will thank you with consistent texture and rise. Professional bakers swear by this method for good reason.
2. Start with Ingredients That Actually Taste Good
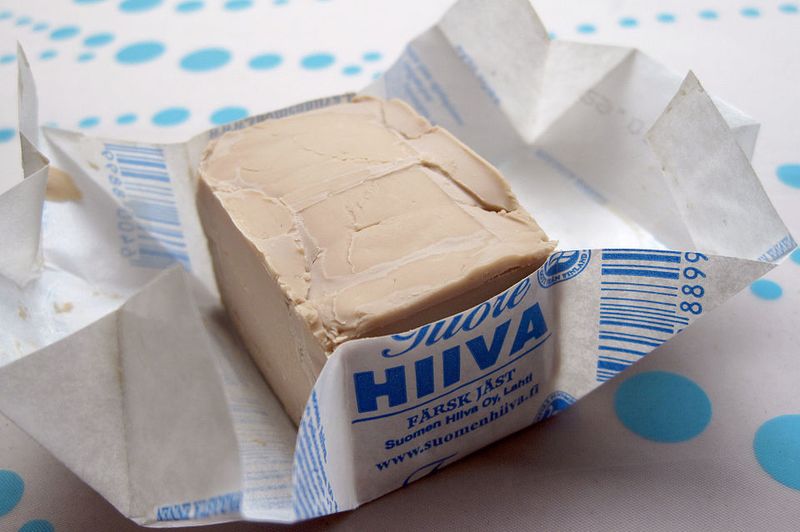
You wouldn’t build a house with cheap materials, right? Same goes for bread.
Fresh yeast that’s still alive and kicking will give your dough the lift it needs, while quality organic flour brings flavor that bland stuff just can’t match. Stale yeast equals flat bread, and low-grade flour tastes like cardboard.
Splurging a little on your base ingredients pays off big time when you bite into that first warm slice. Your taste buds will notice the difference immediately.
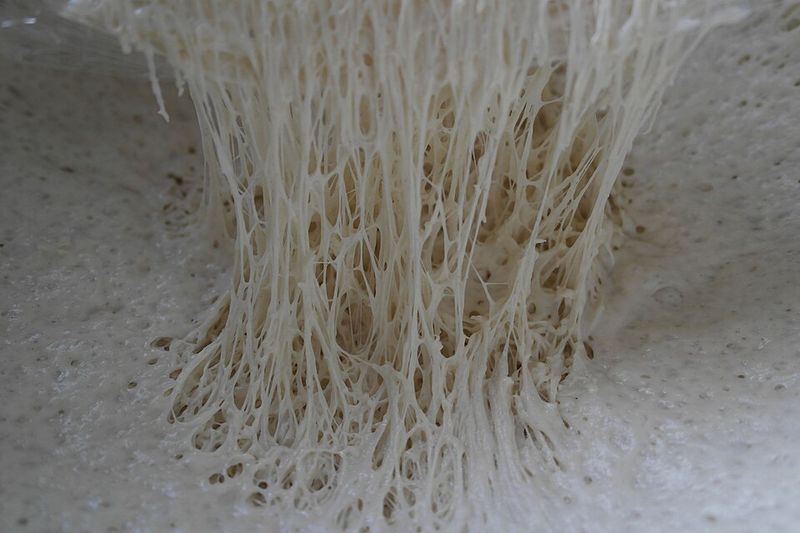
3. Let Flour and Water Get Acquainted First
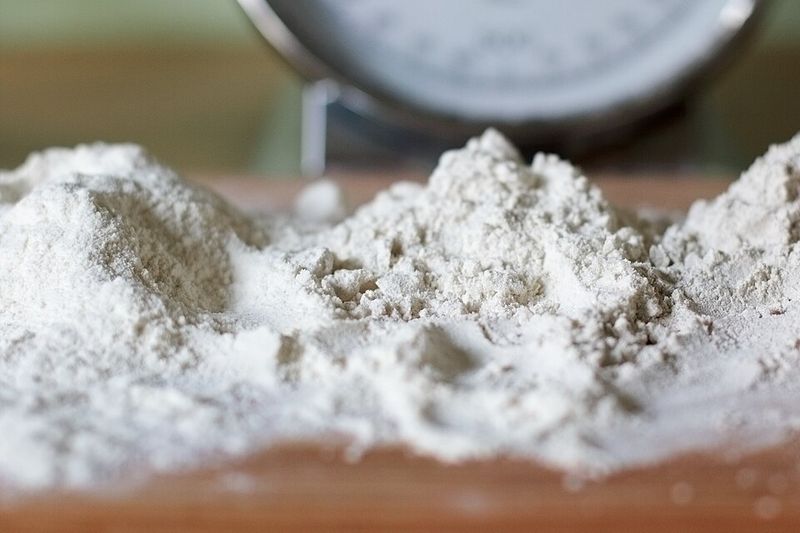
Ever heard of autolyse? It sounds fancy, but it’s just letting your flour and water hang out together before you add anything else.
This simple rest period lets the flour soak up every drop of water, which helps gluten start forming naturally.
The result is dough that’s easier to work with and bread with better texture and deeper flavor. Just mix those two ingredients, walk away for twenty minutes, then come back and finish your recipe.
4. Knead Until Your Dough Gets Smooth and Bouncy
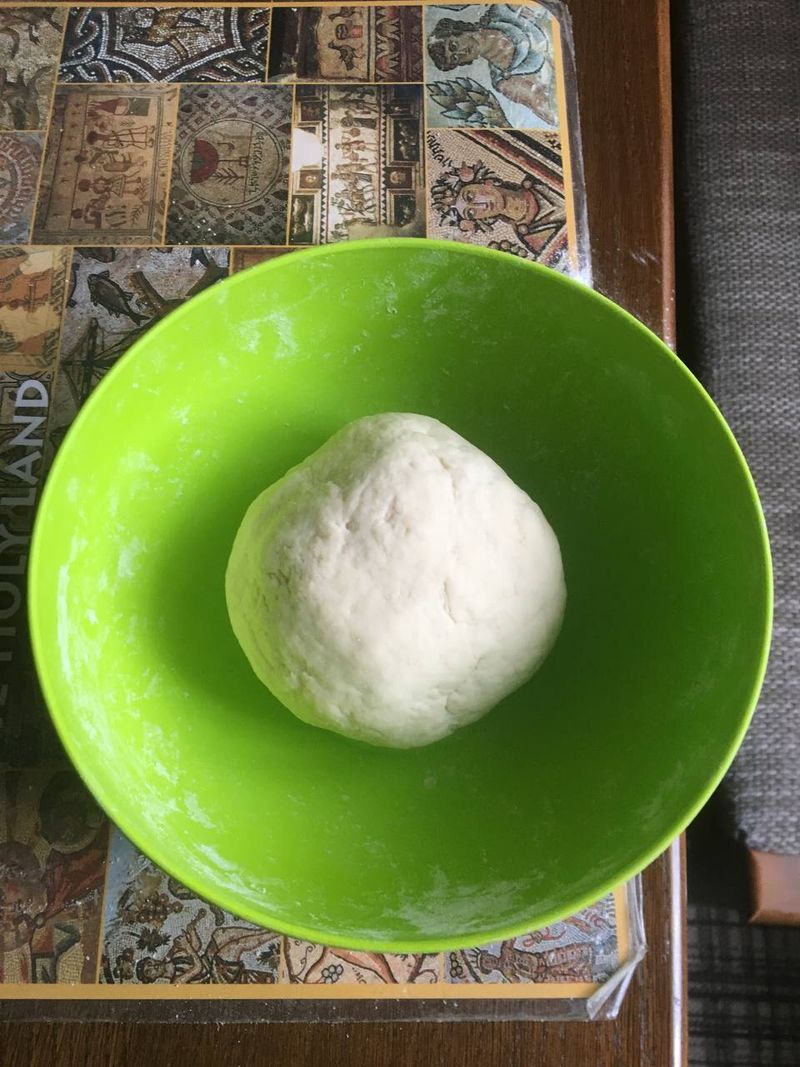
Kneading isn’t just arm exercise; it’s how you build the structure that holds your bread together. Work that dough until it transforms from a shaggy mess into something smooth and elastic that bounces back when you poke it.
This process develops gluten strands that trap air bubbles, giving you that perfect chewy texture instead of a dense brick. Don’t rush it.
Your dough will tell you when it’s ready by feeling alive and springy in your hands.
5. Keep Your Dough at the Perfect Temperature
Yeast is picky about temperature: too cold and it goes to sleep, too hot and it dies. Keeping your dough in the sweet spot (around 75-78°F) means your yeast stays happy and active, doing its job of making your bread rise beautifully.
A simple thermometer takes the guesswork out completely. If your kitchen runs cold, find a warmer spot or use slightly warmer water.
Temperature control is the secret weapon professional bakers use for consistent results.
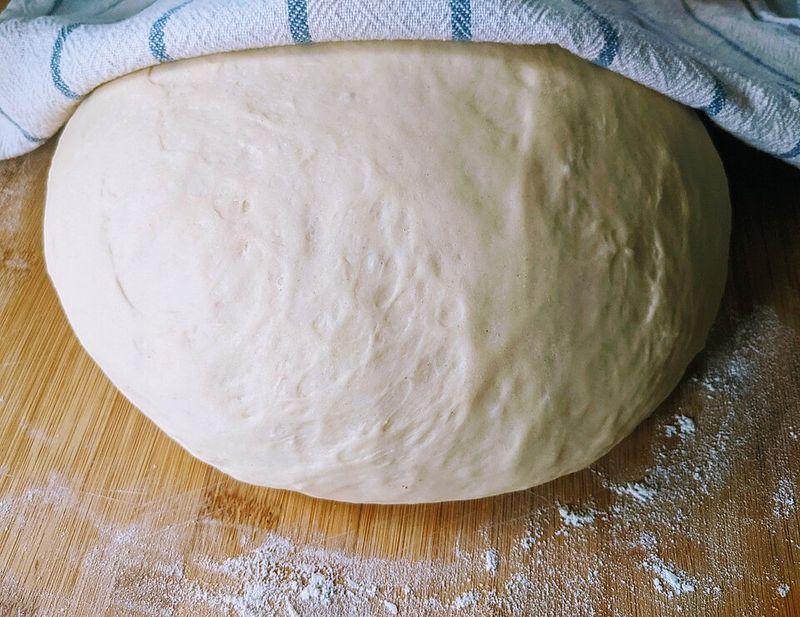
6. Give Your Dough All the Time It Needs
Patience isn’t just a virtue; it’s mandatory for amazing bread.
Rushing the rise is like pulling a cake out of the oven early. Your dough needs time to develop complex flavors and that airy texture you’re after.
When it’s properly risen, it should roughly double in size and feel light and puffy. Sure, waiting can feel like forever when you’re hungry, but good things really do come to those who wait.
Trust the process.
7. Shape Your Loaves Like You Mean It
Shaping isn’t just about making your bread look pretty; it actually affects how it bakes. Creating surface tension by gently pulling and tucking the dough helps your loaf hold its shape and rise evenly in the oven.
Too rough and you’ll knock out all those precious air bubbles you worked so hard to develop. Too gentle and your bread might spread out flat.
Find that sweet spot where you’re firm but kind, and your loaves will reward you.
8. Crank Up That Oven Before Baking
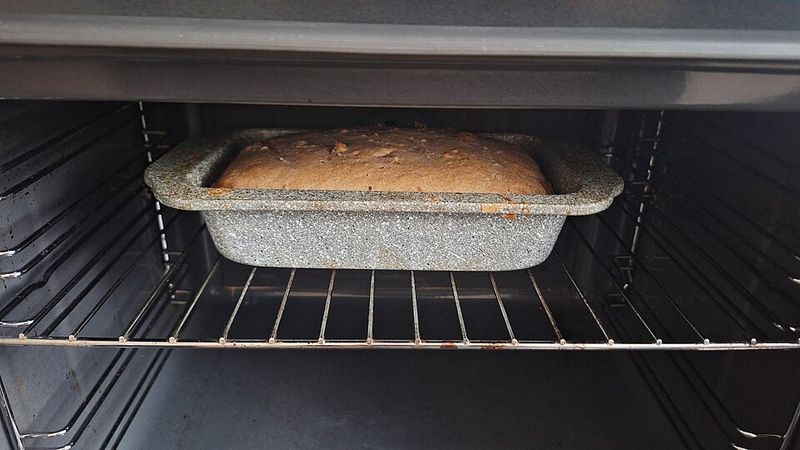
Sliding your bread into a lukewarm oven is a rookie mistake.
Your oven needs to be screaming hot: properly preheated for at least thirty minutes, before your dough goes anywhere near it. That initial blast of heat is what gives you a gorgeous golden crust and helps your bread spring up beautifully.
Without it, you’ll end up with pale, sad-looking loaves that never reached their full potential. Don’t skip this step even when you’re impatient.
9. Add Steam for a Crust That Crackles
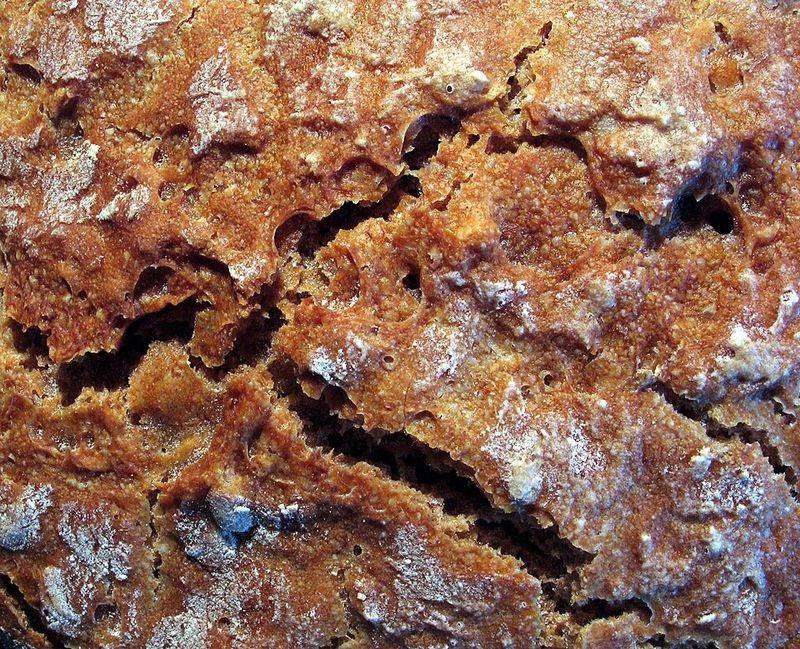
Want that bakery-style crust that crackles when you break it? Steam is your secret ingredient.
Adding moisture during the first few minutes of baking keeps the outside of your dough flexible so it can expand fully before the crust sets.
Then as the steam evaporates, you get that gorgeous crispy exterior. Toss some ice cubes in a pan at the bottom of your oven or spritz with a spray bottle.
Your crust will go from meh to magnificent.
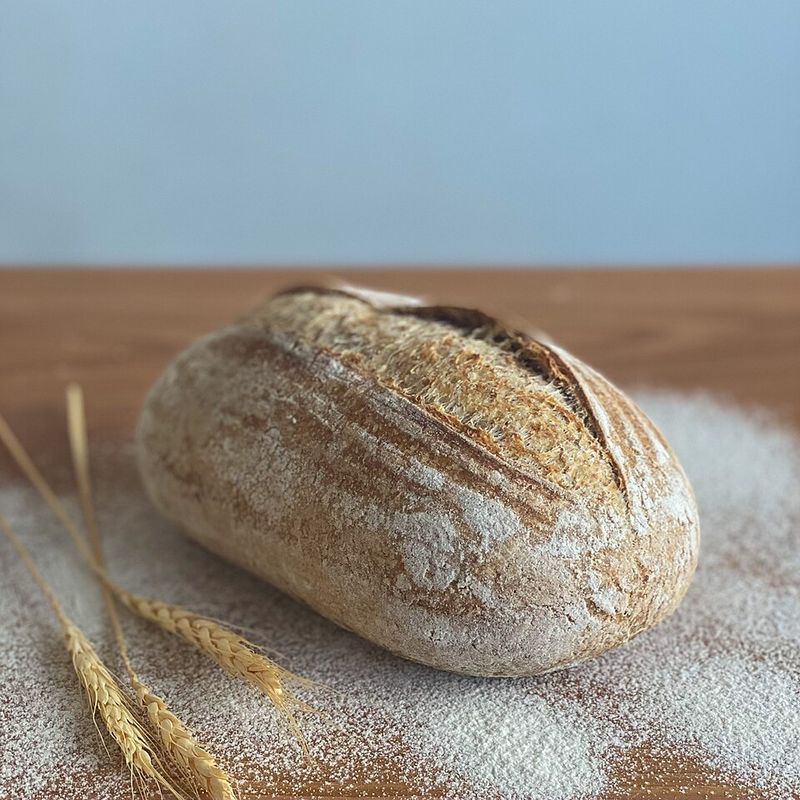
10. Score Your Dough Before It Hits the Heat
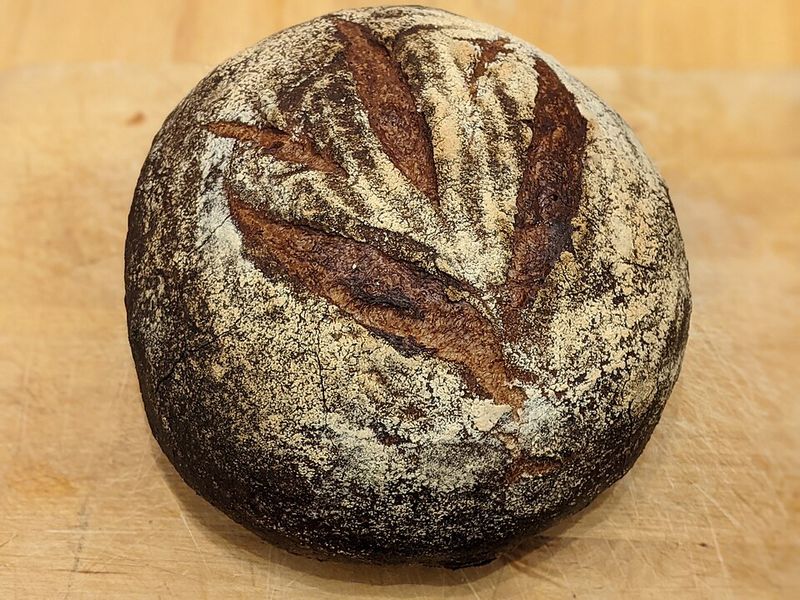
Those pretty slashes on artisan bread aren’t just for show. Scoring gives your bread a place to expand during baking instead of bursting randomly wherever it feels like it.
Use a razor-sharp blade or bread lame to make quick, confident cuts right before your loaf goes in the oven.This simple step controls how your bread rises and adds that professional bakery look. Plus, watching your scores open up in the oven is oddly satisfying.
11. Resist the Urge to Slice Too Soon
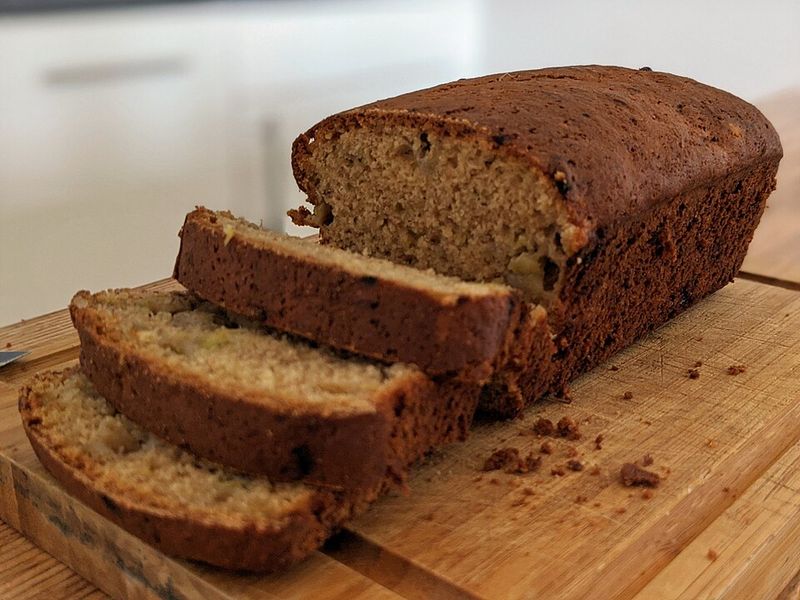
This might be the hardest tip to follow because warm bread smells absolutely incredible. But cutting into it too early releases all the steam still trapped inside, leaving you with gummy, doughy texture instead of perfect crumb.
The inside is actually still baking as it cools, and the flavor continues developing. Give it at least an hour to fully set up.
Your self-control will be rewarded with slices that hold together beautifully and taste even better.
12. Throw in Some Exciting Mix-Ins
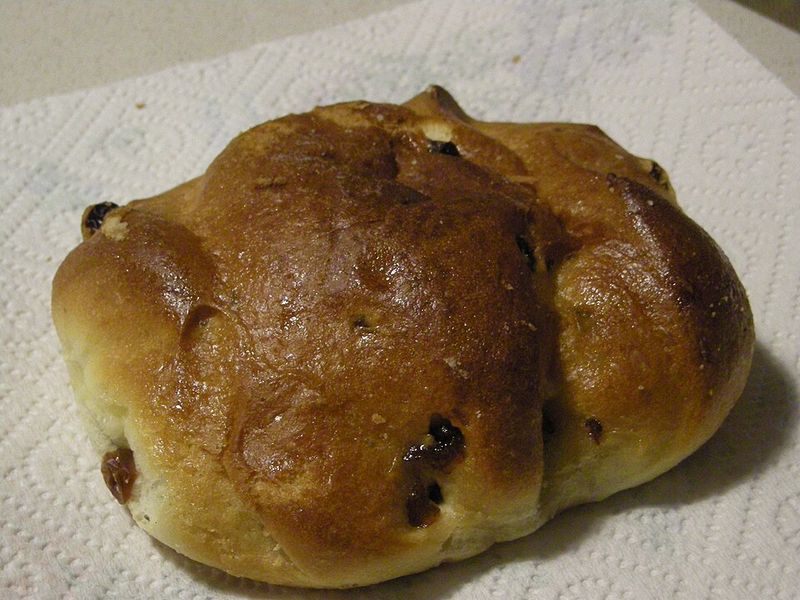
Basic bread is great, but why stop there when you can jazz it up?
Folding in rosemary and sea salt, toasted nuts, dried fruit, or seeds takes your loaf from simple to spectacular. These additions add pops of flavor and interesting textures that make every bite an adventure.
Start with small amounts so they don’t overwhelm your dough, then experiment until you find your favorite combinations. Suddenly your homemade bread becomes truly one-of-a-kind.
13. Track Your Baking Adventures in a Journal
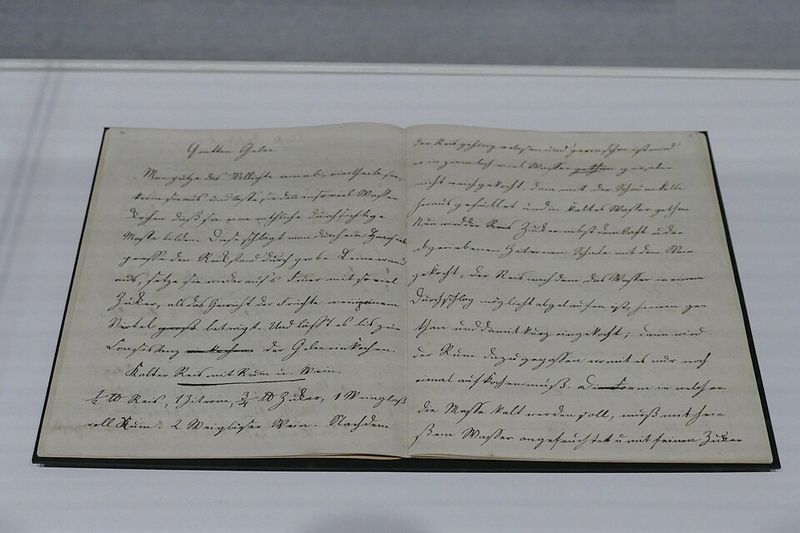
Memory is unreliable, especially when you’re tweaking recipes and trying new techniques. Keeping a simple baking journal lets you record what worked, what flopped, and what you want to try next time.
Write down your ingredient amounts, rising times, oven temperature, and how the bread turned out.
Over time, you’ll spot patterns and figure out exactly what produces your best loaves. It’s like having a conversation with your future baker self.