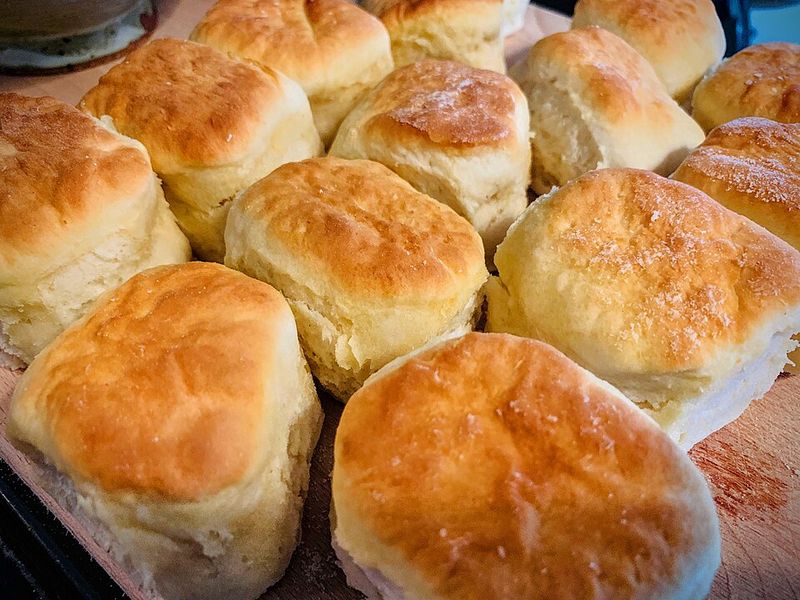
13 Common Mistakes Made When Using Canned Biscuits
That biscuit can pop is the loudest jump scare in the kitchen.
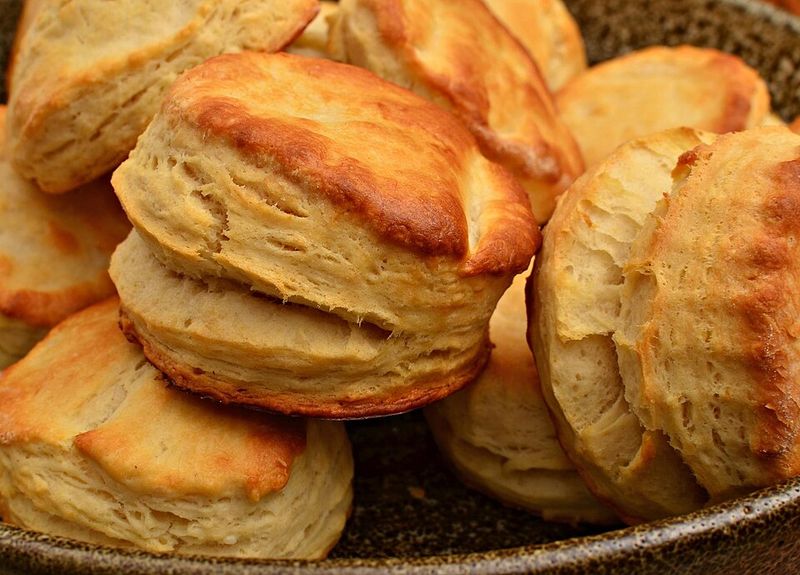
You expect fluffy, golden perfection… and sometimes get sad little dough coasters instead. Even this easy shortcut has a few sneaky ways to go wrong.
Let’s make sure your biscuits rise to the occasion.
1. Baking Before The Oven Is Fully Preheated
You slide the tray in before the oven beeps, thinking five degrees won’t matter.
Cold starts give biscuits a slower rise instead of the quick puff they crave. The dough spreads outward instead of climbing upward, and you end up with hockey pucks instead of pillows.
Preheating is the secret handshake between your oven and the dough. Wait for that beep, then watch the magic happen like a Saturday morning cartoon transformation.
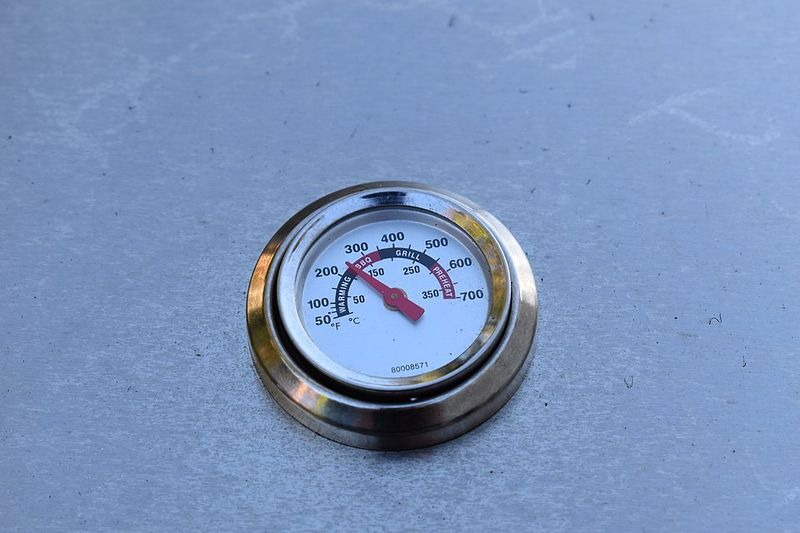
2. Trusting The Oven Dial Instead Of Checking The Real Temperature
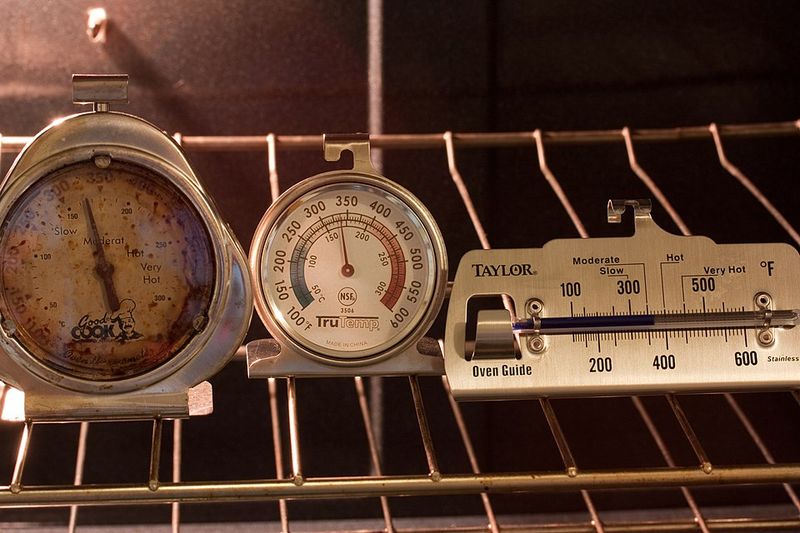
Your oven dial says 375, but inside it’s running a secret fever of 400. Ovens lie more than a kid caught with cookie crumbs on their shirt.
An oven thermometer costs less than a fancy coffee and tells you the truth every single time.
Biscuits baked in mystery heat come out scorched on the bottom and doughy in the middle. Accuracy turns guesswork into a weeknight win.
3. Crowding The Biscuits So They Steam And Bake Pale
Crowding them onto one pan turns biscuits into subway riders at rush hour. Proper baking calls for a little breathing room between each piece of dough.
Once they press together, trapped steam keeps tops pale instead of turning that golden shade everyone hopes for on a relaxed Sunday morning.
Give each round space like polite strangers at a bus stop, and crispy edges with soft, fluffy centers will follow. Good spacing truly makes all the difference.
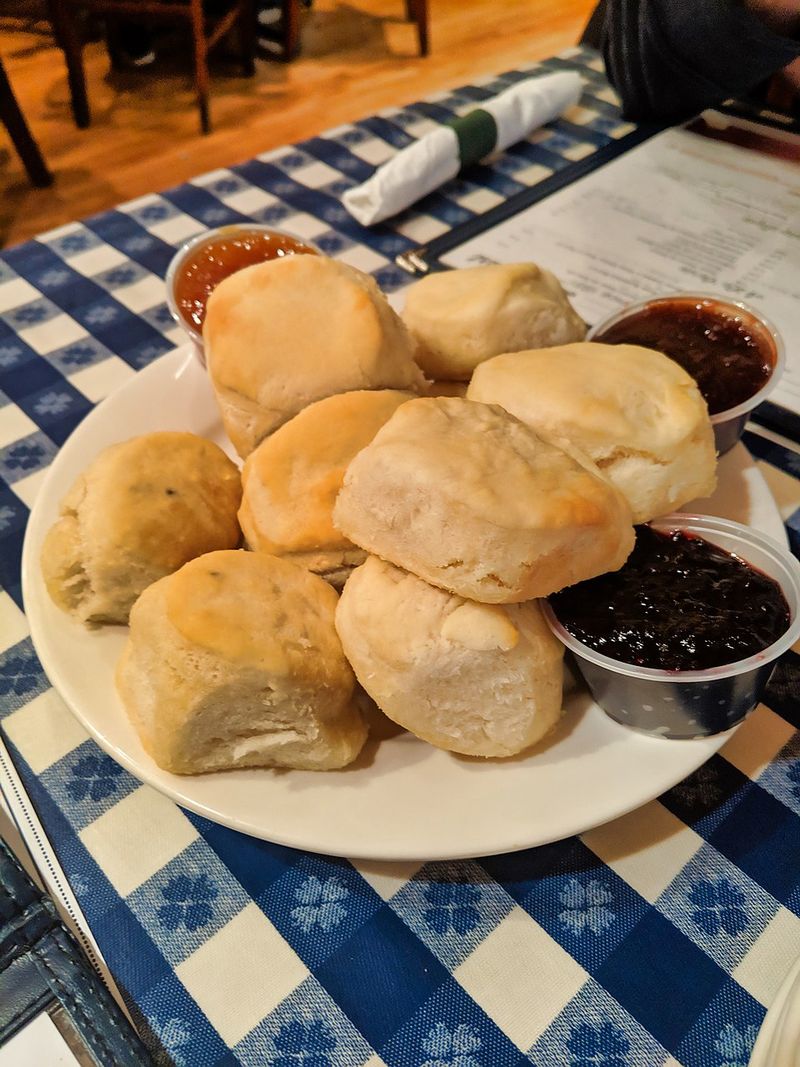
4. Spacing Them Wrong For The Result You Want
Here’s the plot twist: sometimes you want them to touch.
Biscuits baked side by side grow tall and pull apart in soft layers, perfect for sopping up gravy on a cozy weeknight dinner.
Space them apart and they brown all around, turning crispy and sturdy enough to hold a breakfast sandwich. Know your mission before you commit to a formation.
Strategy wins every time.
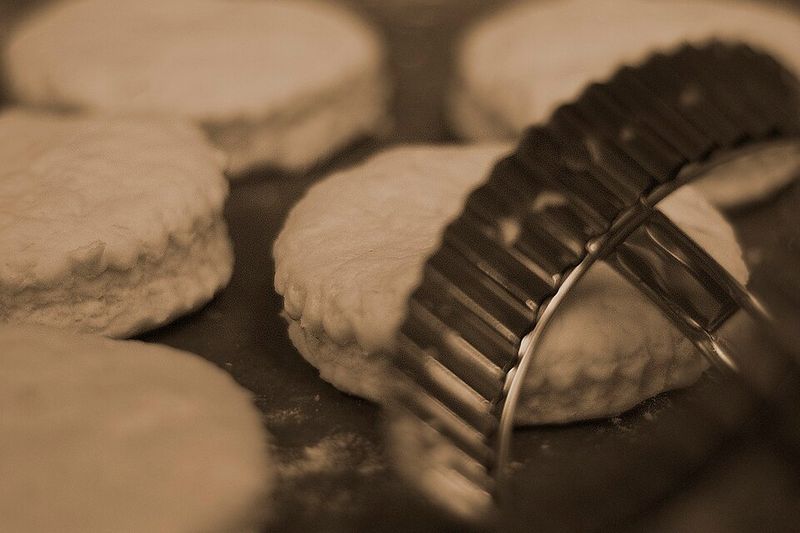
5. Twisting A Cutter And Sealing The Edges
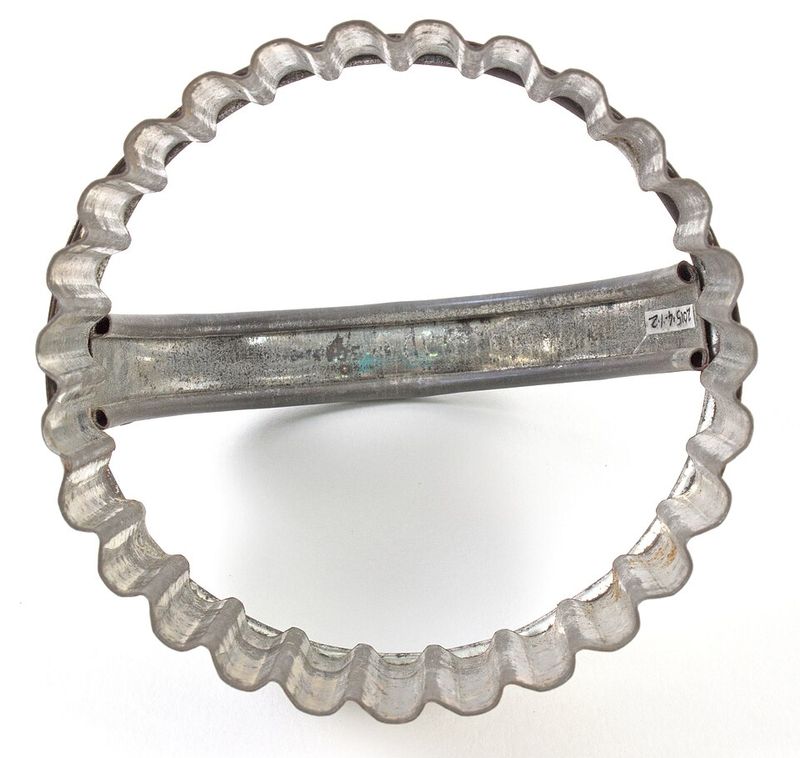
You twist the cutter like opening a jar of pickles, and the dough edges pinch shut. Sealed edges mean stunted rise, like trying to inflate a balloon with a knot in it.
Press straight down and lift straight up.
The clean cut leaves the layers free to separate and climb skyward during baking. It’s the difference between a biscuit that puffs like a cloud and one that sulks like a pancake.
6. Pressing Down Too Hard And Compressing The Dough
Leaning into the cutter like a tool meant to punch through the counter below does more harm than good.
Excess pressure flattens the delicate layers the dough worked so hard to build. Those layers create the flaky magic that makes biscuits far better than ordinary bread.
Use a gentle, confident press instead, treating the dough like a sleepy cat that needs a steady but careful touch.
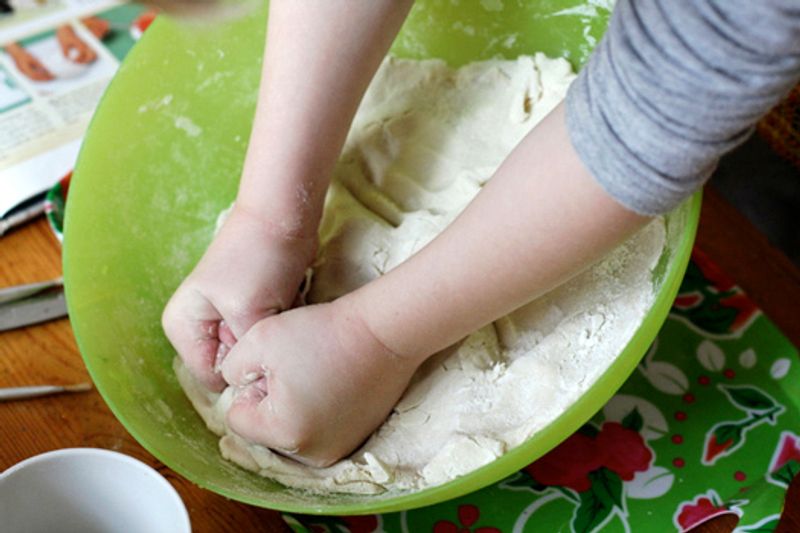
7. Overhandling The Dough After Separating The Pieces
Suddenly playing sculptor after popping open the can leads to smoothing and shaping each biscuit like it belongs in a gallery. Every extra poke and pat develops gluten, turning tender dough into something far too chewy.
Canned biscuits come pre-portioned and ready to bake without extra handling.
Set them on the pan and step back, since a hands-off approach becomes the real secret behind an after school snack that actually impresses the kids.
8. Skipping Parchment Or Greasing, Then Dealing With Stuck Bottoms
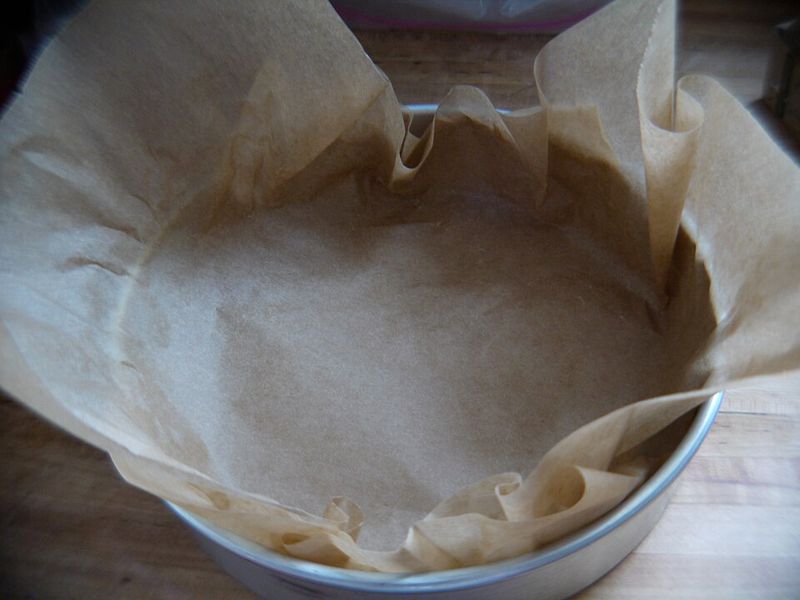
Assuming a pan is nonstick enough often leads to tossing biscuits in without any barrier. Ten minutes later, stuck bottoms turn into a scraping session that leaves half behind like a bad breakup.
Parchment paper costs less than frustration and saves plenty of kitchen heartbreak every time. A quick swipe of butter or a simple sheet of parchment makes cleanup almost instant.
Small effort brings a big payoff, especially during a busy weeknight rush.
9. Using A Pan That’s Too Dry And Risking Scorching Or Sticking
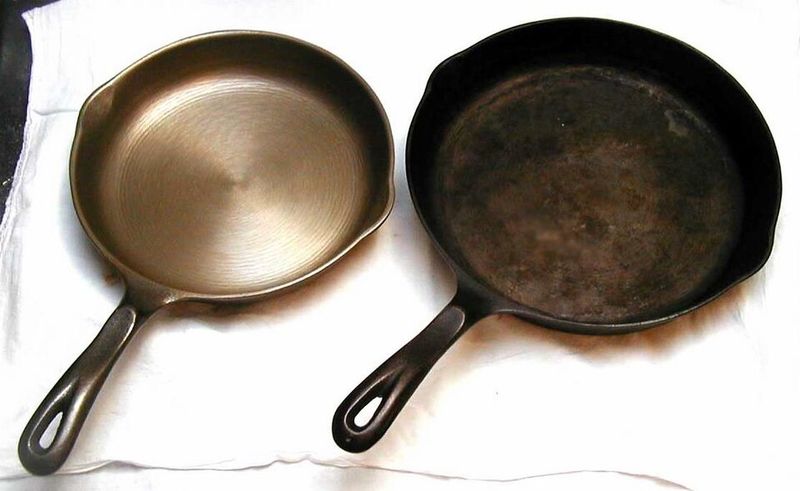
Cast iron is gorgeous, but if it’s bone dry, your biscuits will stick stubbornly to the bottom like they signed a lease.
A light coating of oil or butter keeps things moving and adds a crispy, golden crust that makes every bite feel like a diner breakfast.
Even nonstick pans appreciate a little help.
Grease is not the enemy; it’s the friend who shows up early to help you set up for the party.
10. Baking On An Awkward Rack Position And Getting Uneven Browning
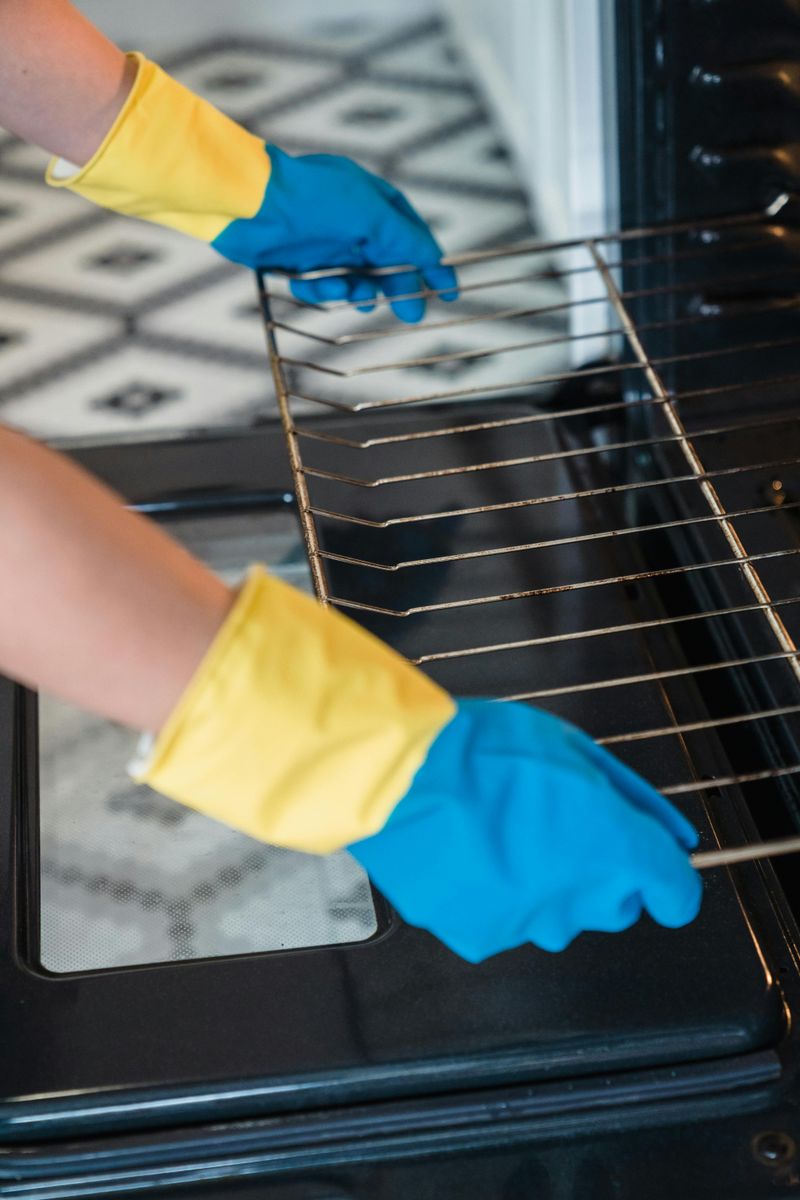
Placing the pan on the top rack just because it is empty often leads to overbrowned tops and pale bottoms.
Middle rack acts as the Goldilocks zone with even heat from all sides and no surprises. Upper rack scorches while lower rack bakes slowly and sadly.
Keeping pans centered turns every batch into a bakery style win, even on a Tuesday night when you are half asleep.
11. Forgetting To Move Them To A Rack, So Steam Softens The Bottoms
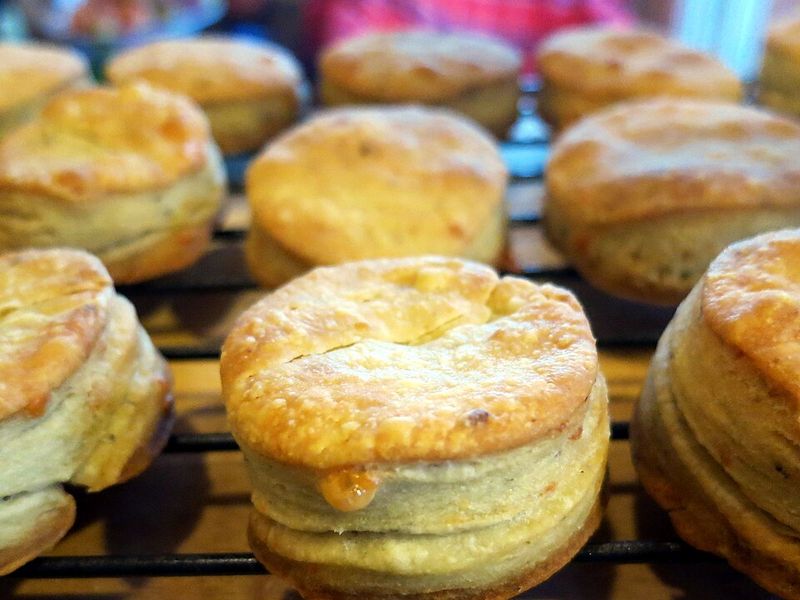
Biscuits come out perfect, and you leave them on the hot pan while you pour coffee and check your phone.
Trapped steam turns crispy bottoms into softened bottoms faster than you can say “breakfast fail.” A wire rack lets air circulate and keeps every surface exactly as you baked it.
Transfer them the second they’re cool enough to touch. Your future self will thank you with every crunchy, flaky bite.
12. Letting Them Cool On The Hot Tray
The pan is still radiating heat like a tiny campfire, and your biscuits are sitting there absorbing every degree.
Carryover cooking turns golden bottoms into dark, tough crusts while the tops stay soft. It’s like leaving cookies in a car on a summer day: nothing good comes from it.
Slide them off the tray within a minute or two, and you lock in that perfect texture for your cozy dinner or quick lunch break treat.
13. Letting The Dough Warm Up Too Much Before Baking
Opening the can and then getting distracted by a text, a doorbell, or a cat demanding breakfast throws off the whole plan. Warm dough spreads instead of puffing up, leaving flat, greasy rounds that look like they gave up halfway through baking.
Chilled dough keeps its shape and rises tall, giving that bakery fresh lift every single time.
Keeping biscuits cool until the oven is ready makes even a late night snack run feel like a five star moment.
Disclaimer: This article is provided for general informational and entertainment purposes.