12 Practical Doughnut Tips Worth Noting
Why do doughnuts feel so simple… until you try making them at home? One wrong move and suddenly it’s flour everywhere, oil nerves, and a batch you pretend was “rustic.”
Follow these tips, and your next batch has a much better shot at turning out light, golden, and bakery-worthy.
1. Weigh Ingredients
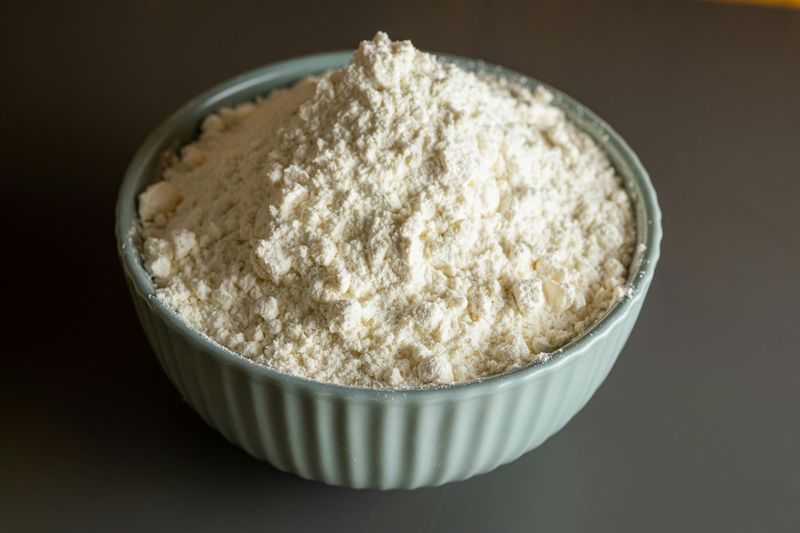
Flour spills past a measuring cup, leaving a fine white cloud everywhere except where accuracy actually matters. Precision changes everything once dough texture comes into play.
Weighing flour, sugar, and butter keeps batches consistent, ending the guessing game over why last week’s doughnuts felt airy while today’s turn out dense.
Kitchen scale use removes the mystery completely. Guesswork about tightly packed cups or loose scoops disappears.
Weekend baking settles into a satisfying rhythm where results become reliably, comfortably predictable.
2. Mix Gently
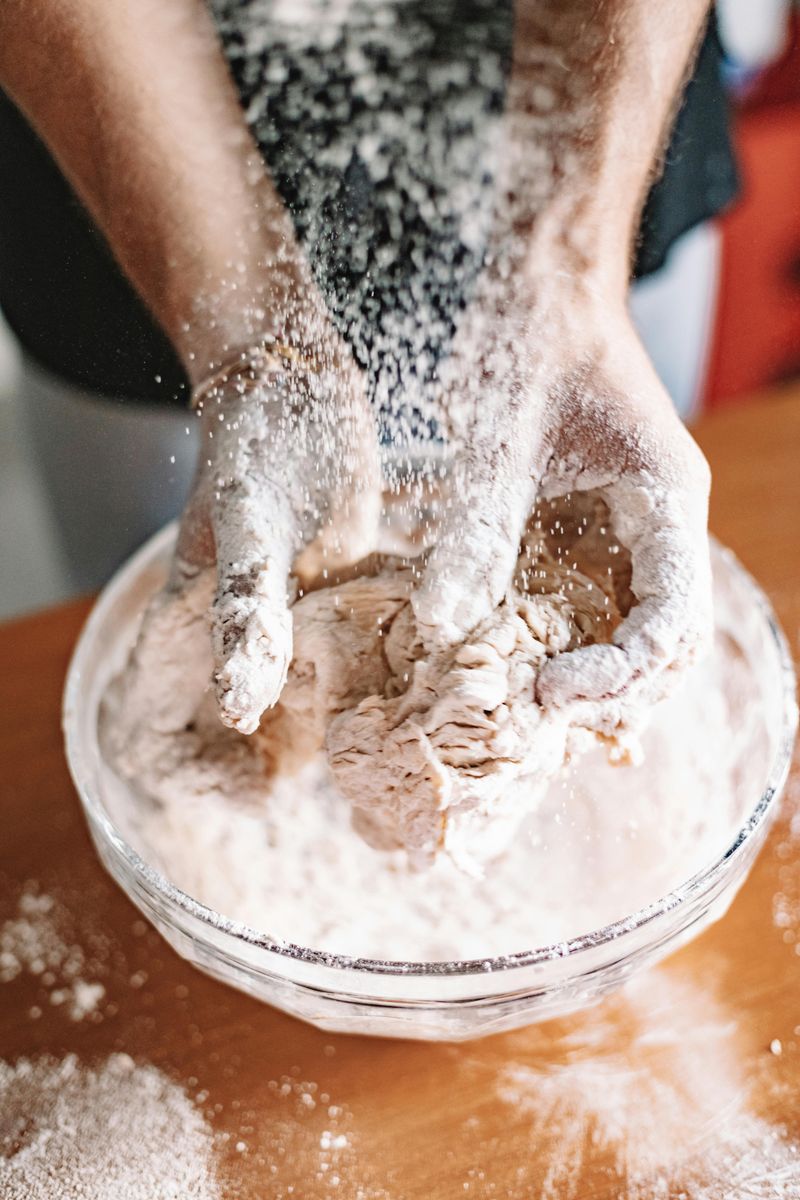
Overmixing can turn tender dough into something tough and chewy. Gluten develops fast under aggressive stirring, and before you know it, your doughnuts can end up dense and firm.
Fold ingredients together just until combined.
Stop when streaks of flour barely disappear. The dough should feel soft and slightly shaggy, not smooth like playdough.
Gentle hands equal pillowy bites every single time.
3. Rise Fully
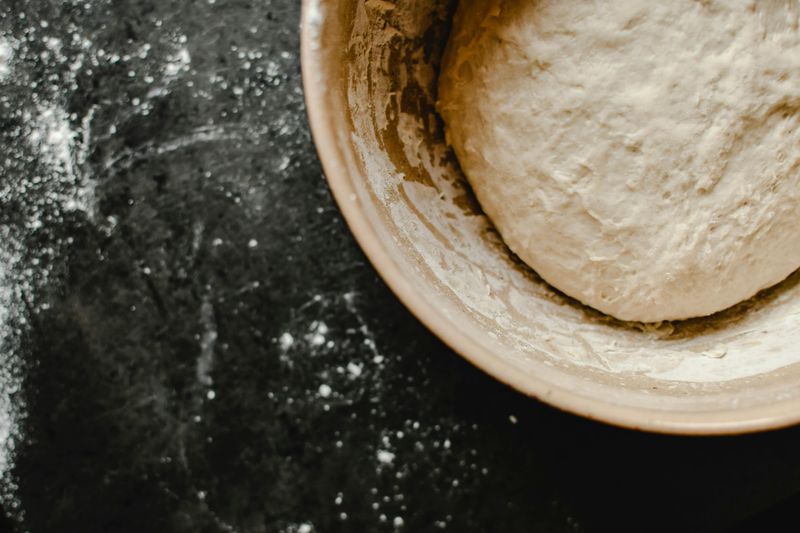
Rushing the rise robs doughnuts of their signature airiness. Yeast needs time to work its bubbly magic, creating those tiny pockets that make each bite cloud-like.
Cover the bowl with a damp towel and let it sit somewhere cozy until the dough doubles. Patience here pays off in texture you can feel with every forkful.
Under-proofed dough fries up dense and heavy, with less lift in the crumb.
4. Roll Evenly
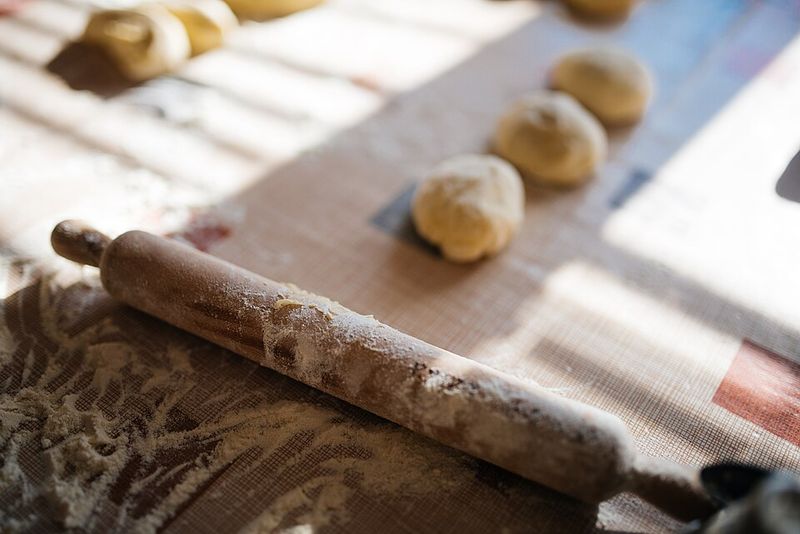
Uneven dough means some doughnuts cook faster than others.
Roll everything to a consistent half-inch thickness, checking with your fingers as you go. Thin spots turn crispy before thick centers finish cooking, leaving you with uneven shapes and uneven browning.
Even pressure on the rolling pin keeps frying predictable. Every doughnut hits the oil with the same head start, so they all finish together, golden and gorgeous.
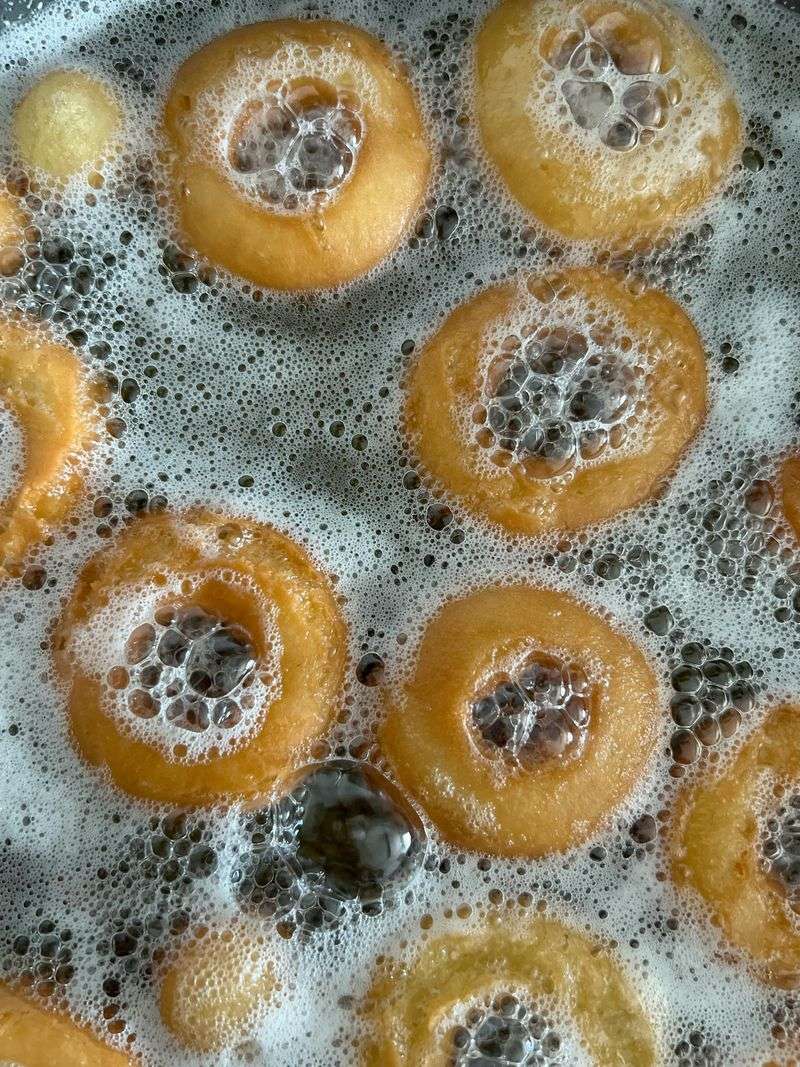
5. Chill Before Frying
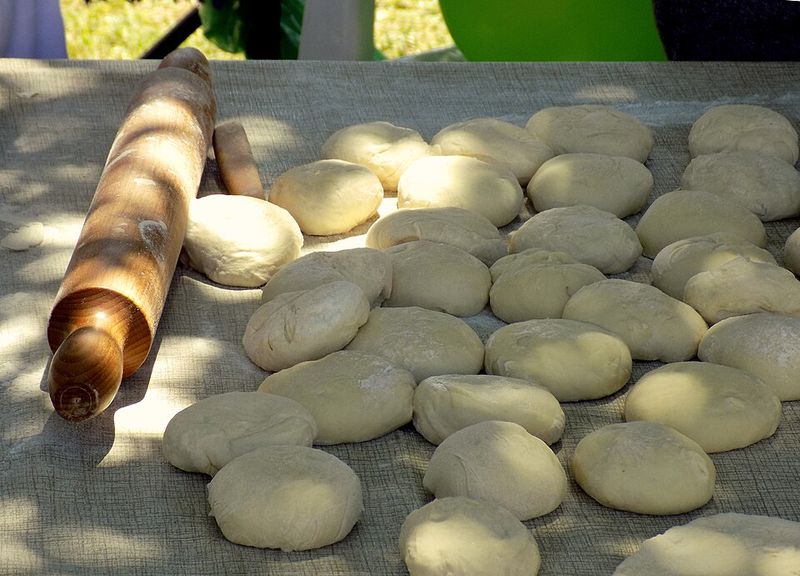
Cold dough holds its shape like a champ and soaks up way less oil.
Pop cut doughnuts in the fridge for fifteen minutes before they hit the fryer. Room-temperature dough spreads and absorbs grease, leading to doughnuts that absorb more oil and lose definition.
Chilled rounds slide into hot oil and puff up clean, keeping that signature ring shape intact. Crispness starts with a quick chill, not wishful thinking.
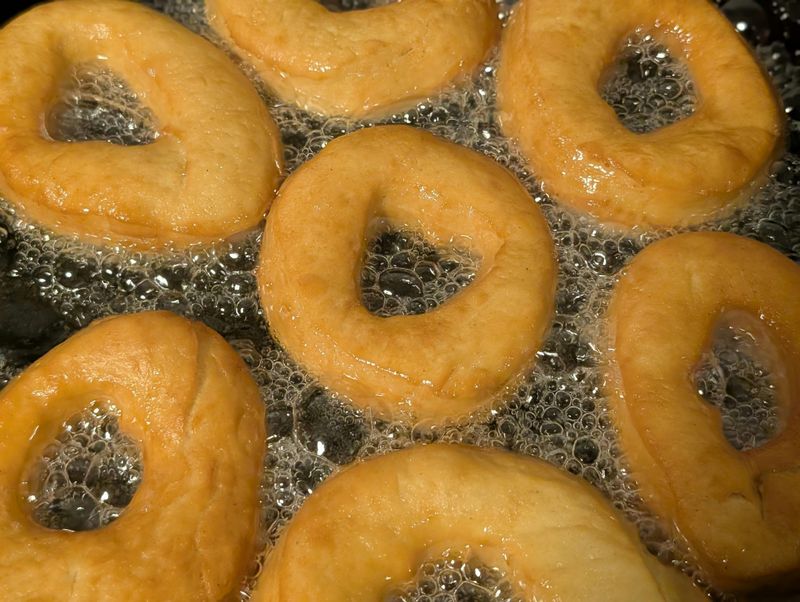
6. Control Oil Heat
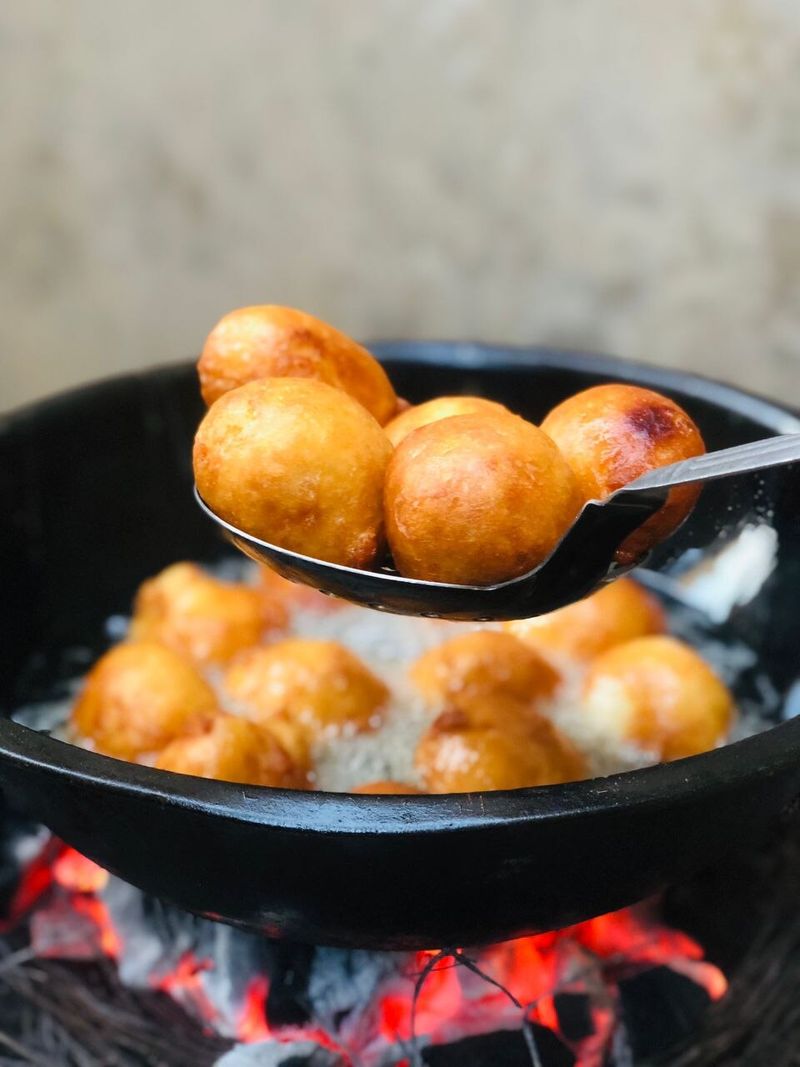
Oil temperature swings ruin texture faster than anything else. Too cool, and doughnuts turn into greasy sponges.
Too hot, and they burn outside while staying raw inside. Keep a thermometer clipped to the pot and hold steady between 350 and 375 degrees.
Adjust the burner as needed, because guessing never works. Stable heat delivers that perfect golden crust with a fluffy middle worth bragging about.
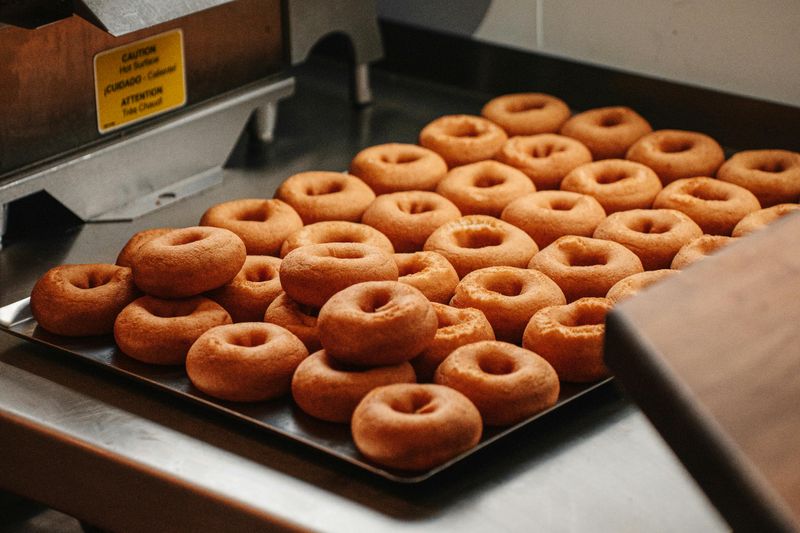
7. Fry In Batches
Crowding the pot drops oil temperature like a rock.
Fry three or four doughnuts at a time, leaving space for them to bob and flip without bumping into each other. Packed pans mean uneven cooking and soggy results that taste more like oil than dough.
Give each round room to breathe. Patience here means every doughnut cooks at the same speed, emerging crisp on the outside and light on the inside.
8. Flip Once
Constant flipping messes up the crust and leaves doughnuts looking rough.
Turn each one just once, when the bottom side turns deep golden. Too much poking and prodding ruins that smooth, even finish you’re chasing.
Let the first side cook undisturbed, then flip and walk away. Minimal handling keeps the surface silky, so glaze sits pretty instead of pooling in dents and divots.
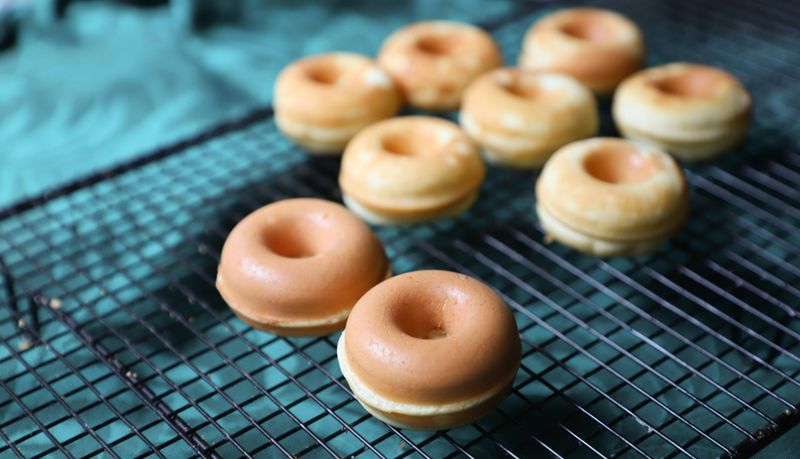
9. Drain On Racks
Paper towels trap steam and turn crispy crusts soggy fast. Set fried doughnuts on a wire rack instead, letting air circulate all around.
Oil drips away clean, and the bottoms stay as crunchy as the tops. Racks also cool things down evenly, so you avoid that dreaded steamed, soggy-bottom texture.
Airflow preserves crispness better than any towel trick ever could.
10. Glaze Warm
Warm doughnuts set glaze like magic.
Dip them while they’re still slightly hot, and the coating clings smooth and even, hardening into that glossy shell bakeries charge extra for. Cold doughnuts reject glaze, leaving streaky patches and puddles that never quite set right.
Timing matters here more than recipe tweaks. Glaze while the heat lingers, and you’ll nail that professional finish every single time.
11. Pipe Fillings
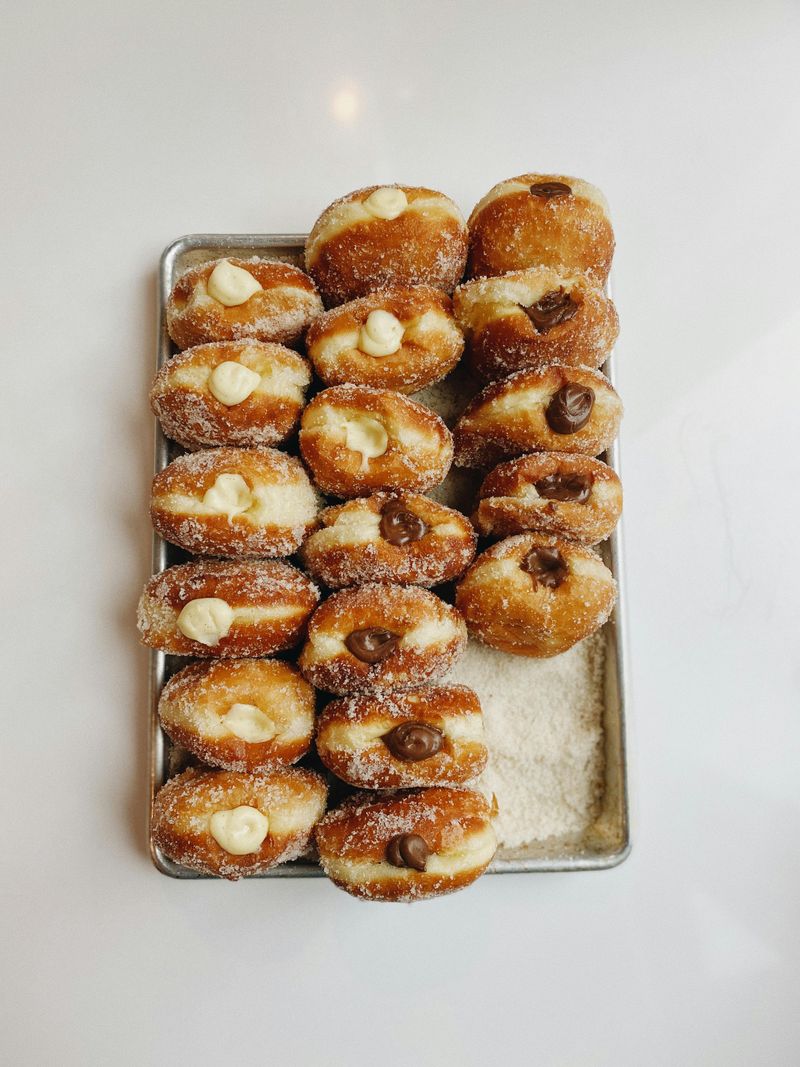
Spooning filling into doughnuts turns messy fast, with jam or cream squirting out the wrong side.
Use a piping bag with a narrow tip, poking it gently into the side and squeezing slow and steady. Controlled pressure keeps everything neat, so every bite delivers filling without the sticky-finger aftermath.
A pastry bag costs a few bucks and saves endless cleanup. Precision beats guesswork when custard’s involved.
12. Check Color
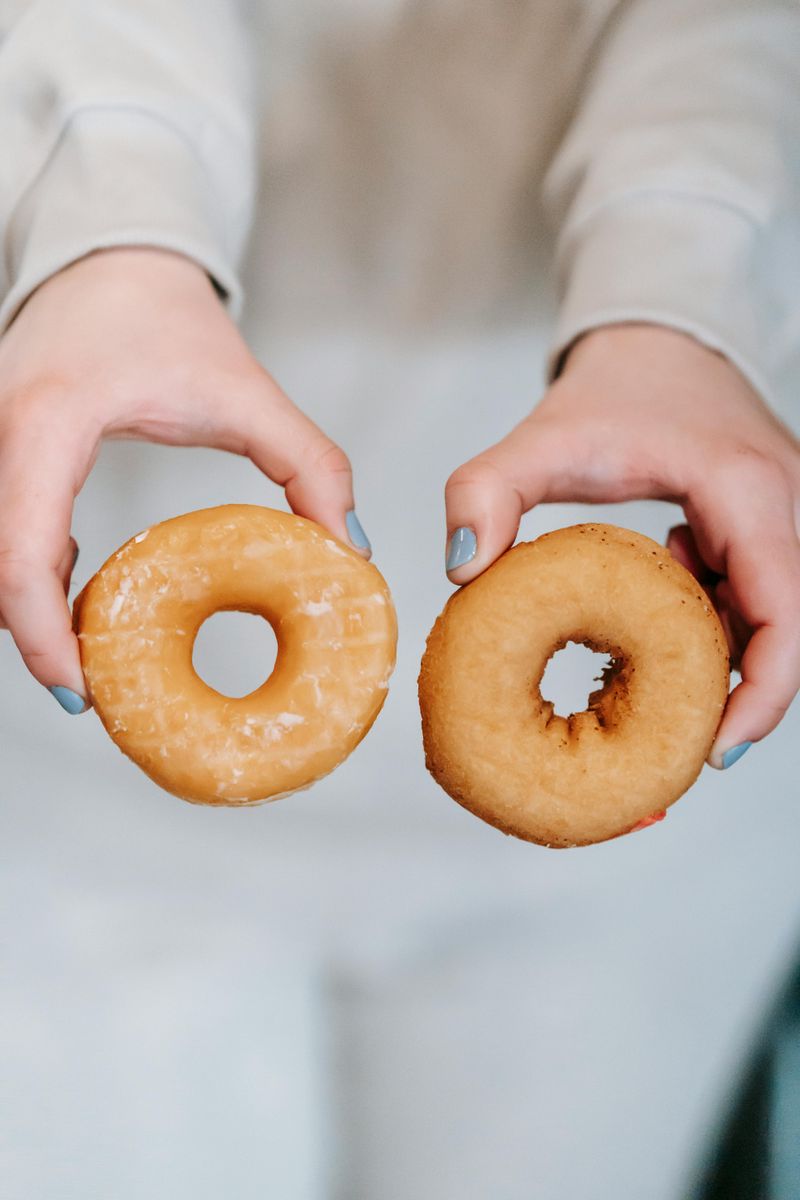
Even browning signals proper doneness better than any timer.
Watch for a deep golden hue on both sides, not pale yellow or dark mahogany. Pale means undercooked and doughy inside, while too dark tastes burnt and bitter.
Trust your eyes over the clock. Doughnuts tell you when they’re ready by turning that perfect caramel shade that makes your mouth water before you even take a bite.
Note. Information in this article reflects widely used home-baking practices for yeast-raised doughnuts and common deep-frying temperature guidance available at the time of writing.