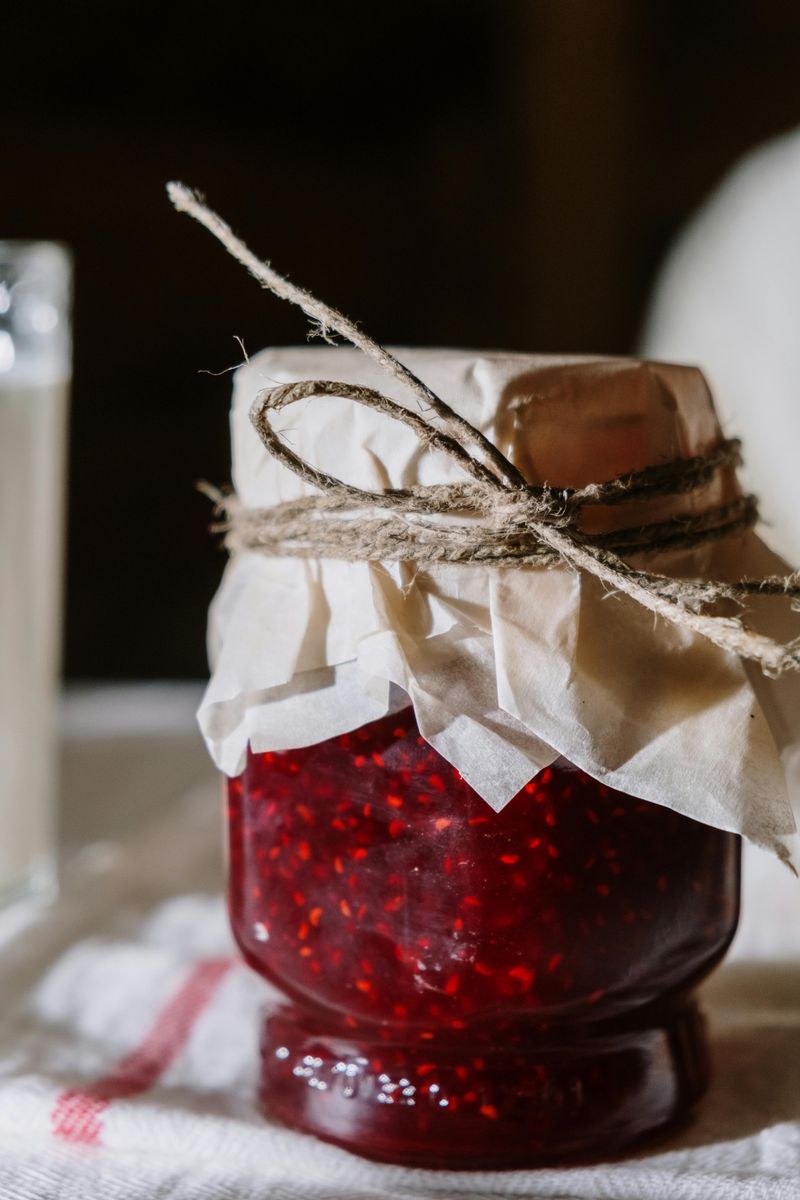
Turn Sweet Raspberries Into Homemade Jam With Just Three Simple Ingredients
There’s something magical about transforming a carton of fresh raspberries into a jar of ruby-red jam that captures the essence of summer.
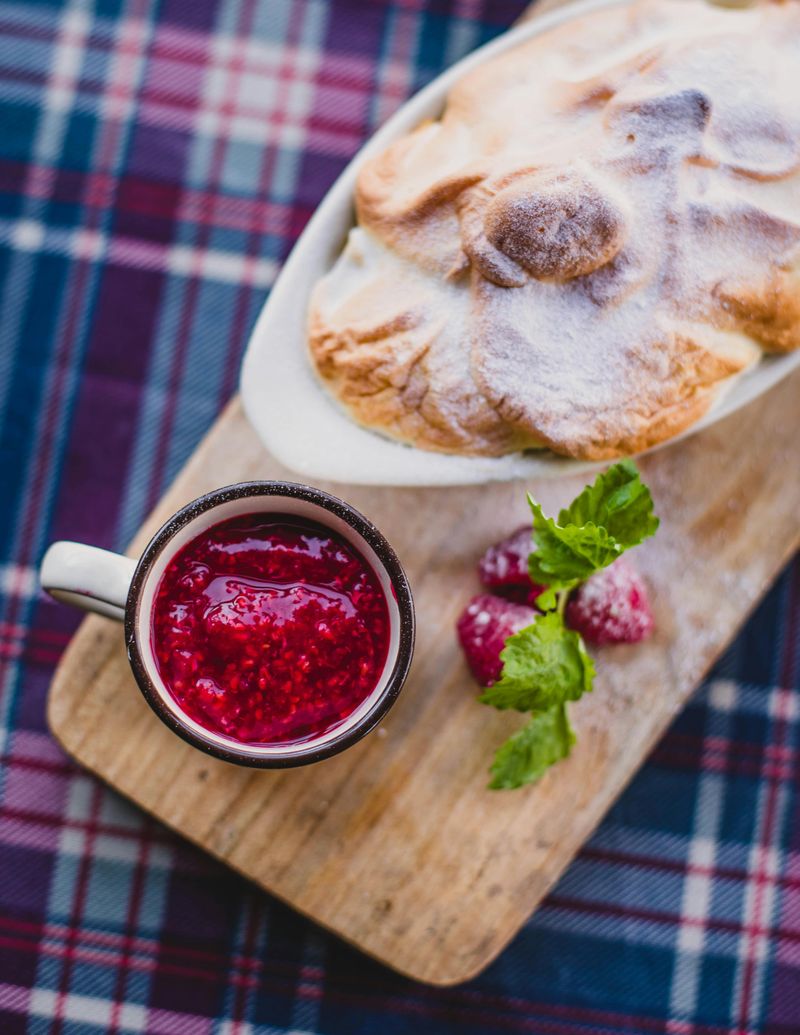
This straightforward preserve requires nothing more than berries, sugar, and a splash of lemon juice: no fancy equipment or canning expertise needed.
With just a simple pot and about 15 minutes of your time, you can create something truly special that brings homemade goodness to your breakfast table.
1. Why This Method Works So Well
The beauty of this recipe lies in its simplicity and the natural chemistry between its three components. Raspberries contain pectin within their cell walls, which gets released during cooking.
When combined with sugar and the acidity from lemon juice, this pectin forms a gel that gives the jam its signature thick, spreadable texture.
The lemon also brightens the berries’ natural sweetness while adding its own pectin to help everything set properly.
2. Fresh Versus Frozen Berries
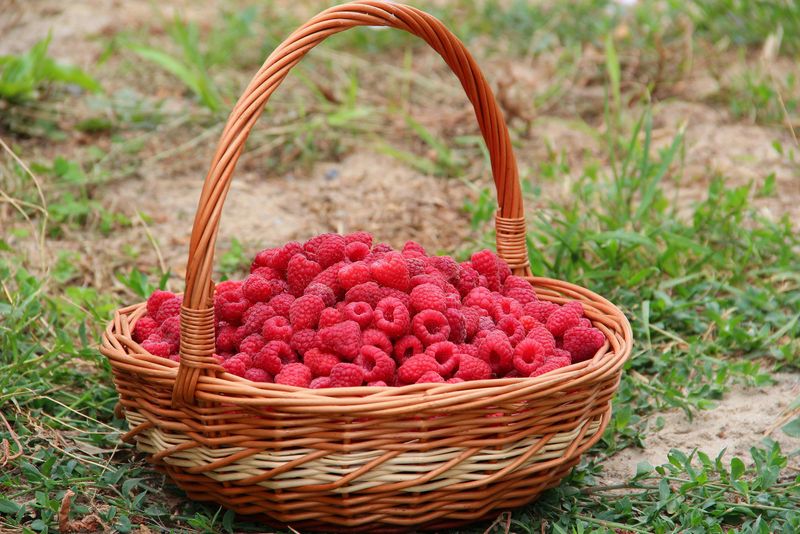
While fresh raspberries deliver the best flavor and texture, frozen berries work in a pinch when berries aren’t in season.
The main difference is cooking time: frozen raspberries need extra minutes to thaw in the pot before they start breaking down. Either way, the final result captures that distinctive raspberry flavor with its balance of sweetness and gentle tartness.
3. The Cooking Process
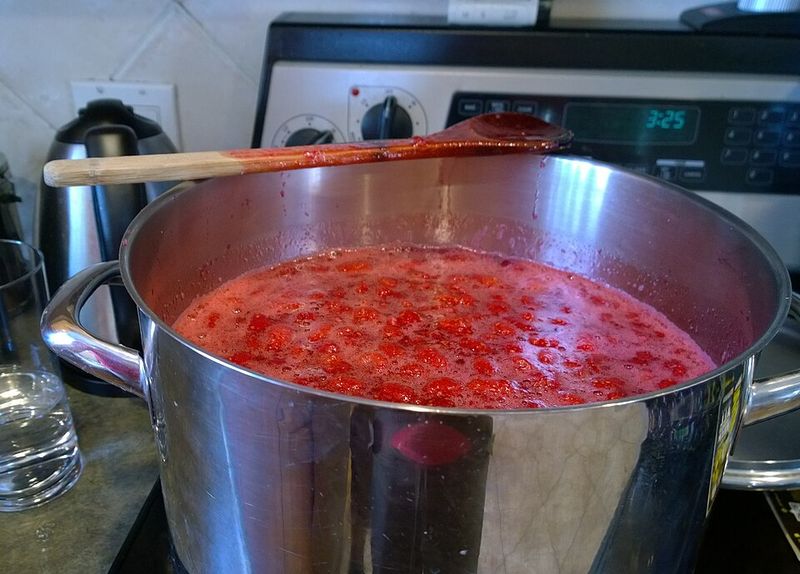
Start by combining 18 ounces of raspberries with one cup of granulated sugar and a tablespoon of lemon juice in a medium saucepan. Heat everything over medium until it reaches a boil, then reduce to a gentle simmer.
Stir frequently as the mixture cooks down, which typically takes between 12 and 15 minutes. The jam is ready when dragging a spoon through it leaves a clear trail that doesn’t immediately fill back in.
4. Adjusting Sweetness To Taste
Raspberries vary in sweetness depending on when they were picked and where they came from. Tasting the berries before cooking helps determine whether to stick with the full cup of sugar or dial it back slightly.
Some batches lean more tart while others are naturally sweeter, so this small adjustment ensures the finished jam matches personal preferences.
5. From Jar To Table
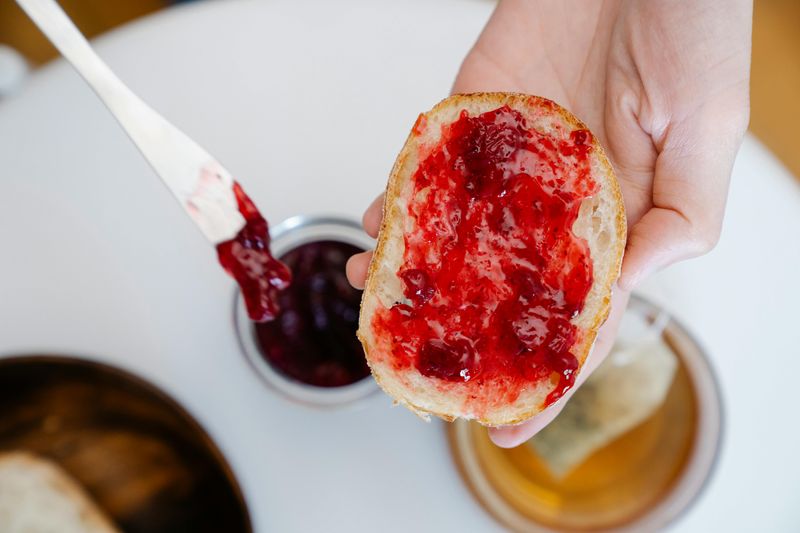
This versatile preserve works equally well spread on morning toast, swirled into Greek yogurt, or layered between cake layers for dessert.
It adds brightness to breakfast pastries and depth to thumbprint cookies. Some cooks even mix in hot peppers for a sweet-and-spicy condiment that pairs beautifully with cheese plates.
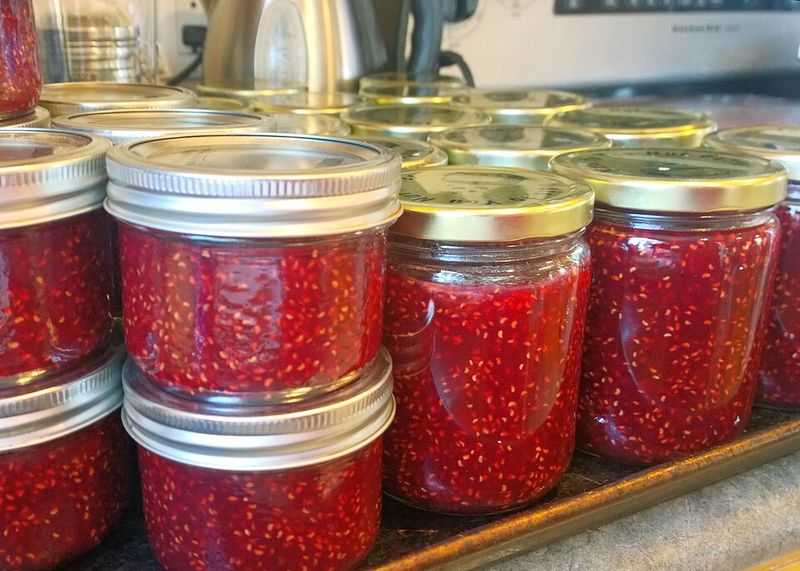
6. Keeping It Fresh
Without proper canning, this refrigerator jam stays fresh for about three weeks when stored in a clean glass jar with an airtight lid. Make sure the jam cools completely to room temperature before sealing and refrigerating.,
For those interested in longer storage, learning basic water bath canning techniques allows these preserves to last for months in the pantry.