7 Steps To Make Grilled Cheese French Toast
Ever wondered what would happen if grilled cheese decided to show up at breakfast and absolutely steal the spotlight?
Bread dives into a rich egg bath, cheese melts happily in the middle, and the skillet starts doing the kind of work that makes the whole kitchen smell like a very good life decision.
Just a handful of simple steps separate you from a plate so comforting it might make weekend mornings feel suspiciously luxurious.
1. Butter The Bread
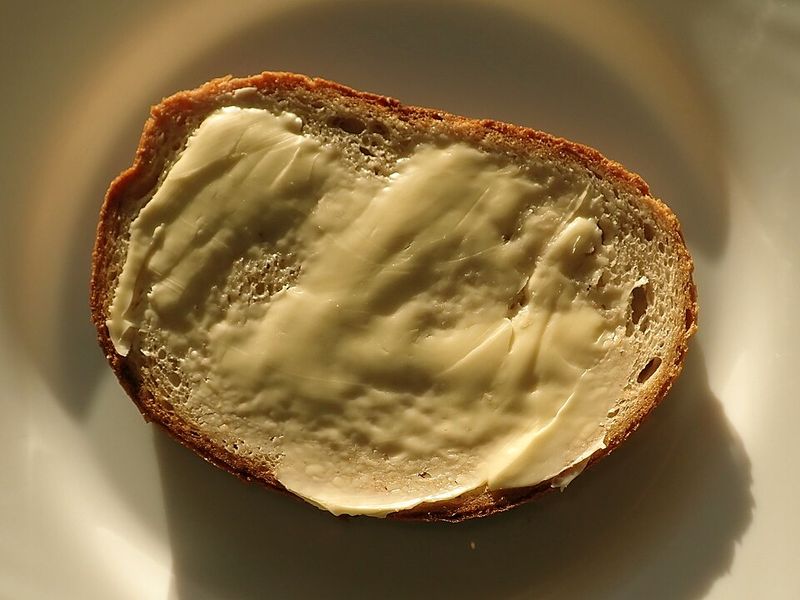
Pull out your bread and get the butter ready, because this first step sets the whole sandwich up for success.
Spreading butter on one side of each slice is the move that creates that gorgeous, golden crust you see in every can’t-look-away food photo. Think of it as the sandwich putting on its best outfit before a big night out.
Use softened butter so it spreads evenly without tearing the bread. A thick-cut loaf like brioche or sourdough works beautifully here, giving you sturdy slices that hold up through the dipping and cooking ahead.
2. Add The Cheese And Close The Sandwich
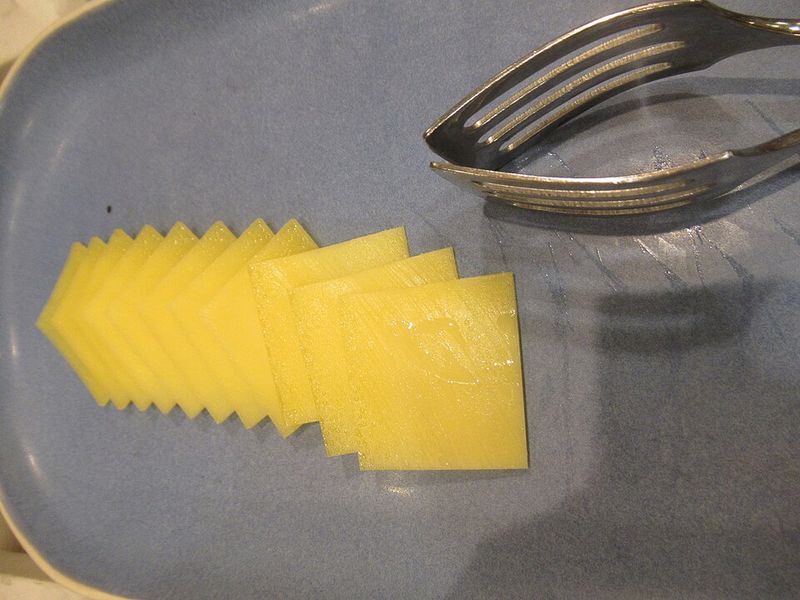
Choosing the cheese is where personality shows up, and this step is the moment to make it count.
Place the slices on the unbuttered side of one piece of bread, then press the second slice on top with the unbuttered side facing inward. The buttered sides stay on the outside, ready to brown to a crisp finish.
Cheddar delivers a sharp, bold bite while mozzarella melts into those satisfying stretchy strands. Using both cheeses together works beautifully.
Press the sandwich lightly so it holds together before cooking, because a sandwich that separates during dipping rarely ends well.
3. Whisk The French Toast Custard
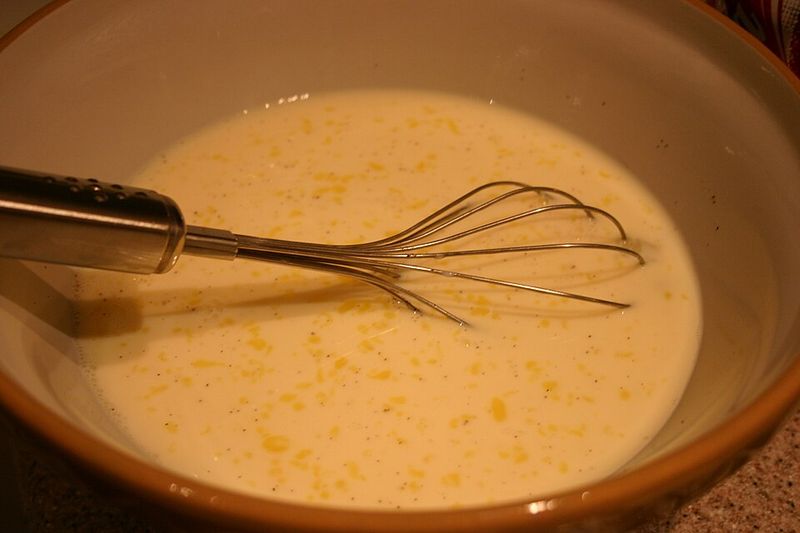
Two eggs crack into a shallow bowl alongside a splash of milk, a pinch of salt, and a whisper of cinnamon for anyone feeling adventurous. Quick whisk turns the mixture smooth, pale, and lightly foamy.
Using a shallow bowl helps the sandwich dip evenly without awkward tilting or splashing.
Warm cinnamon releases a bakery-style aroma the moment the coated sandwich touches the hot pan. Smell like that tends to draw people into the kitchen asking what is cooking.
4. Dip The Grilled Cheese Sandwich
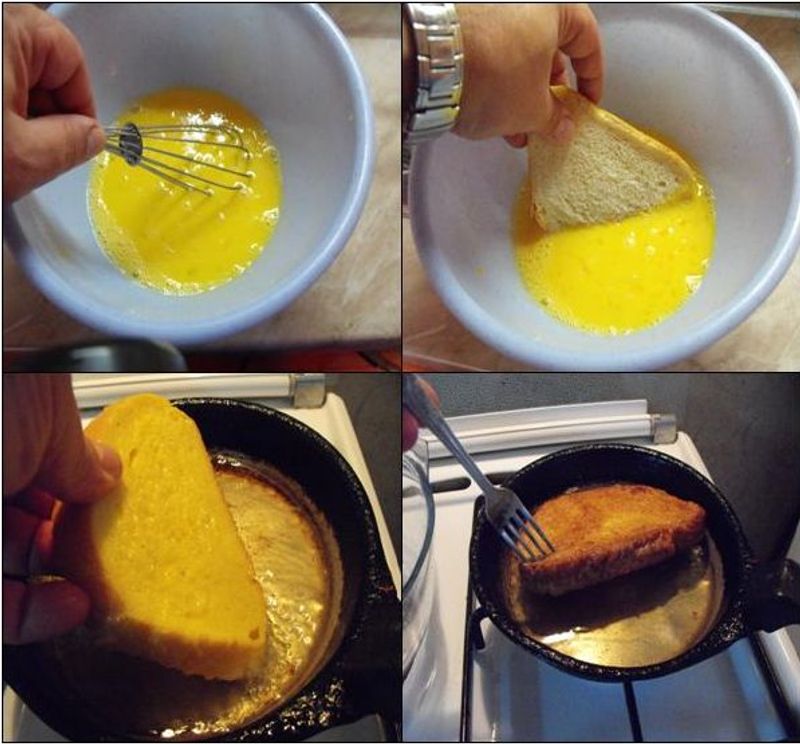
Lower the assembled sandwich into the custard and allow each side to soak for about ten to fifteen seconds. Aim for a light, even coating rather than bread that becomes overly saturated.
Think of a light coating instead of a soaking bath, because too much liquid will cause the bread to fall apart before it reaches the pan.
Tilting the bowl slightly helps coat both sides evenly if the mixture pools to one side.
That brief dip transforms a standard grilled cheese into something richer, giving the inside a soft, custardy texture that feels like a weekend brunch upgrade on an ordinary weekday.
5. Melt Butter In A Skillet Over Medium Heat
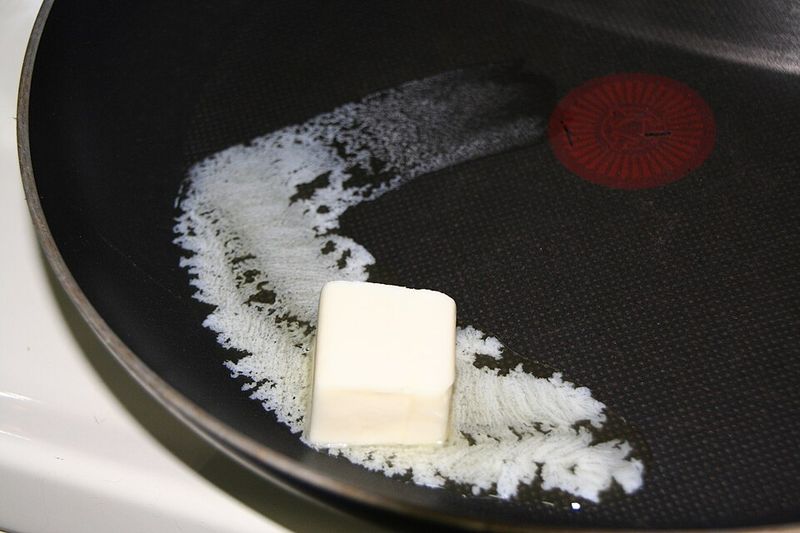
Place a skillet over medium heat and add a tablespoon of butter while keeping a close eye on it.
Foaming and gentle sizzling signal that the pan is finally ready.
Turning the heat too high at this stage often burns the butter and leaves the sandwich unevenly cooked. Patient medium heat treats both the bread and the cheese kindly.
Slow cooking rewards you with a deeply golden, evenly toasted sandwich.
6. Cook, Flip, And Finish
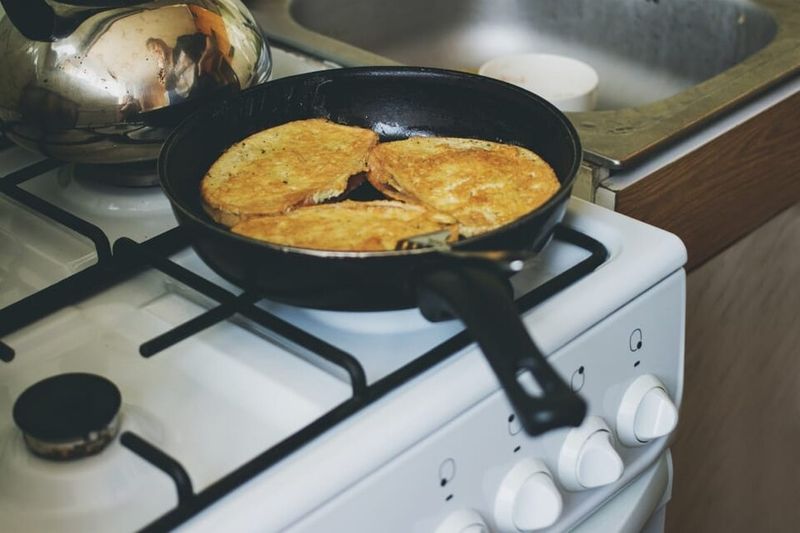
Lay the dipped sandwich gently into the foaming butter and listen for that satisfying sizzle, the sound of good things happening.
Cook the first side for about two to three minutes until it turns a deep, toasty golden brown. Flip carefully with a wide spatula, because this sandwich has earned a smooth landing, not a crash.
Let the second side match the first in color and crispness while the cheese inside softens into a melty, gooey layer. Pressing lightly with the spatula during the last minute helps the heat reach the center and finishes the cheese perfectly.
7. Slice And Serve Warm
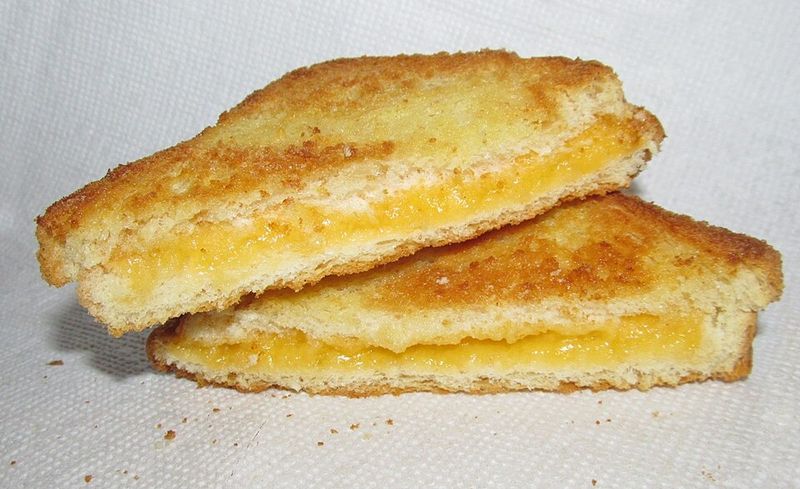
Slice the sandwich diagonally through the center and watch the melted cheese stretch in that wonderfully satisfying way. Diagonal cuts do more than improve presentation.
Wider edges reveal the gooey, golden interior and make each bite easier to handle.
Serving it right away keeps the texture at its best, since the sandwich loses its appeal once it cools down. A small drizzle of maple syrup on the side adds a sweet contrast that complements the savory filling nicely.
Feel free to share the finished plate and mention a favorite cheese combination others might want to try.
Note: This recipe is provided for general informational and entertainment purposes.


.jpg)
_(cropped).jpg)