The Secrets To Making Unbelievably Crispy Chicken Wings At Home
Nothing beats the satisfying crunch of perfectly crispy chicken wings, especially when you make them right in your own kitchen.
Restaurant-quality wings might seem impossible to recreate, but a few simple tricks can transform your home-cooked wings from soggy disappointments into golden, crackling masterpieces.
Whether you’re prepping for game day or just craving that irresistible crunch, these five secrets will turn you into a wing-making superhero.
This content is for general informational and educational purposes only and reflects publicly available culinary guidance at the time of writing. It is not intended as professional culinary, safety, or nutritional advice. Cooking times and results may vary based on equipment, ingredient quality, and environmental factors. Always follow proper food-safety practices when handling poultry and use a food thermometer to ensure wings reach a safe internal temperature of 165°F (74°C). Mentions of ingredients, tools, or techniques are for informational context only and do not constitute endorsement by the author or publisher.
Dry-Brine The Wings Overnight (Uncovered)
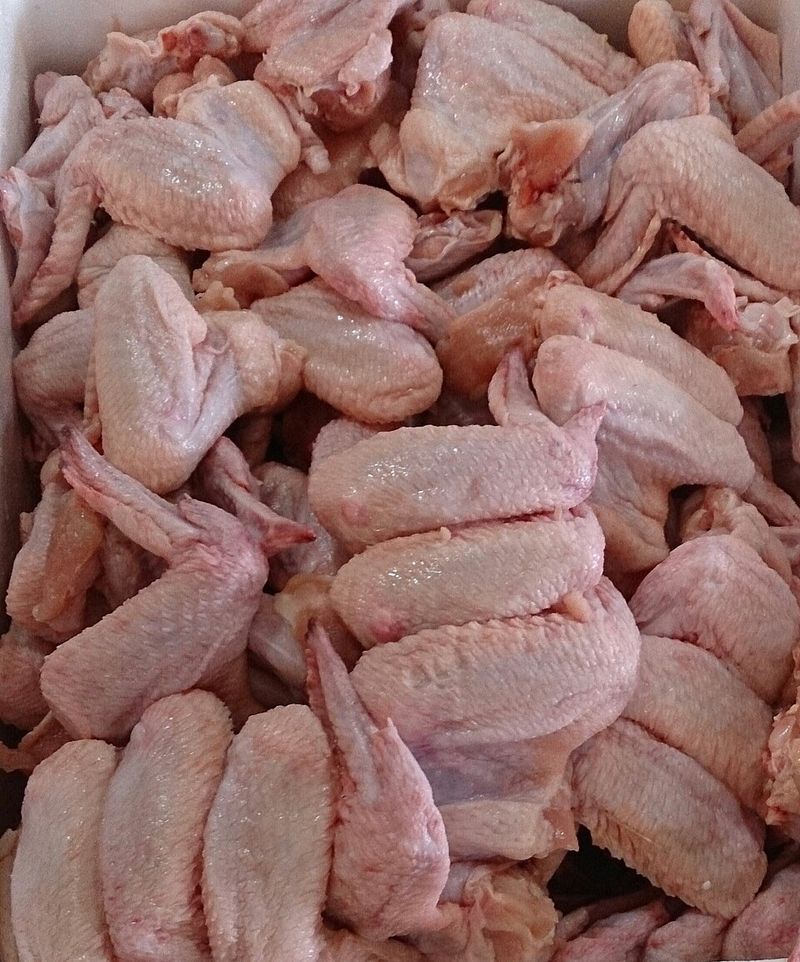
If you want skin that shatters like glass, patience is your superpower. Salt your wings lightly, then park them on a wire rack in the fridge overnight without any cover. This process pulls moisture out of the skin, leaving it dry and ready to crisp up beautifully when you cook them.
Think of it like prepping for a big performance – your wings need time to get stage-ready. The uncovered fridge environment acts like a gentle wind tunnel, slowly dehydrating the surface. When cooking day arrives, that dried-out skin transforms into the crunchiest, most satisfying coating you’ve ever tasted.
No fancy equipment needed, just a little planning ahead. Your future self will thank you!
Elevate On A Wire Rack Over A Sheet Pan
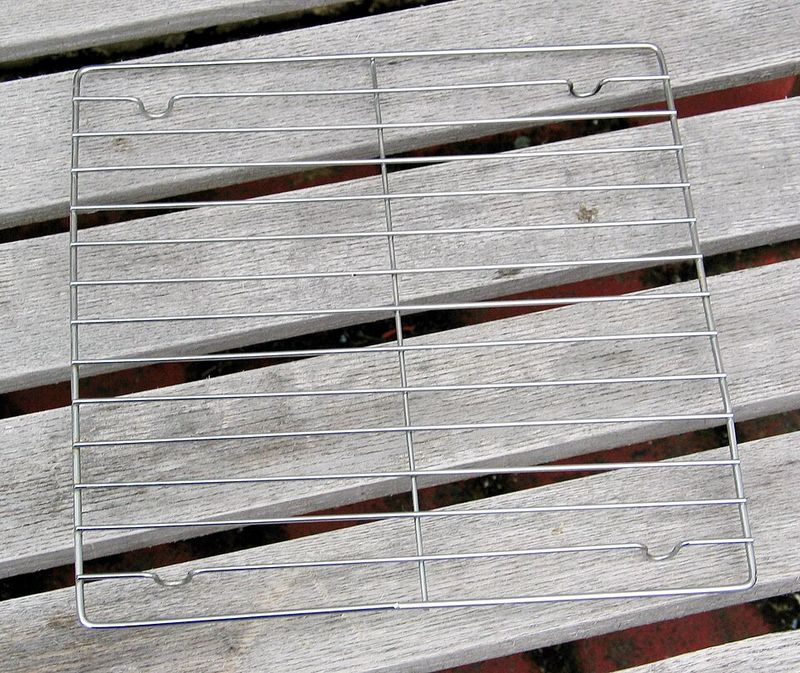
Airflow is the secret ingredient nobody talks about enough. When wings sit directly on a pan, they basically steam in their own juices – gross, right? By lifting them onto a wire rack, air circulates all around each wing, helping fat drip away and skin crisp evenly on every side.
Picture your wings getting a spa treatment with perfect ventilation. The rack setup mimics how professional kitchens achieve restaurant-level crunch. Hot air hugs every curve and crevice, turning what would be rubbery undersides into golden, crispy perfection.
However, make sure your rack fits snugly over your sheet pan. Line the pan below with foil for easy cleanup, because nobody wants to scrub baked-on chicken fat later!
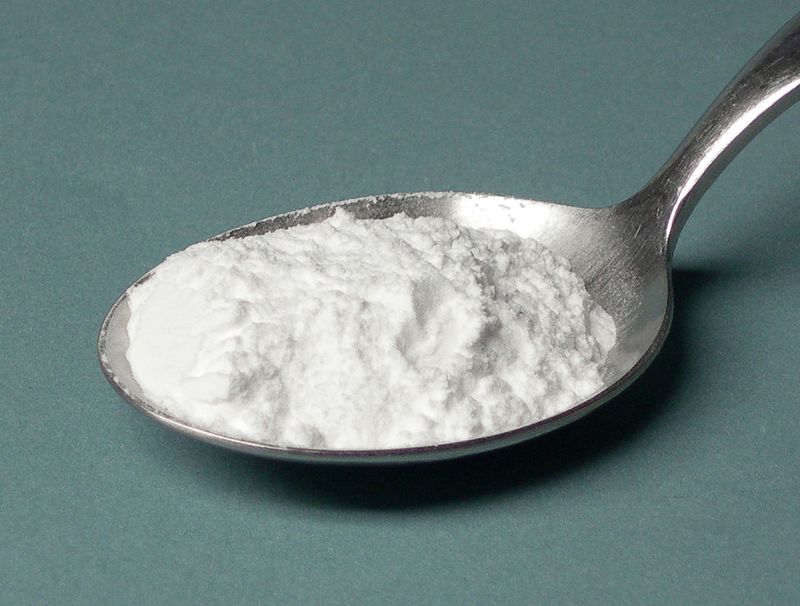
Dust With A Starch Blend
Cornstarch works like magic pixie dust for your wings. A light coating creates thousands of tiny, crispy bubbles on the surface when heat hits it. You can use straight cornstarch or mix it with a bit of rice flour for extra crunch – either way, you’re building texture that flour alone can’t match.
Why does this work so well? Starch absorbs surface moisture faster than regular flour and fries up into delicate, shattering layers. Just toss your prepped wings in a bowl with a few tablespoons of starch until they’re lightly coated – not caked.
Though it seems like a small step, this trick separates amateur wings from pro-level perfection. Just saying!
Add A Pinch Of Baking Powder (Aluminum-Free)
Here’s where kitchen chemistry gets fun. Baking powder raises the pH of chicken skin, which helps it blister and brown faster. Use the aluminum-free kind so you don’t end up with a weird metallic aftertaste – nobody wants their wings to taste like they licked a battery.
How much should you use? About half a teaspoon per pound of wings is plenty. Mix it with your starch or seasoning blend, then coat your wings evenly. The baking powder works quietly in the background, breaking down proteins and creating those gorgeous, bubbly craters that trap flavor and add crunch.
If you’ve ever wondered how restaurants get that signature texture, this is one of their behind-the-scenes secrets.
Use Convection Or Fan Heat When Baking
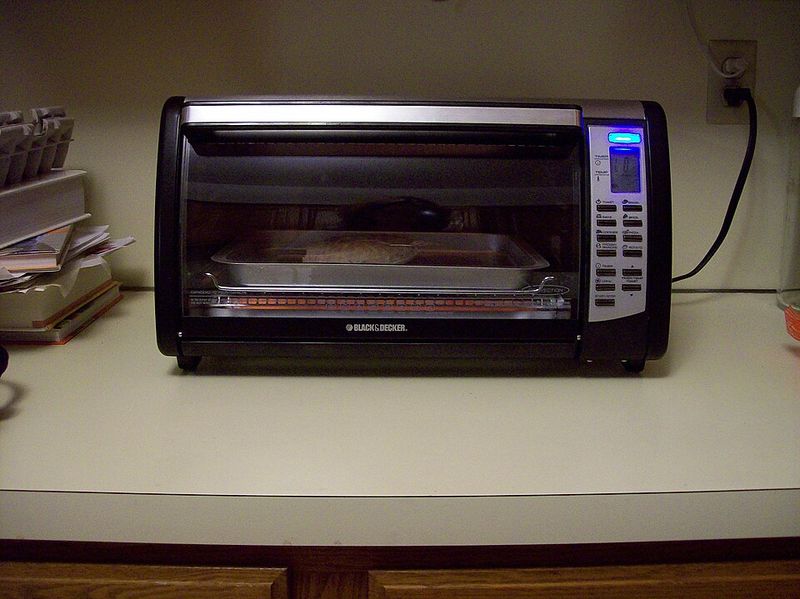
Where there’s airflow, there’s crispiness. Convection ovens – or any oven with a fan setting – blow hot air around your wings constantly, driving off every bit of surface moisture. Start your wings at a lower temperature (around 250°F) for twenty minutes to render out the fat, then crank the heat up to 425°F to finish with serious crunch.
The fan acts like a turbo boost for browning. Regular ovens trap steam inside, but convection keeps things moving so your wings dry out and crisp up instead of getting soggy. Even a countertop convection toaster oven works wonders if you’re cooking smaller batches.
Share your crispiest wing photos and tag your fellow wing lovers!