The Ultimate Guide To Perfect Homemade Waffles
Frozen waffles have dominated breakfast routines for years, but there’s something extraordinary about making them from scratch.
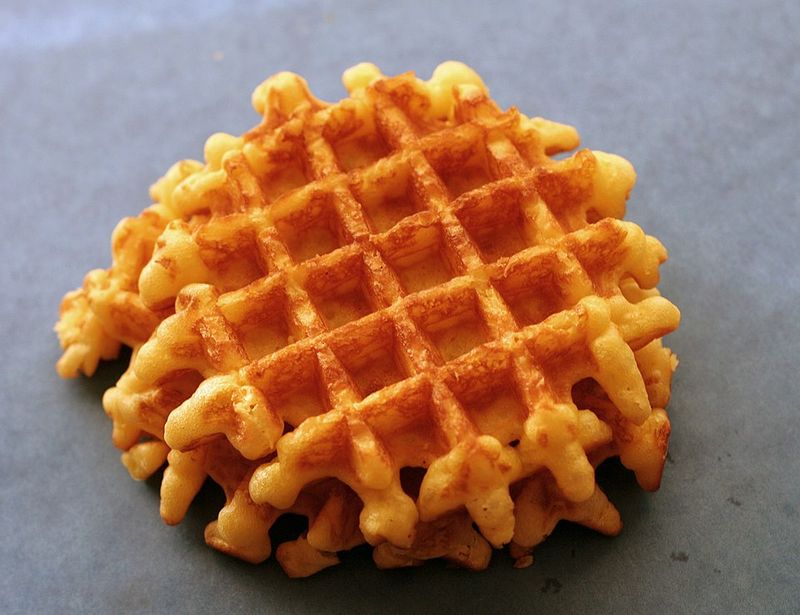
Fresh waffles deliver unmatched crispiness on the outside and cloud-like fluffiness inside—a texture combination that no freezer aisle product can replicate.
This guide walks you through every step to create restaurant-quality waffles using simple pantry staples in just 30 minutes.
1. Building Blocks Of Breakfast Perfection

The magic happens through careful ingredient selection. Start with one and a half cups of buttermilk, which provides tangy flavor while activating the leavening agents for maximum lift. Half a cup of canola oil beats butter when crispiness is the goal—its higher smoke point and lack of water content create those coveted golden edges.
One large egg serves multiple purposes here: binding the batter, adding richness, and contributing to browning. Add one and a half teaspoons of pure vanilla extract for aromatic depth without overwhelming the classic flavor profile. For sweetness and structure, combine one and three-quarter cups of all-purpose flour with three tablespoons of granulated sugar.
2. The Secret To Fluffy Texture
Two leavening agents work together to achieve the ideal texture. Use two teaspoons of baking powder alongside one teaspoon of baking soda. The baking soda reacts immediately with buttermilk’s acidity, creating initial rise. Baking powder activates when heat is applied, ensuring continued lift throughout cooking.
This dual-leavening approach transforms ordinary batter into something special. Don’t forget half a teaspoon of kosher salt to balance the flavors and enhance the overall taste.
3. Mixing Technique That Makes A Difference

The muffin method keeps things simple. In a medium bowl, whisk the egg, buttermilk, oil, and vanilla together until smooth with no streaks remaining. In a separate large bowl, whisk the flour, sugar, baking powder, baking soda, and salt until evenly distributed.
Creating a well in the dry mixture allows for gentle incorporation of liquids. Pour the wet ingredients into the center of the dry ingredients and stir gently until just combined. The batter should remain lumpy with visible flour streaks—overmixing develops gluten and produces tough, dense waffles.
After mixing, let the batter rest at room temperature for 15 minutes. This allows flour to fully hydrate and leaveners to begin working.
4. Getting The Waffle Iron Right
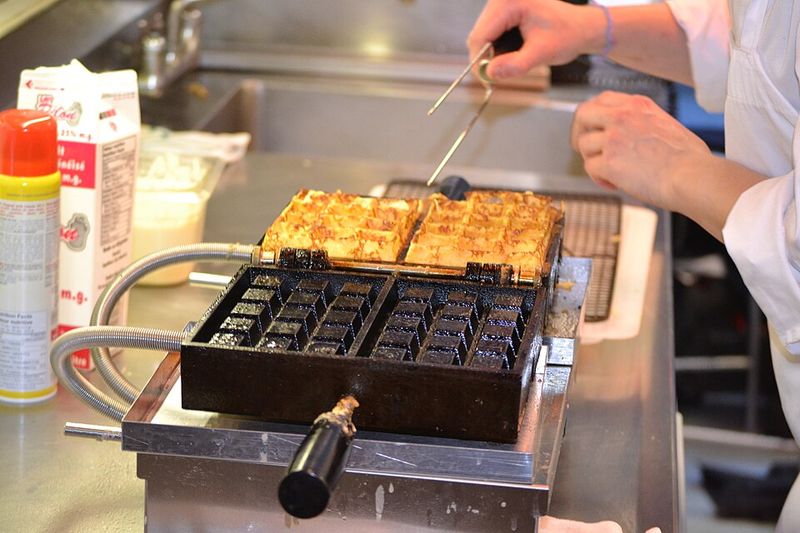
Temperature makes or breaks waffle quality. While the batter rests, preheat the waffle iron completely according to its instructions. The iron must reach full heat before any batter touches it. A properly heated surface ensures quick cooking, even browning, and those signature crispy edges.
Once heated, coat the iron generously with nonstick cooking spray—it reaches every crevice of the waffle grid better than brushed-on fat. Pour a generous amount of batter into the center and let it spread naturally toward the edges until the surface is completely covered.
Once the lid closes, resist the urge to peek—steam needs to stay trapped inside for proper cooking.
5. Cooking And Serving
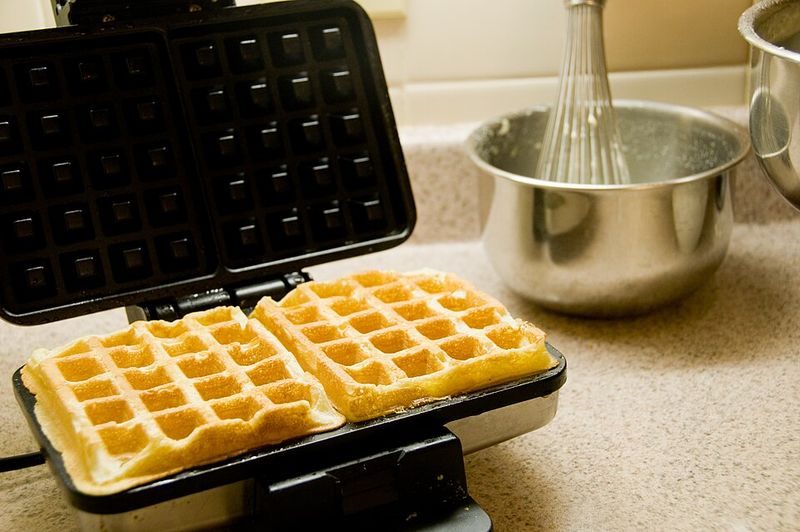
Cook each waffle until it turns deep golden brown, which typically takes about five minutes depending on the iron. Transfer finished waffles to a plate and tent loosely with foil to keep them warm while cooking the remaining batter. This ensures everyone eats hot food together.
Each waffle iron has unique capacity and shape, so adjust the batter amount based on results. The goal is full coverage without overflow. Repeat the process with the remaining batter, remembering to spray the iron between each waffle.
6. The Perfect Finish
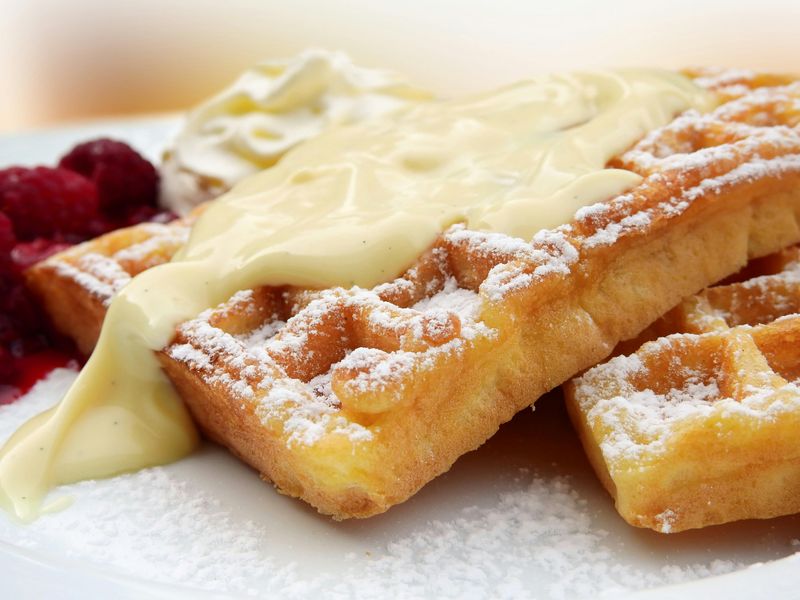
Classic toppings remain unbeatable for good reason. Divide the finished waffles among plates and drizzle with pure maple syrup. Top each serving with pats of unsalted butter that melt into the warm waffle wells. These simple additions let the waffle’s flavor and texture shine through without distraction.
Measuring flour deserves special attention throughout this process. Too much creates dry, heavy waffles; too little results in flimsy ones that fall apart. The spoon-and-sweep method works best: spoon flour into the measuring cup without packing, then level off excess with a straight edge.
This small detail makes a significant difference in the final texture.