Gravy Therapy And How To Calm That Watery Mess Into Silky Sauce
Picture this: your holiday roast is golden perfection, your sides are steaming hot, and then you glance at the gravy boat filled with watery disappointment.
Before you panic or order takeout, take a breath because thickening gravy is actually one of the easiest kitchen fixes you’ll ever master.
Whether you’re dealing with turkey drippings or beef broth, a handful of simple techniques can transform thin liquid into rich, velvety sauce in minutes.
Get ready to become the gravy hero your dinner table deserves!
With a few pantry staples and zero fancy equipment, you can rescue that sauce before anyone even picks up a fork.
By the time it hits the table, no one will ever know your gravy had a minor identity crisis.
Disclaimer: This article offers general cooking tips only. Results can vary based on ingredients, equipment, and skill level. Always season and adjust to taste.
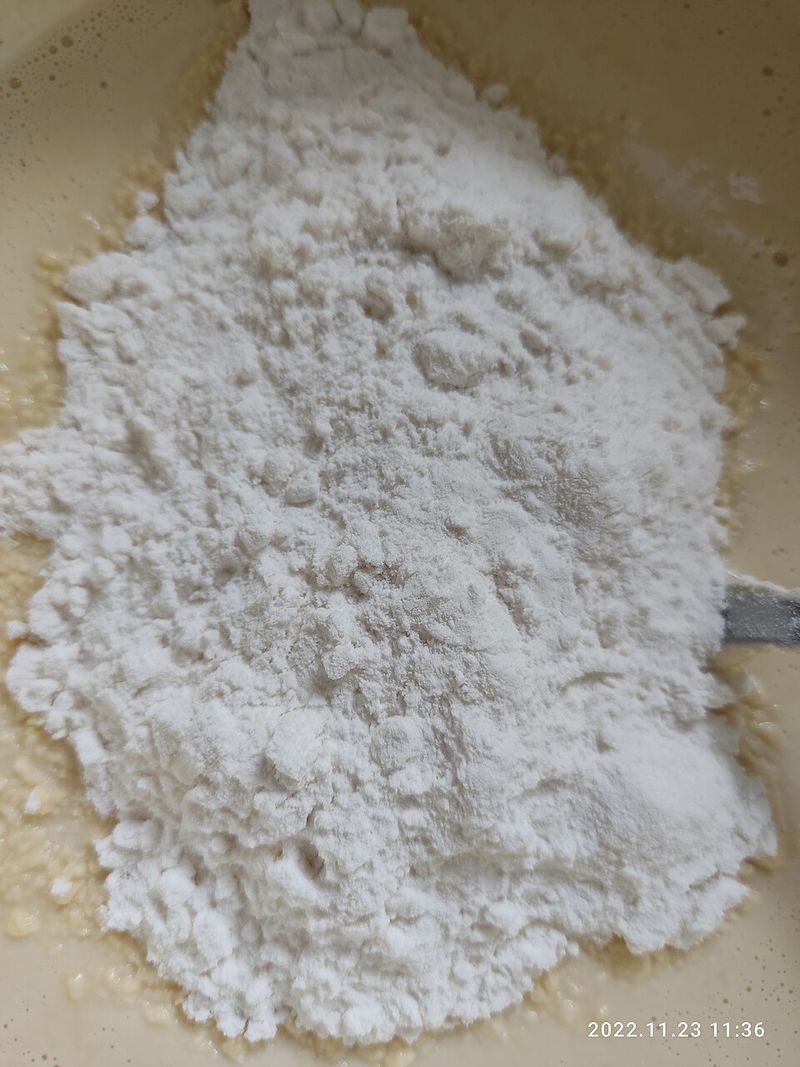
1. The Classic Roux Rescue

Butter and flour walk into a pan and create magic together.
That’s basically what a roux is, and it’s been the go-to gravy thickener for generations of cooks who know their stuff.
Melt equal parts fat (butter works beautifully, but bacon grease or meat drippings add serious flavor) and flour in your pan, stirring constantly until they become best friends.
The mixture will bubble and turn golden as the flour cooks, which takes about two to three minutes over medium heat.
This cooking step is crucial because it removes that raw flour taste nobody wants in their gravy.
Once your roux looks smooth and smells nutty, gradually whisk in your broth or pan drippings, adding liquid slowly to avoid creating a lumpy mess.
The gradual addition lets the roux absorb the liquid evenly, creating that silky texture you’re after.
Bring everything to a gentle boil, then reduce the heat and let it simmer for about a minute while stirring. Your gravy will thicken right before your eyes like a delicious science experiment!
The roux method creates an opaque, classic-looking gravy that clings perfectly to mashed potatoes and turkey slices.
Pro tip: keep your whisk moving and your patience steady.
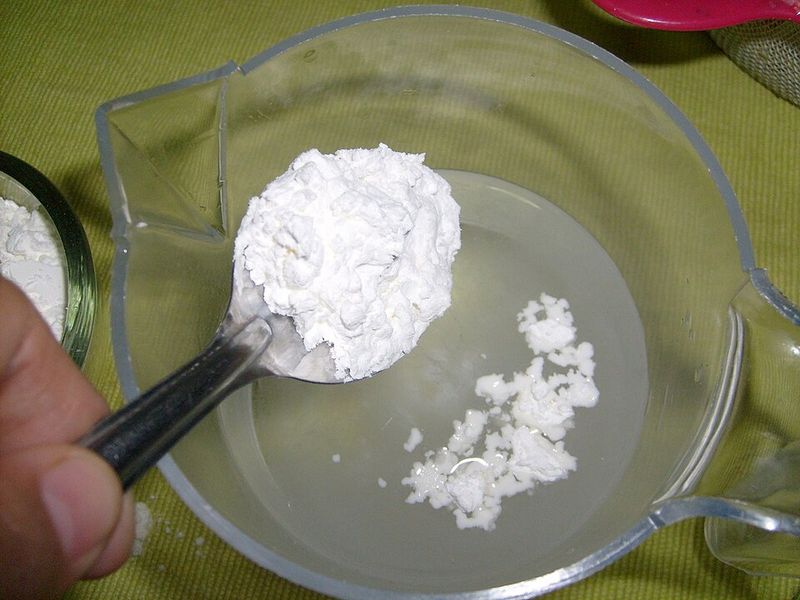
2. Cornstarch Slurry Speedrun
When time is ticking and guests are arriving, the cornstarch slurry becomes your secret weapon.
This method is lightning-fast and requires zero cooking skills beyond the ability to stir.
Mix cornstarch with cold water in a separate bowl until completely smooth, think of it as making a tiny milkshake without the ice cream.
The ratio is usually one tablespoon of cornstarch to one tablespoon of cold water, though you can double or triple this depending on how much gravy needs rescuing.
Cold water is essential here because hot water will cause the cornstarch to clump immediately, creating a gloppy disaster instead of smooth gravy.
Once your slurry looks uniform and milky, slowly drizzle it into your simmering gravy while whisking like your dinner reputation depends on it (because it kind of does).
The gravy will thicken almost instantly as it comes to a boil, which feels like kitchen wizardry.
Bonus points: cornstarch creates a glossy, translucent finish that looks restaurant-quality.
Even better, this method is naturally gluten-free, so everyone at the table can enjoy it!
Just remember to cook the gravy for at least a minute after adding the slurry to eliminate any starchy taste.
3. Wondra Flour Wonder
Ever heard of flour that acts like it went to culinary school?
That’s Wondra in a nutshell. This super-fine, instant flour has been precooked and dried, which means it dissolves into hot liquids without forming those annoying lumps that make you question your cooking abilities.
You can literally sprinkle it straight into your bubbling gravy while whisking, and it disappears like magic dust.
No separate bowl needed, no slurry prep required, just shake and stir.
For four cups of gravy, you’ll need about a quarter cup of Wondra, though you can add it gradually until you reach your desired thickness.
The texture it creates is incredibly smooth and silky, almost like the gravy went to a spa.
Because it’s low in protein, Wondra thickens quickly without making your gravy gummy or heavy.
Bring your gravy to a boil after adding the Wondra, then stir for about a minute until everything comes together beautifully.
Many grandmas and professional chefs keep a canister of this stuff in their pantry for emergency gravy situations.
The shaker-top container makes it ridiculously easy to control how much you’re adding, too.
Once you try Wondra, you might never go back to regular flour again!
4. Beurre Manié Brilliance
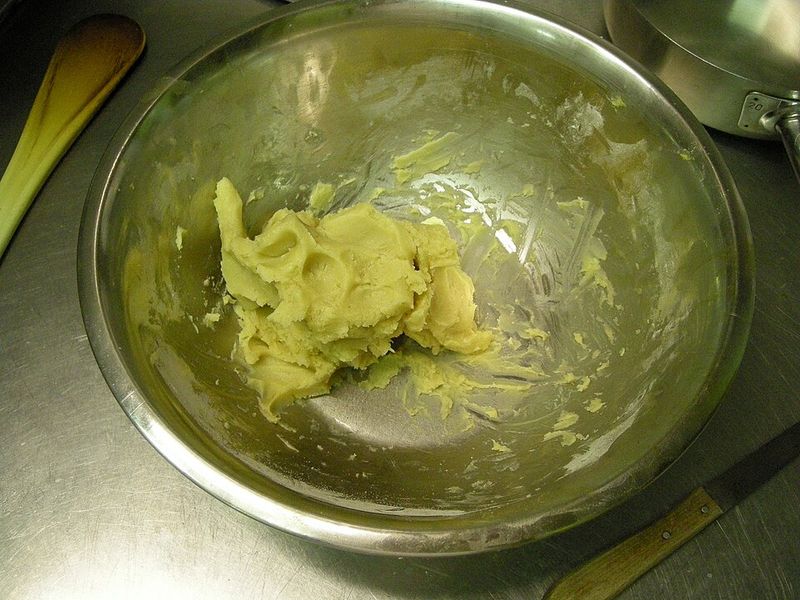
French cooking techniques always sound fancy, but beurre manié is surprisingly simple.
The name literally means kneaded butter, which perfectly describes what you’re making.
Mix equal parts softened butter and flour with your fingers or a fork until they form a smooth, Play-Doh-like paste.
This paste becomes your thickening agent, added bit by bit to hot gravy.
The beauty of this method lies in its control, you can add a teaspoon at a time, whisking thoroughly between additions until your gravy reaches exactly the thickness you want.
No guessing, no crossing your fingers, just gradual improvement with every addition.
Because the butter is already soft, it melts quickly into the gravy, distributing the flour evenly without creating lumps.
This technique shines when you don’t have a separate pan available to make a traditional roux, or when you need to fix gravy that’s already been made.
The butter adds richness and a glossy finish that makes your gravy look professionally prepared.
You can even make beurre manié ahead of time and keep it in the fridge, ready for gravy emergencies.
Just remember to let each addition fully incorporate before adding more, or you’ll end up with butter blobs floating around. Patience pays off with silky, restaurant-quality results!
5. Instant Mashed Potato Hack
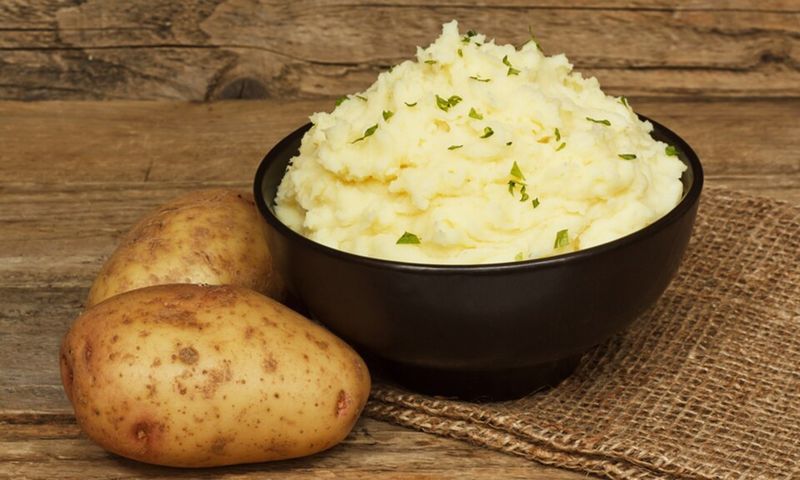
Who knew that box of instant potatoes could save your gravy situation?
This unconventional trick works shockingly well and adds a subtle potato flavor that actually complements most gravies perfectly.
Simply sprinkle instant mashed potato flakes into your simmering gravy while whisking constantly, adding them gradually until you reach your desired consistency.
The flakes absorb liquid quickly and dissolve almost completely, thickening your gravy without changing its appearance dramatically.
Start with just a tablespoon or two because these flakes are surprisingly powerful, you can always add more, but you can’t take them back once they’re in there.
This method works especially well with turkey or chicken gravy, where the mild potato taste blends seamlessly with poultry flavors.
The texture becomes slightly more rustic than butter-based methods, but in a comforting, homestyle way that feels intentional rather than accidental.
Bonus advantage: instant potatoes are naturally gluten-free (check your brand to be sure), making this a safe option for guests with dietary restrictions.
The gravy will thicken within a minute or two of adding the flakes, so you’ll see results almost immediately.
This hack is perfect for those moments when you’ve run out of traditional thickeners or just want to try something different.
Your guests will never guess your secret ingredient!
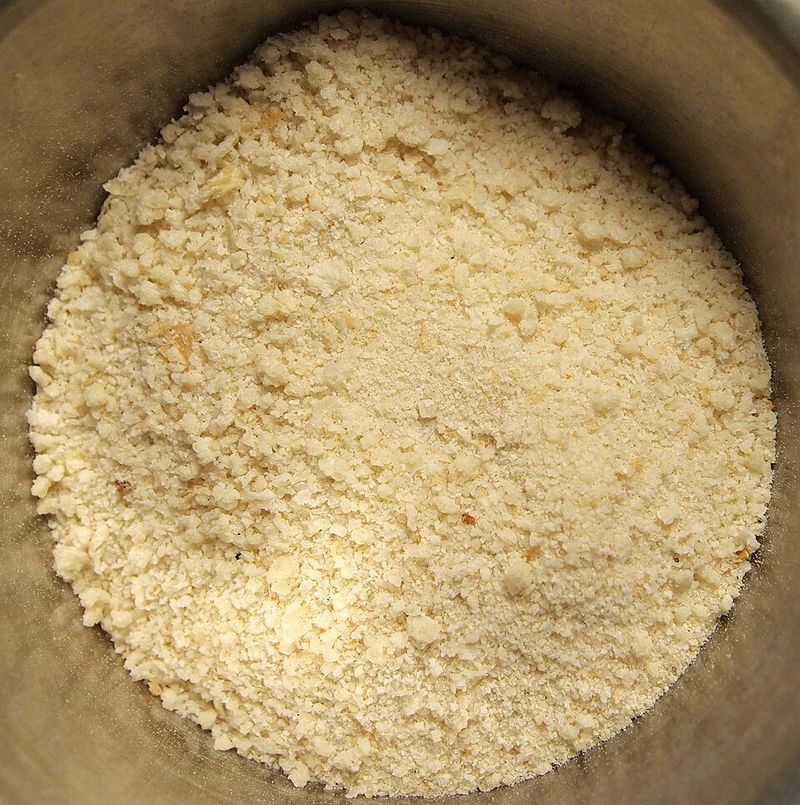
6. Bread Crumb Binding
Before fancy thickening agents existed, resourceful cooks used what they had on hand.
Bread crumbs represent one of the oldest gravy-thickening tricks in the culinary history books, and they still work beautifully today.
Fresh bread crumbs work best because they’re softer and dissolve more easily than dried ones, though dried crumbs can work in a pinch if you let them simmer longer.
Stir the crumbs directly into your simmering gravy, whisking to break up any clumps that try to form.
The bread absorbs the liquid and swells, creating a thicker consistency while adding a subtle, savory depth.
For best results, use plain bread crumbs without seasonings unless those seasonings complement your gravy’s flavor profile.
Italian-seasoned crumbs, for example, might clash with traditional turkey gravy but could be amazing with Italian sausage gravy.
This method creates a slightly more rustic texture than ultra-smooth thickeners like cornstarch, giving your gravy a homemade character that feels authentic and comforting.
You’ll need about two to three tablespoons of bread crumbs per cup of gravy, though you can adjust based on how thick you want the final result.
Let the gravy simmer for a few minutes after adding the crumbs so they fully incorporate and soften.
This old-school technique proves that sometimes the simplest solutions are the most effective!
7. Egg Yolk Enrichment
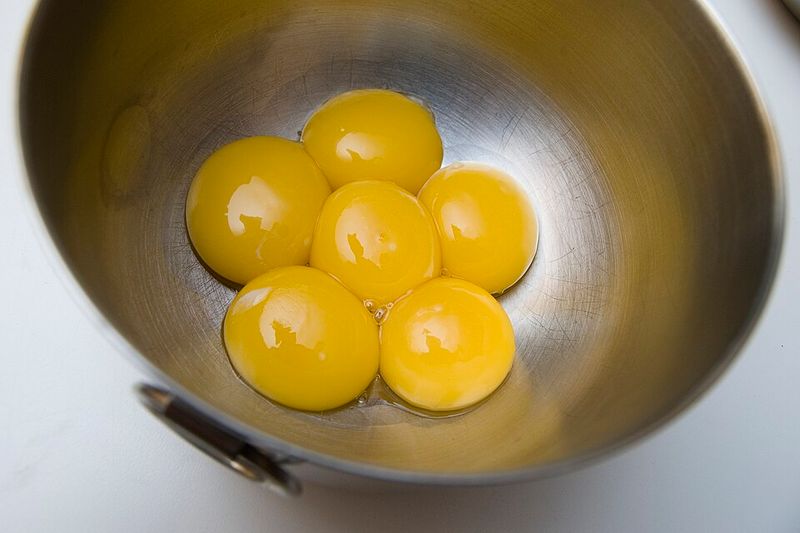
Egg yolks transform thin gravy into luxurious, velvety sauce worthy of a fancy restaurant.
This French technique, called a liaison, thickens while simultaneously adding richness and a gorgeous golden color.
The key is tempering the yolks properly to avoid scrambled eggs floating in your gravy, which would be awkward at the dinner table.
Start by whisking one or two egg yolks in a small bowl until smooth.
Slowly add a few spoonfuls of hot gravy to the yolks while whisking constantly, this gradually raises the temperature of the yolks without cooking them too quickly.
Once you’ve added about half a cup of hot gravy to the yolks, you can pour the tempered mixture back into the main pot of gravy while whisking vigorously.
Keep the heat low to medium and avoid boiling, as high temperatures will curdle the eggs and ruin the silky texture you’re working toward.
The gravy will thicken gently as it heats, coating the back of a spoon beautifully.
This method works especially well with cream-based gravies or those made from white wine reductions.
The result tastes incredibly decadent, almost like you added heavy cream without actually doing so.
Just remember: low heat and constant stirring are your friends here.
Master this technique and you’ll feel like a culinary genius!
8. Cream Cheese Creaminess
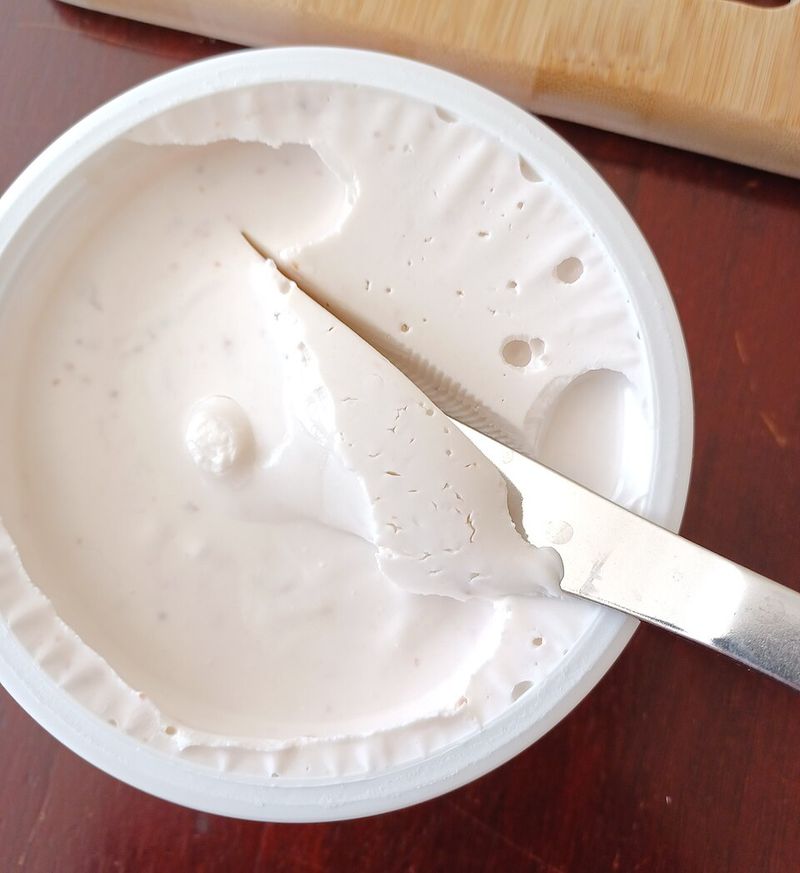
Cream cheese isn’t just for bagels and cheesecake anymore.
Adding a few tablespoons of softened cream cheese to thin gravy creates instant thickness along with a tangy richness that elevates the entire dish.
The cheese melts smoothly into hot gravy, distributing evenly without leaving chunks if you whisk properly.
Start with two to three tablespoons per cup of gravy, adjusting based on how thick and creamy you want the final result.
Make sure your cream cheese is at room temperature before adding it, cold cream cheese creates lumps that take forever to dissolve.
Whisk the cream cheese into your simmering gravy until completely incorporated, then let it cook for a minute or two to meld the flavors together.
The slight tanginess from the cream cheese adds complexity to your gravy, balancing rich, fatty flavors with a subtle brightness.
This technique works phenomenally well with chicken, pork, or vegetable-based gravies.
It’s less traditional with beef, though rules are meant to be broken if you’re feeling adventurous!
The gravy takes on a pale, creamy appearance that looks inviting and tastes even better.
Kids often love gravy made this way because the cream cheese adds a familiar, comforting flavor they recognize.
Plus, it’s ridiculously easy, no slurries, no roux, just straight-up cream cheese magic. Your gravy boat will be empty before you know it!
9. Tapioca Starch Trick
Tapioca starch brings bubble tea vibes to your gravy game.
Okay, not literally, but this starch extracted from cassava root is surprisingly versatile beyond making those chewy pearls everyone loves.
As a gravy thickener, tapioca starch performs beautifully, creating a glossy, smooth texture without adding any noticeable flavor.
It works especially well in gravies that will be frozen and reheated because it maintains its consistency better than wheat-based thickeners.
Mix tapioca starch with cold water to create a smooth slurry, using roughly one tablespoon of starch to one tablespoon of water per cup of gravy.
Pour the slurry into your simmering gravy while whisking constantly, then bring everything to a gentle boil.
The gravy will thicken within about a minute, developing a beautiful sheen that catches the light.
Tapioca starch is completely gluten-free and grain-free, making it suitable for paleo diets and various food allergies.
The thickening power is strong, so start with less than you think you need, you can always add more if necessary.
One quirky characteristic: gravy thickened with tapioca can develop slightly stringy strands if stirred too vigorously after thickening, so use a gentle hand once it reaches the right consistency.
This starch is widely available in health food stores and most regular grocery stores.
Give it a try and watch your gravy transform into something special!
10. Vegetable Puree Method
Vegetables can be secret agents working undercover to thicken your gravy.
Blending cooked vegetables into a smooth puree creates natural thickness while boosting nutritional value and adding subtle flavor complexity.
Carrots, onions, celery, and mushrooms work particularly well because they’re often already in your gravy base or pan drippings.
Simply scoop out some of the cooked vegetables from your roasting pan or gravy pot, transfer them to a blender or use an immersion blender, and puree until completely smooth.
Then whisk this vegetable puree back into your gravy, stirring thoroughly to incorporate.
The fiber and natural starches in the vegetables provide thickening power without any added flour or cornstarch.
This method creates a slightly rustic, country-style gravy with deeper vegetable flavors that taste wholesome and satisfying.
It’s also a sneaky way to add vegetables to meals for picky eaters who might otherwise refuse them.
The gravy takes on a slightly different color depending on which vegetables you puree, carrots add orange tones, mushrooms create earthier browns.
This technique requires a bit more effort than simply whisking in a slurry, but the flavor payoff is worth it for special occasions.
Plus, it’s naturally gluten-free and adds no artificial ingredients whatsoever.
Your gravy becomes both thicker and more nutritious in one brilliant move. Nature provides the thickening power here, no chemistry degree required!
11. Gelatin Gloss Technique

Unflavored gelatin might seem like an odd choice, but professional chefs use it secretly all the time.
Gelatin adds body and creates that luxurious, lip-coating texture that makes restaurant gravies taste so indulgent.
It also gives gravy a gorgeous glossy finish that photographs beautifully if you’re the type who shares food pics.
The technique requires a bit of planning because gelatin needs to bloom before use.
Sprinkle unflavored gelatin powder (about one teaspoon per cup of gravy) over a few tablespoons of cold water and let it sit for five minutes until it looks swollen and spongy.
Then add the bloomed gelatin to your hot gravy and whisk until it dissolves completely.
The gravy won’t thicken dramatically while hot, but as it cools to serving temperature, it develops a luscious, silky consistency that clings beautifully to food.
Gelatin-thickened gravy reheats well and maintains its texture even after refrigeration, which makes it perfect for make-ahead holiday meals.
The flavor remains completely neutral, gelatin adds zero taste, just pure texture improvement.
This method works especially well for gravies made from bone-rich stocks because you’re essentially reinforcing the natural gelatin already present.
One caution: use too much gelatin and your gravy might solidify into jelly when cold, so measure carefully.
Master this technique and your gravies will have that professional restaurant quality everyone notices but can’t quite identify!